The primary goal of this project was to be able to do off-roading and overlanding into areas we normally couldn't go, and be able to set up camp and stay over night or survive easily no matter where we are, when in the Jeep. The trick with overlanding is space, how do you figure out the minimal needs and still be comfortable and then how do you fit that into the vehicle. This almost always requires customization.
One of the reason we love having an older Jeep is the ability to do whatever we want to it, without fear of warranty issues or even being worried about messing with a $50k vehicle. We initally debated a newer JL but we will spend easily 1/3 less money, have a better rig, that we more understand how to repair, maintain and work on while on the road.
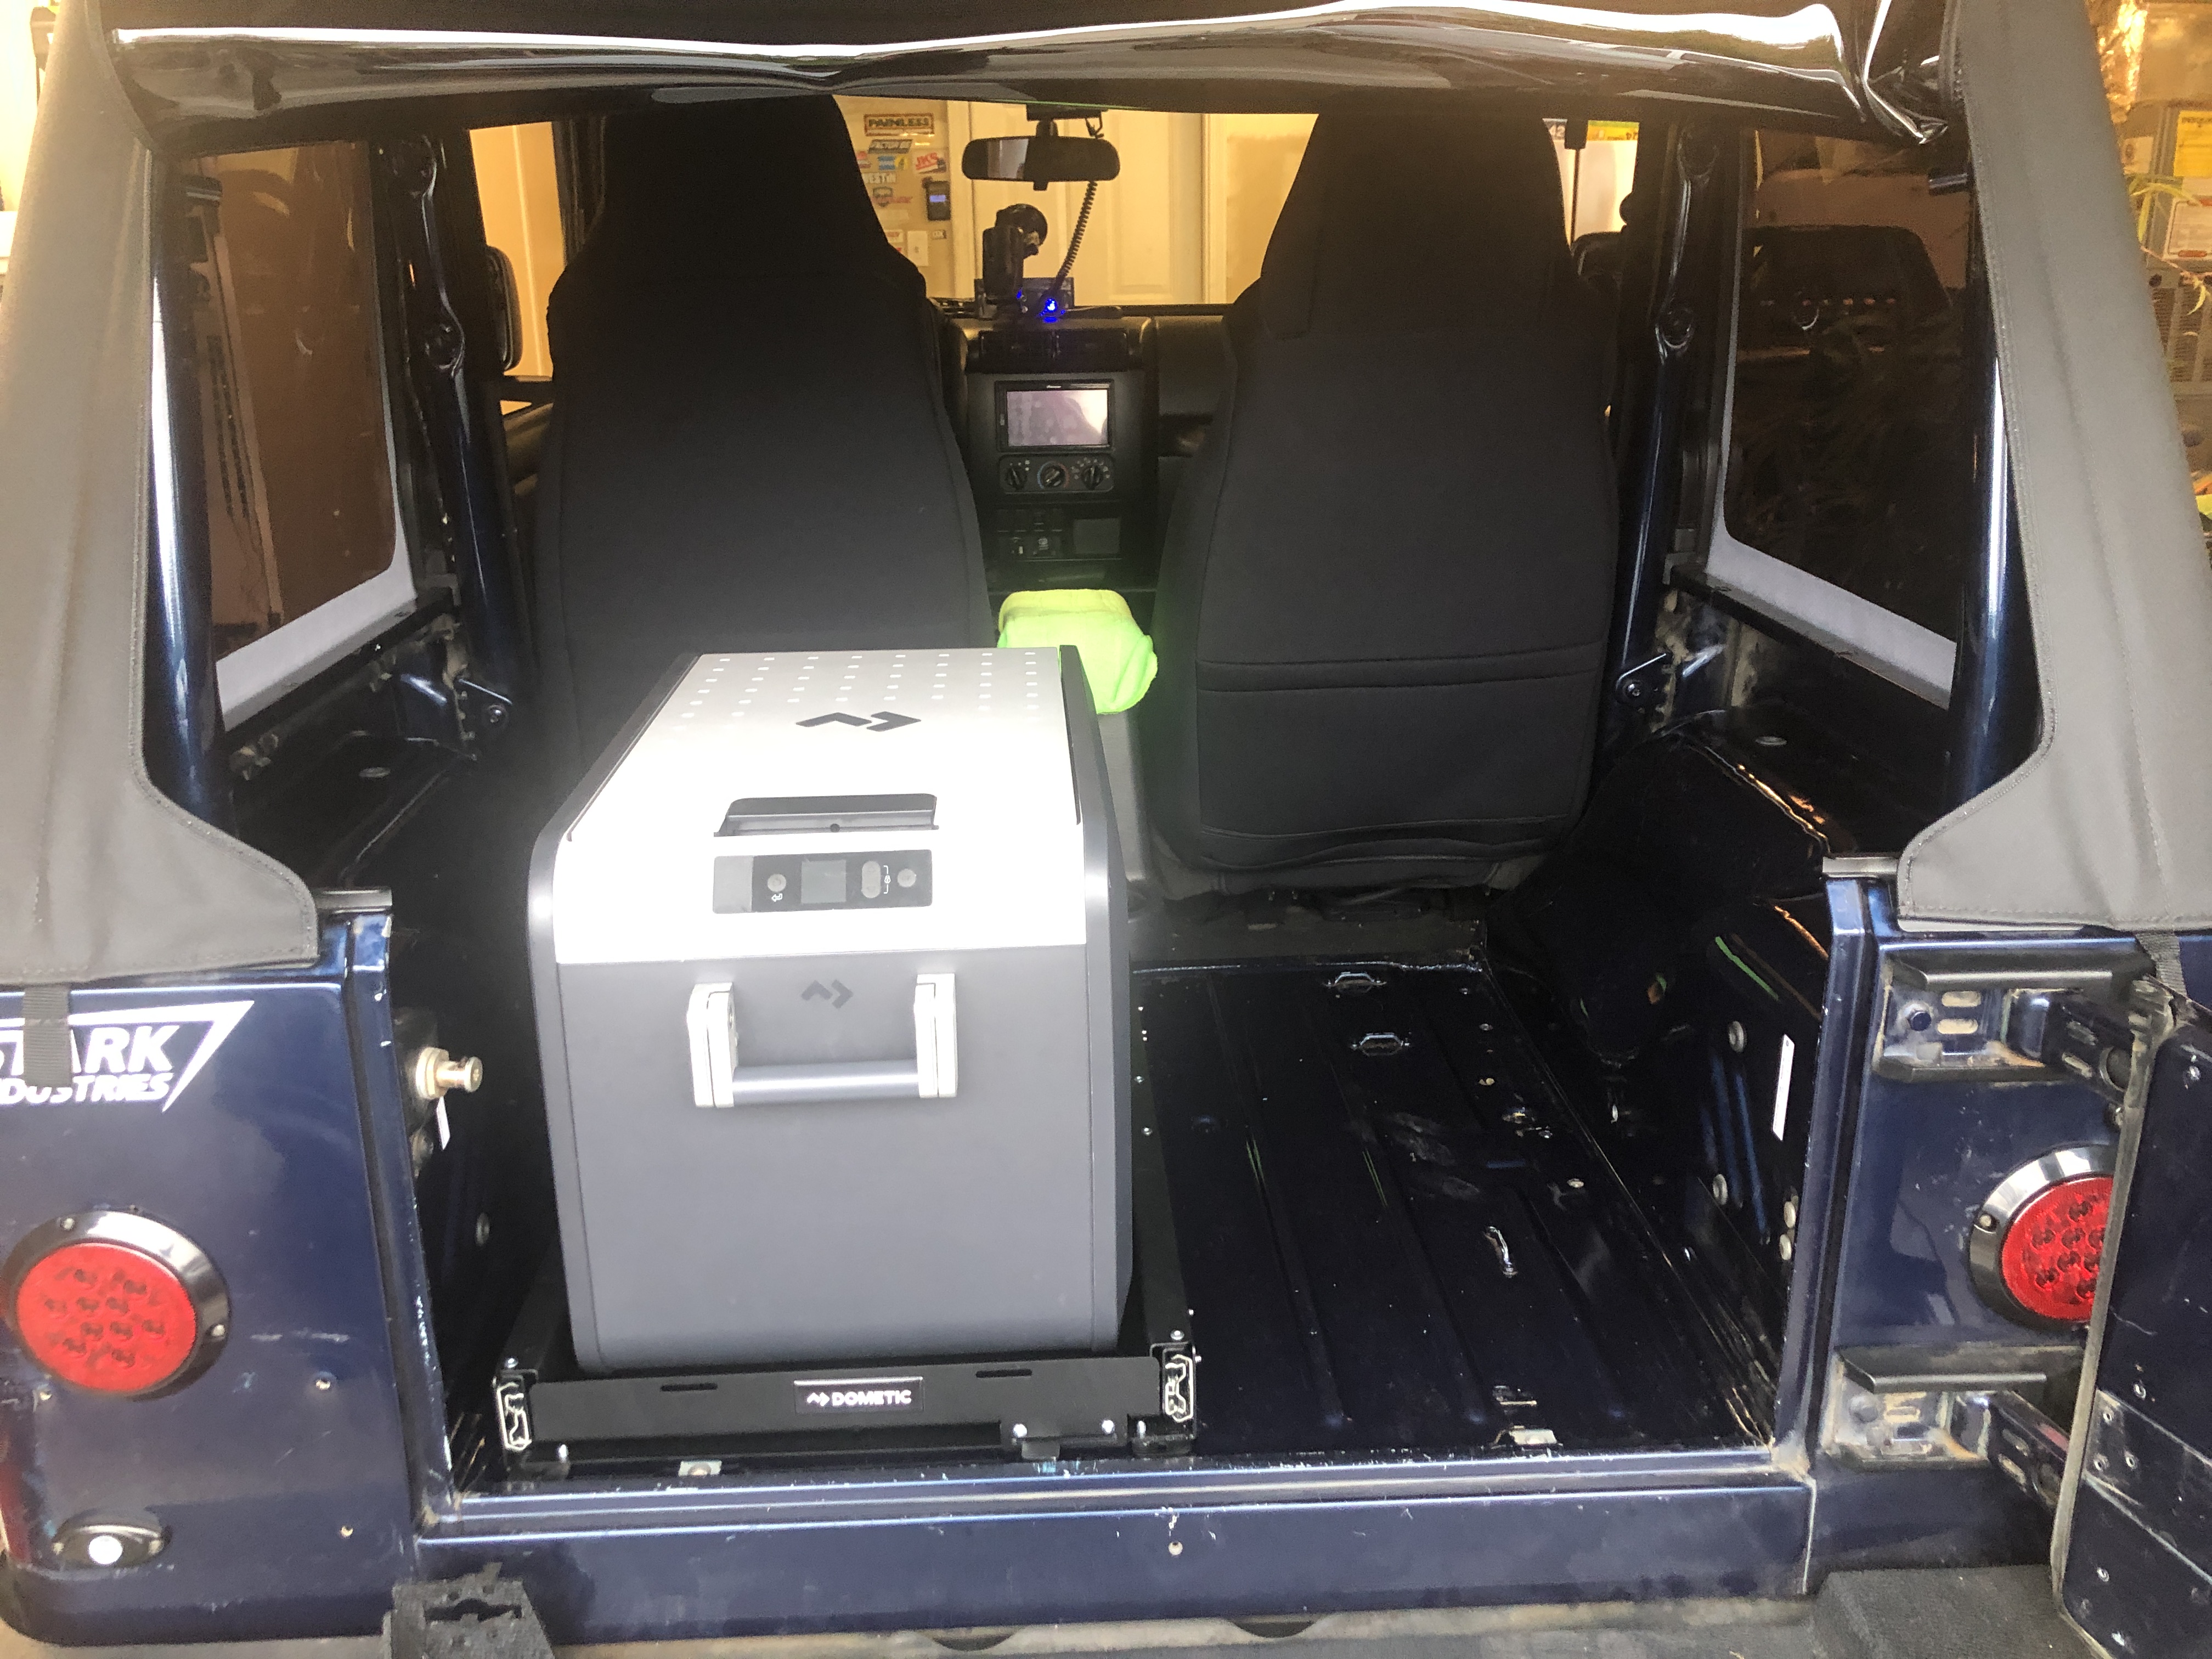
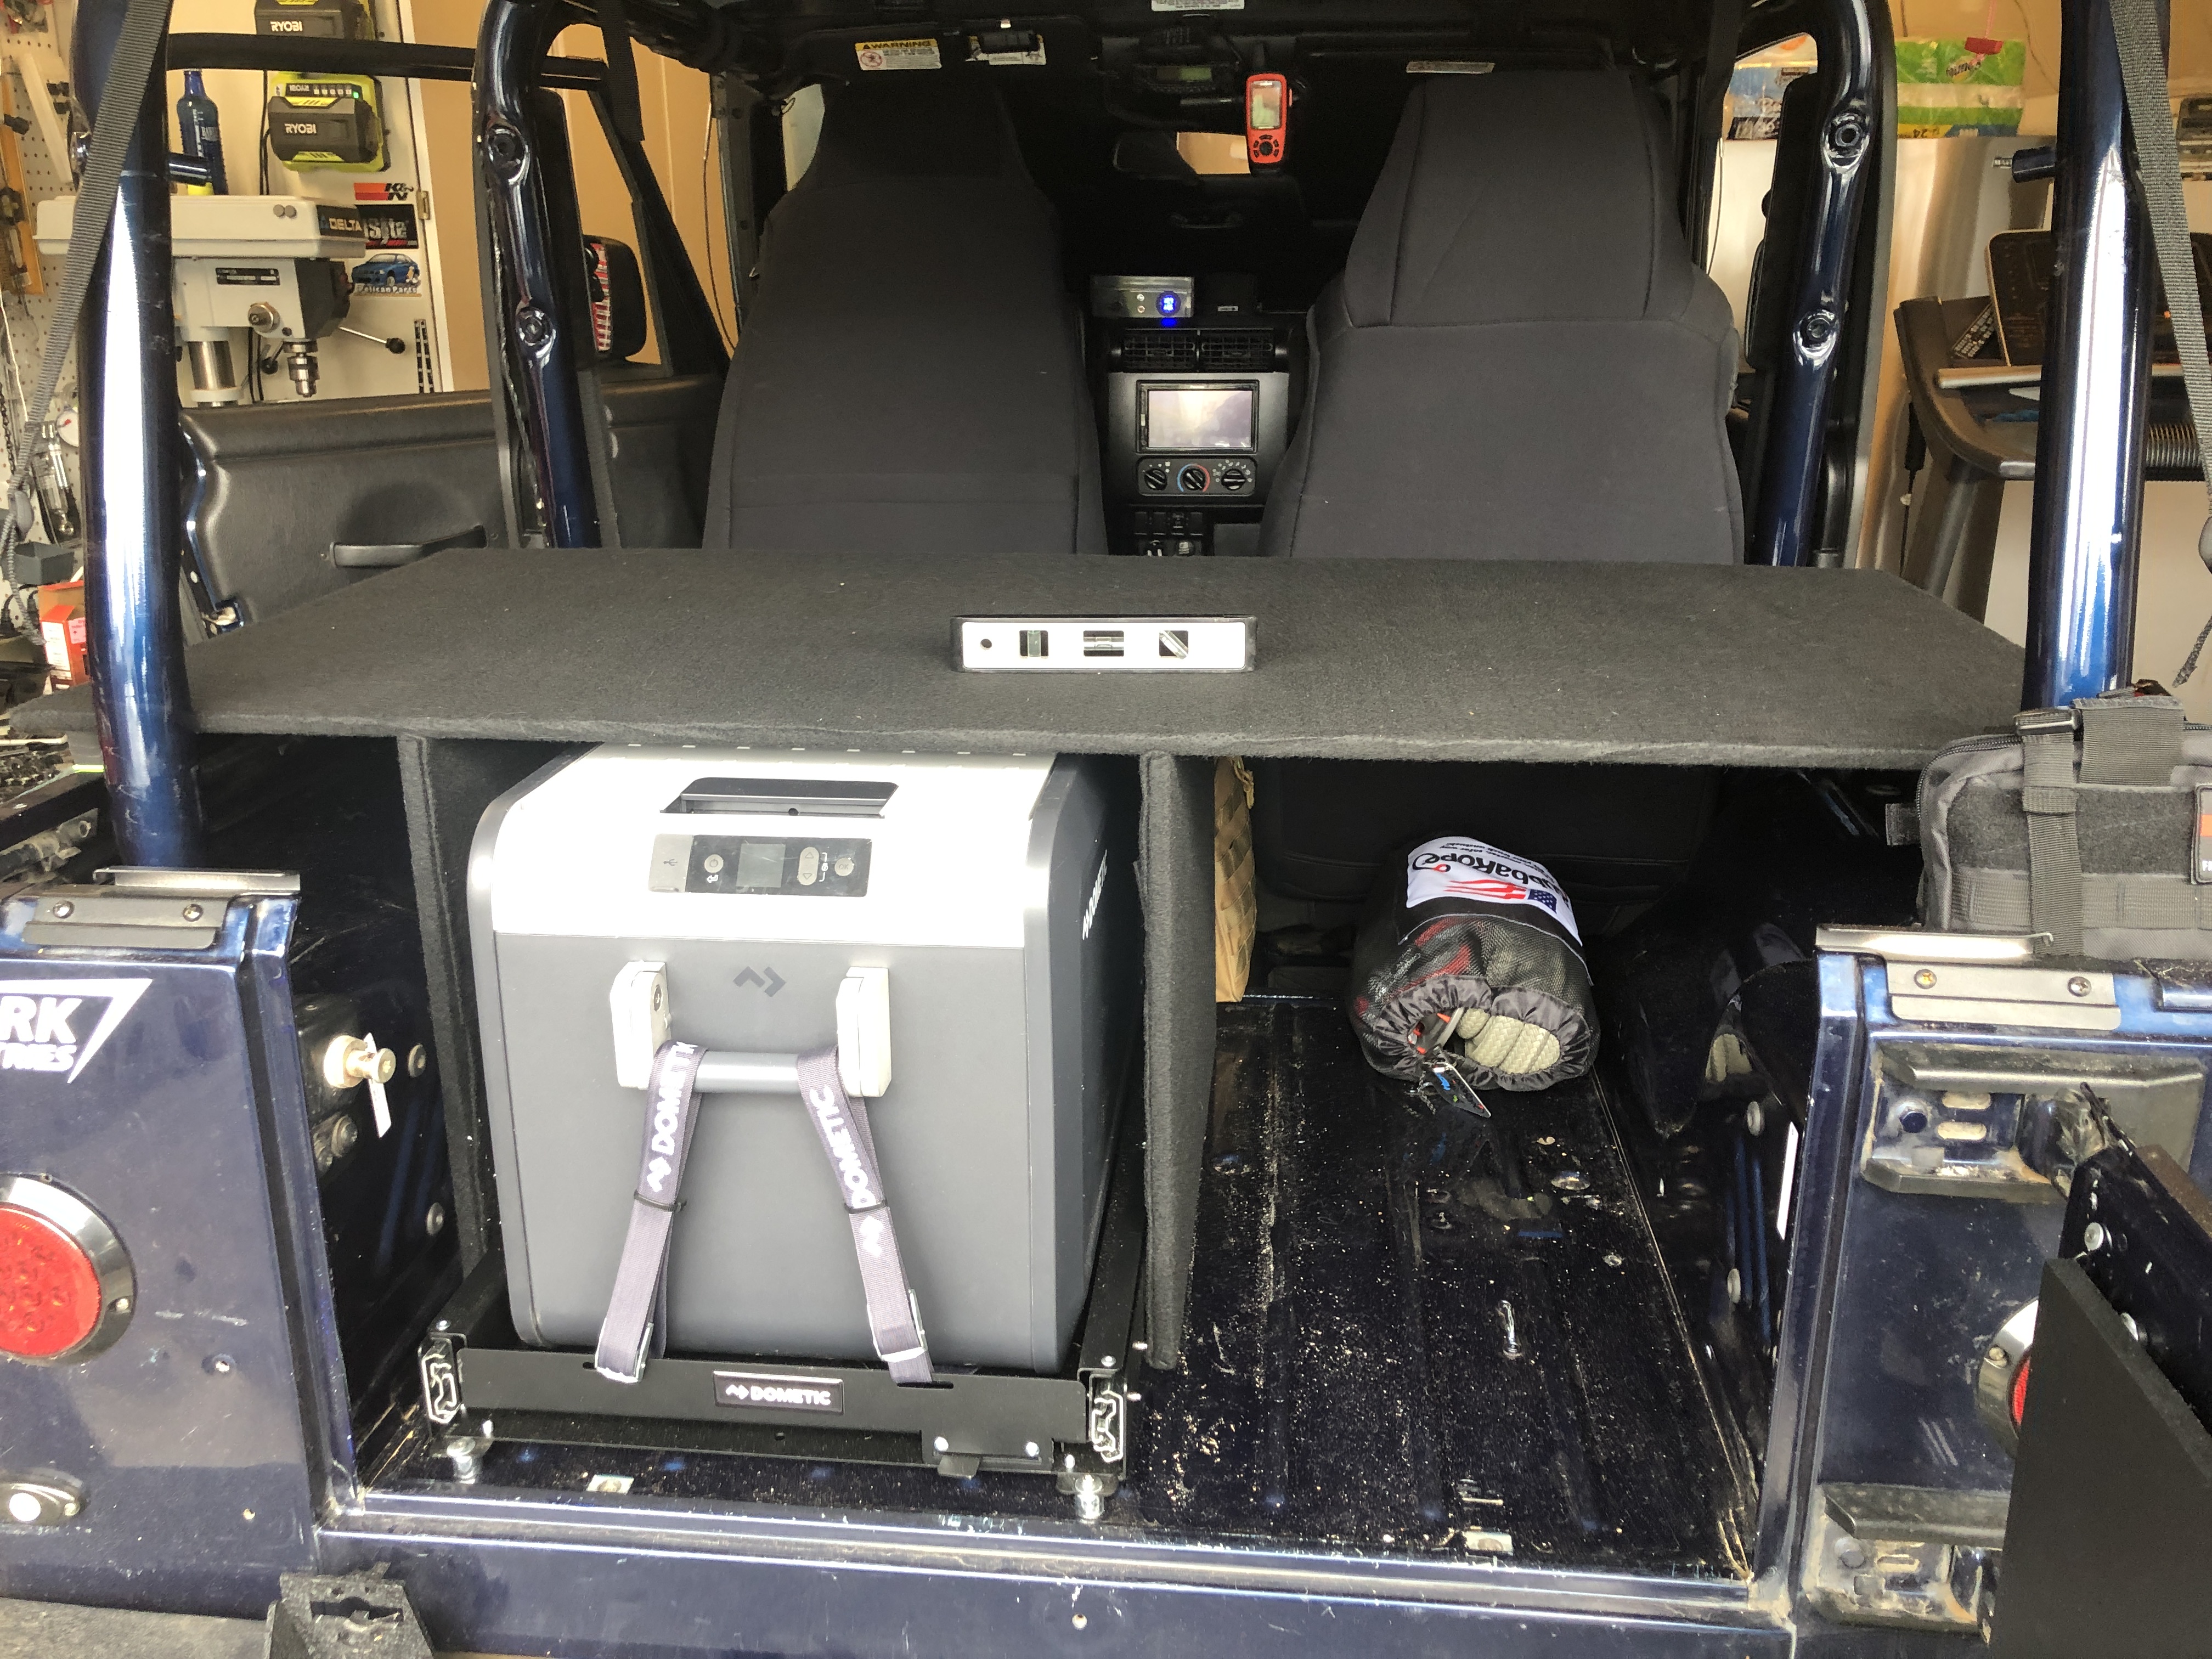
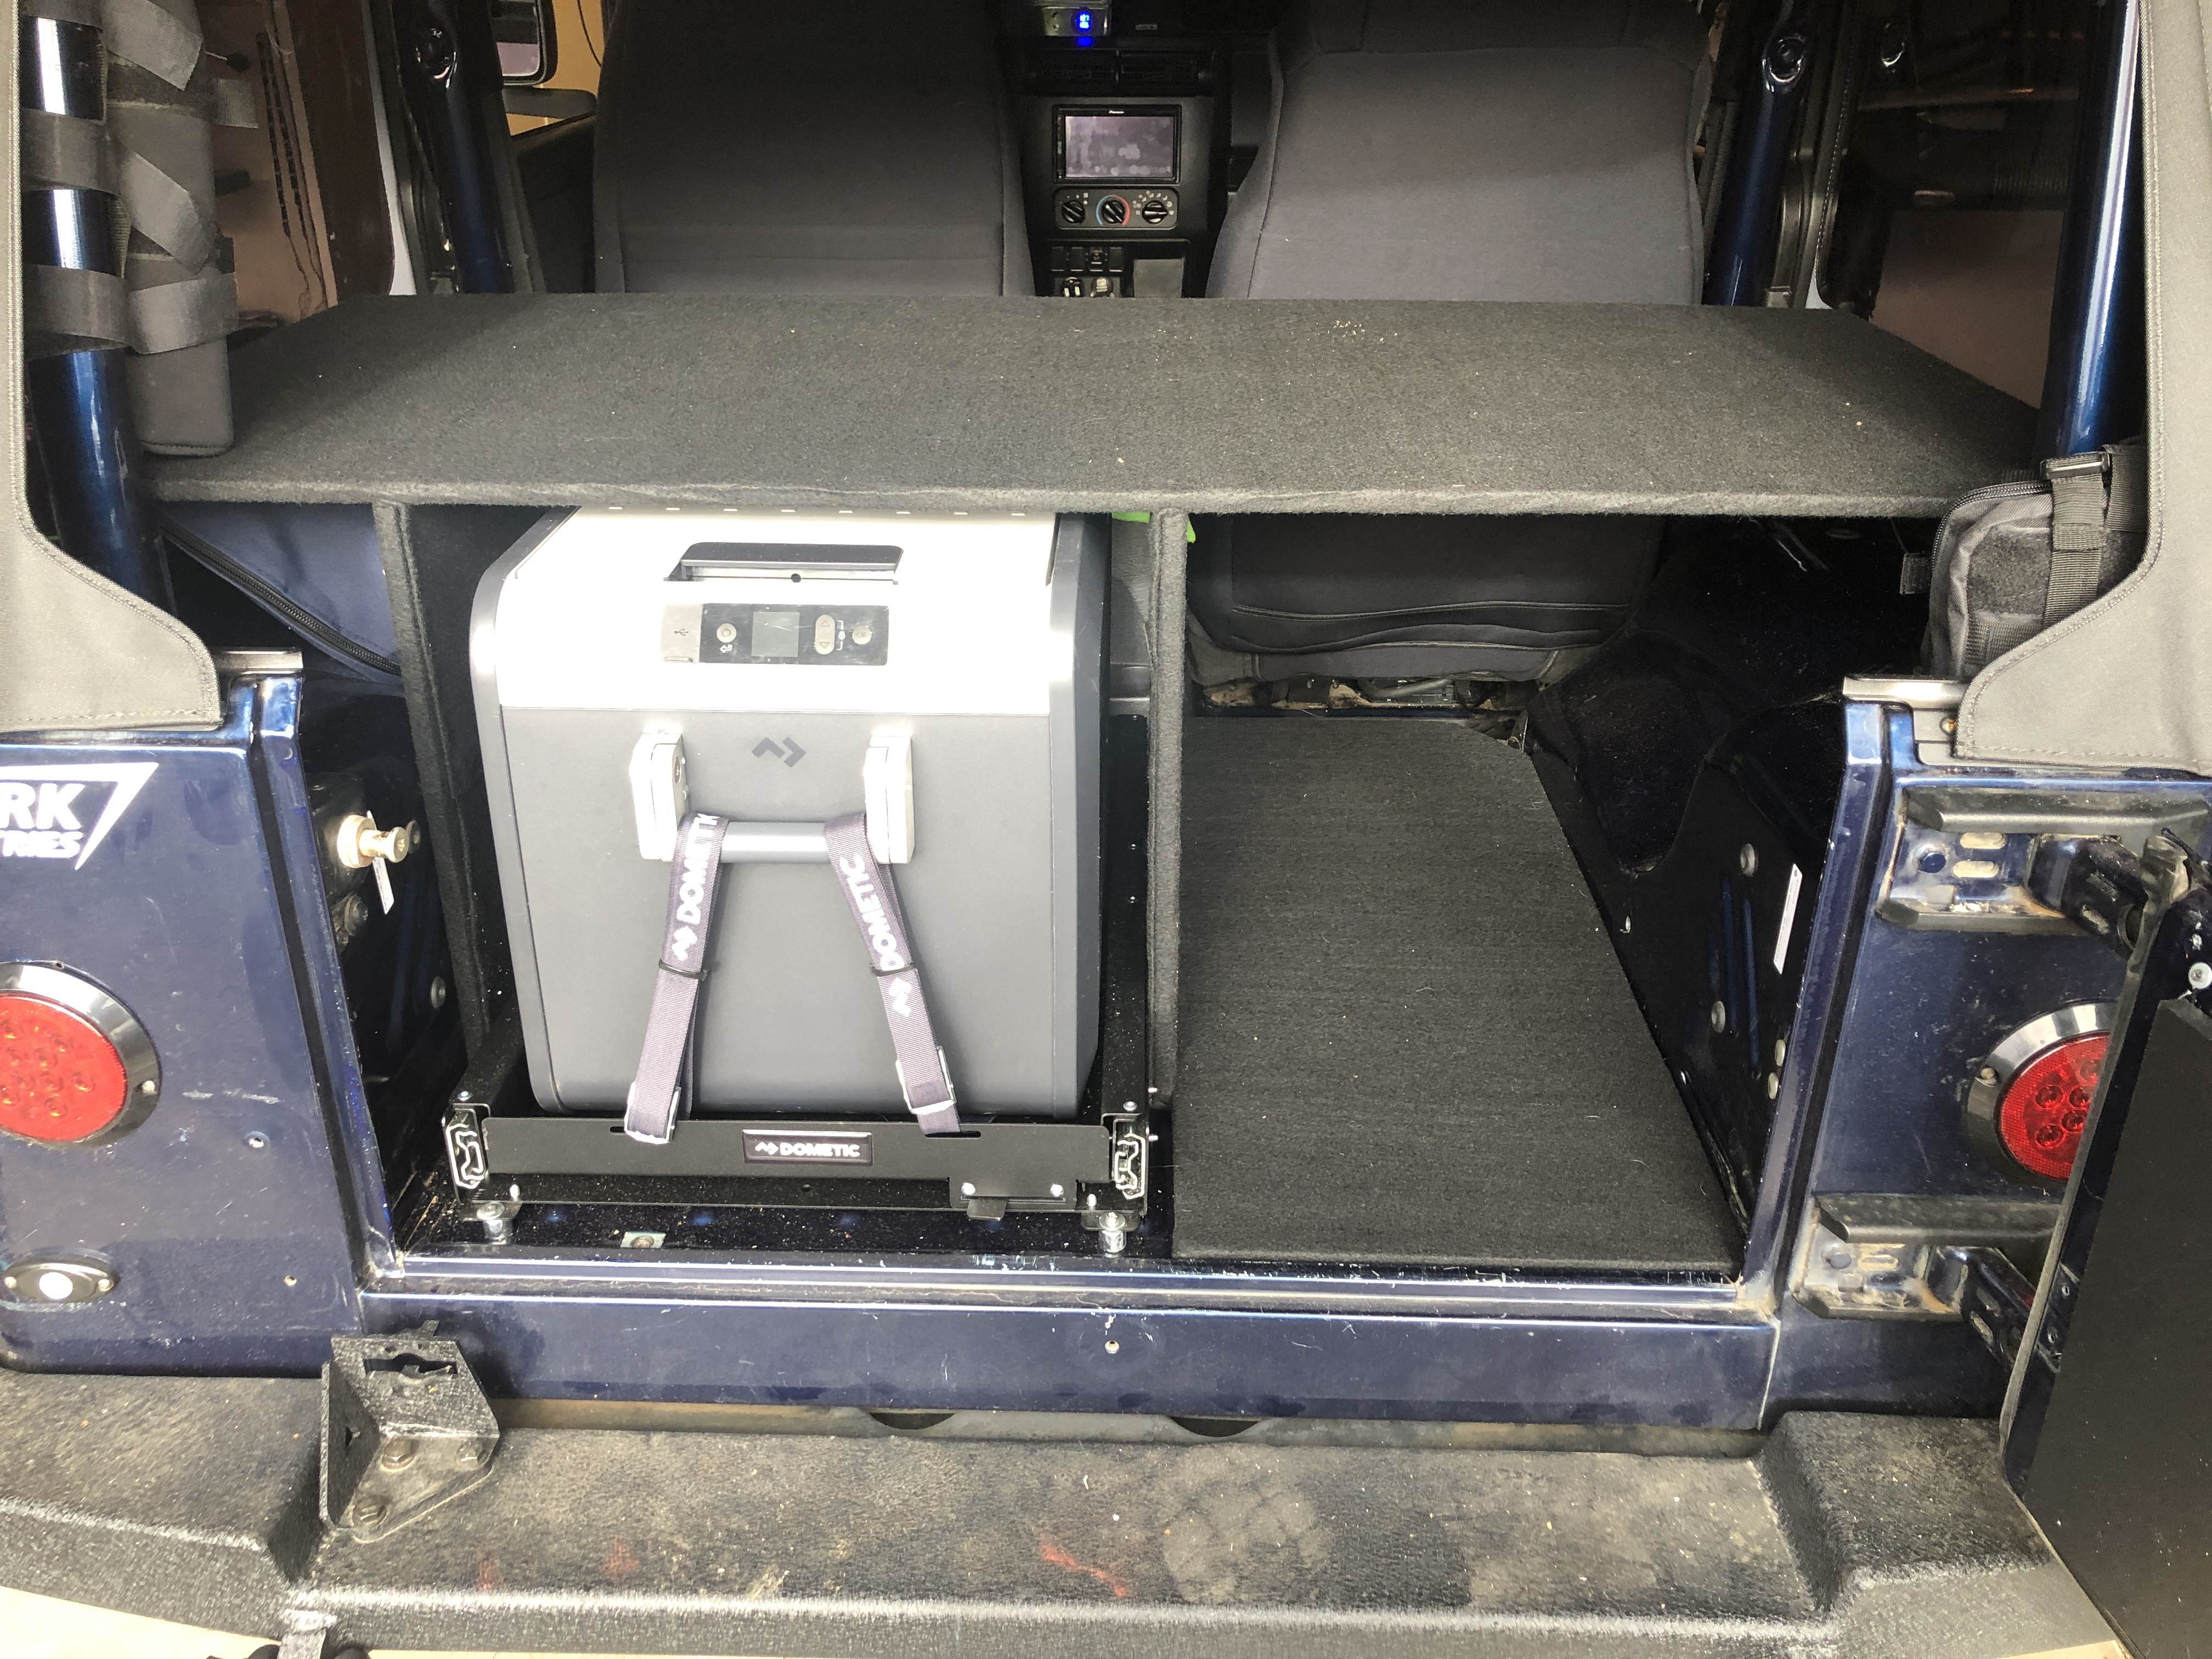
The idea of a project vehicle is the fun of doing the project, making the modifications and enjoying the hobby of it. The older Jeeps are much easier to work on and modify. For Inky, we have pretty much gutted the rear area to start building out the storage and lock down systems we will need to carry recovery gear, camping gear, food and safety items. This page here will walkthrough what we did, how we did it and why we made the choices we made.
Highlights
Removal of rear seat, seatbelts and all brackets on the floor and roll bars, roll bar padding/covers
Down below are some highlight photos of a few items. If you want to view all the photos of the project, you can go to this gallery.
Password is: jeep - Jeep Rear Storage Buildout
Click any photo for larger image
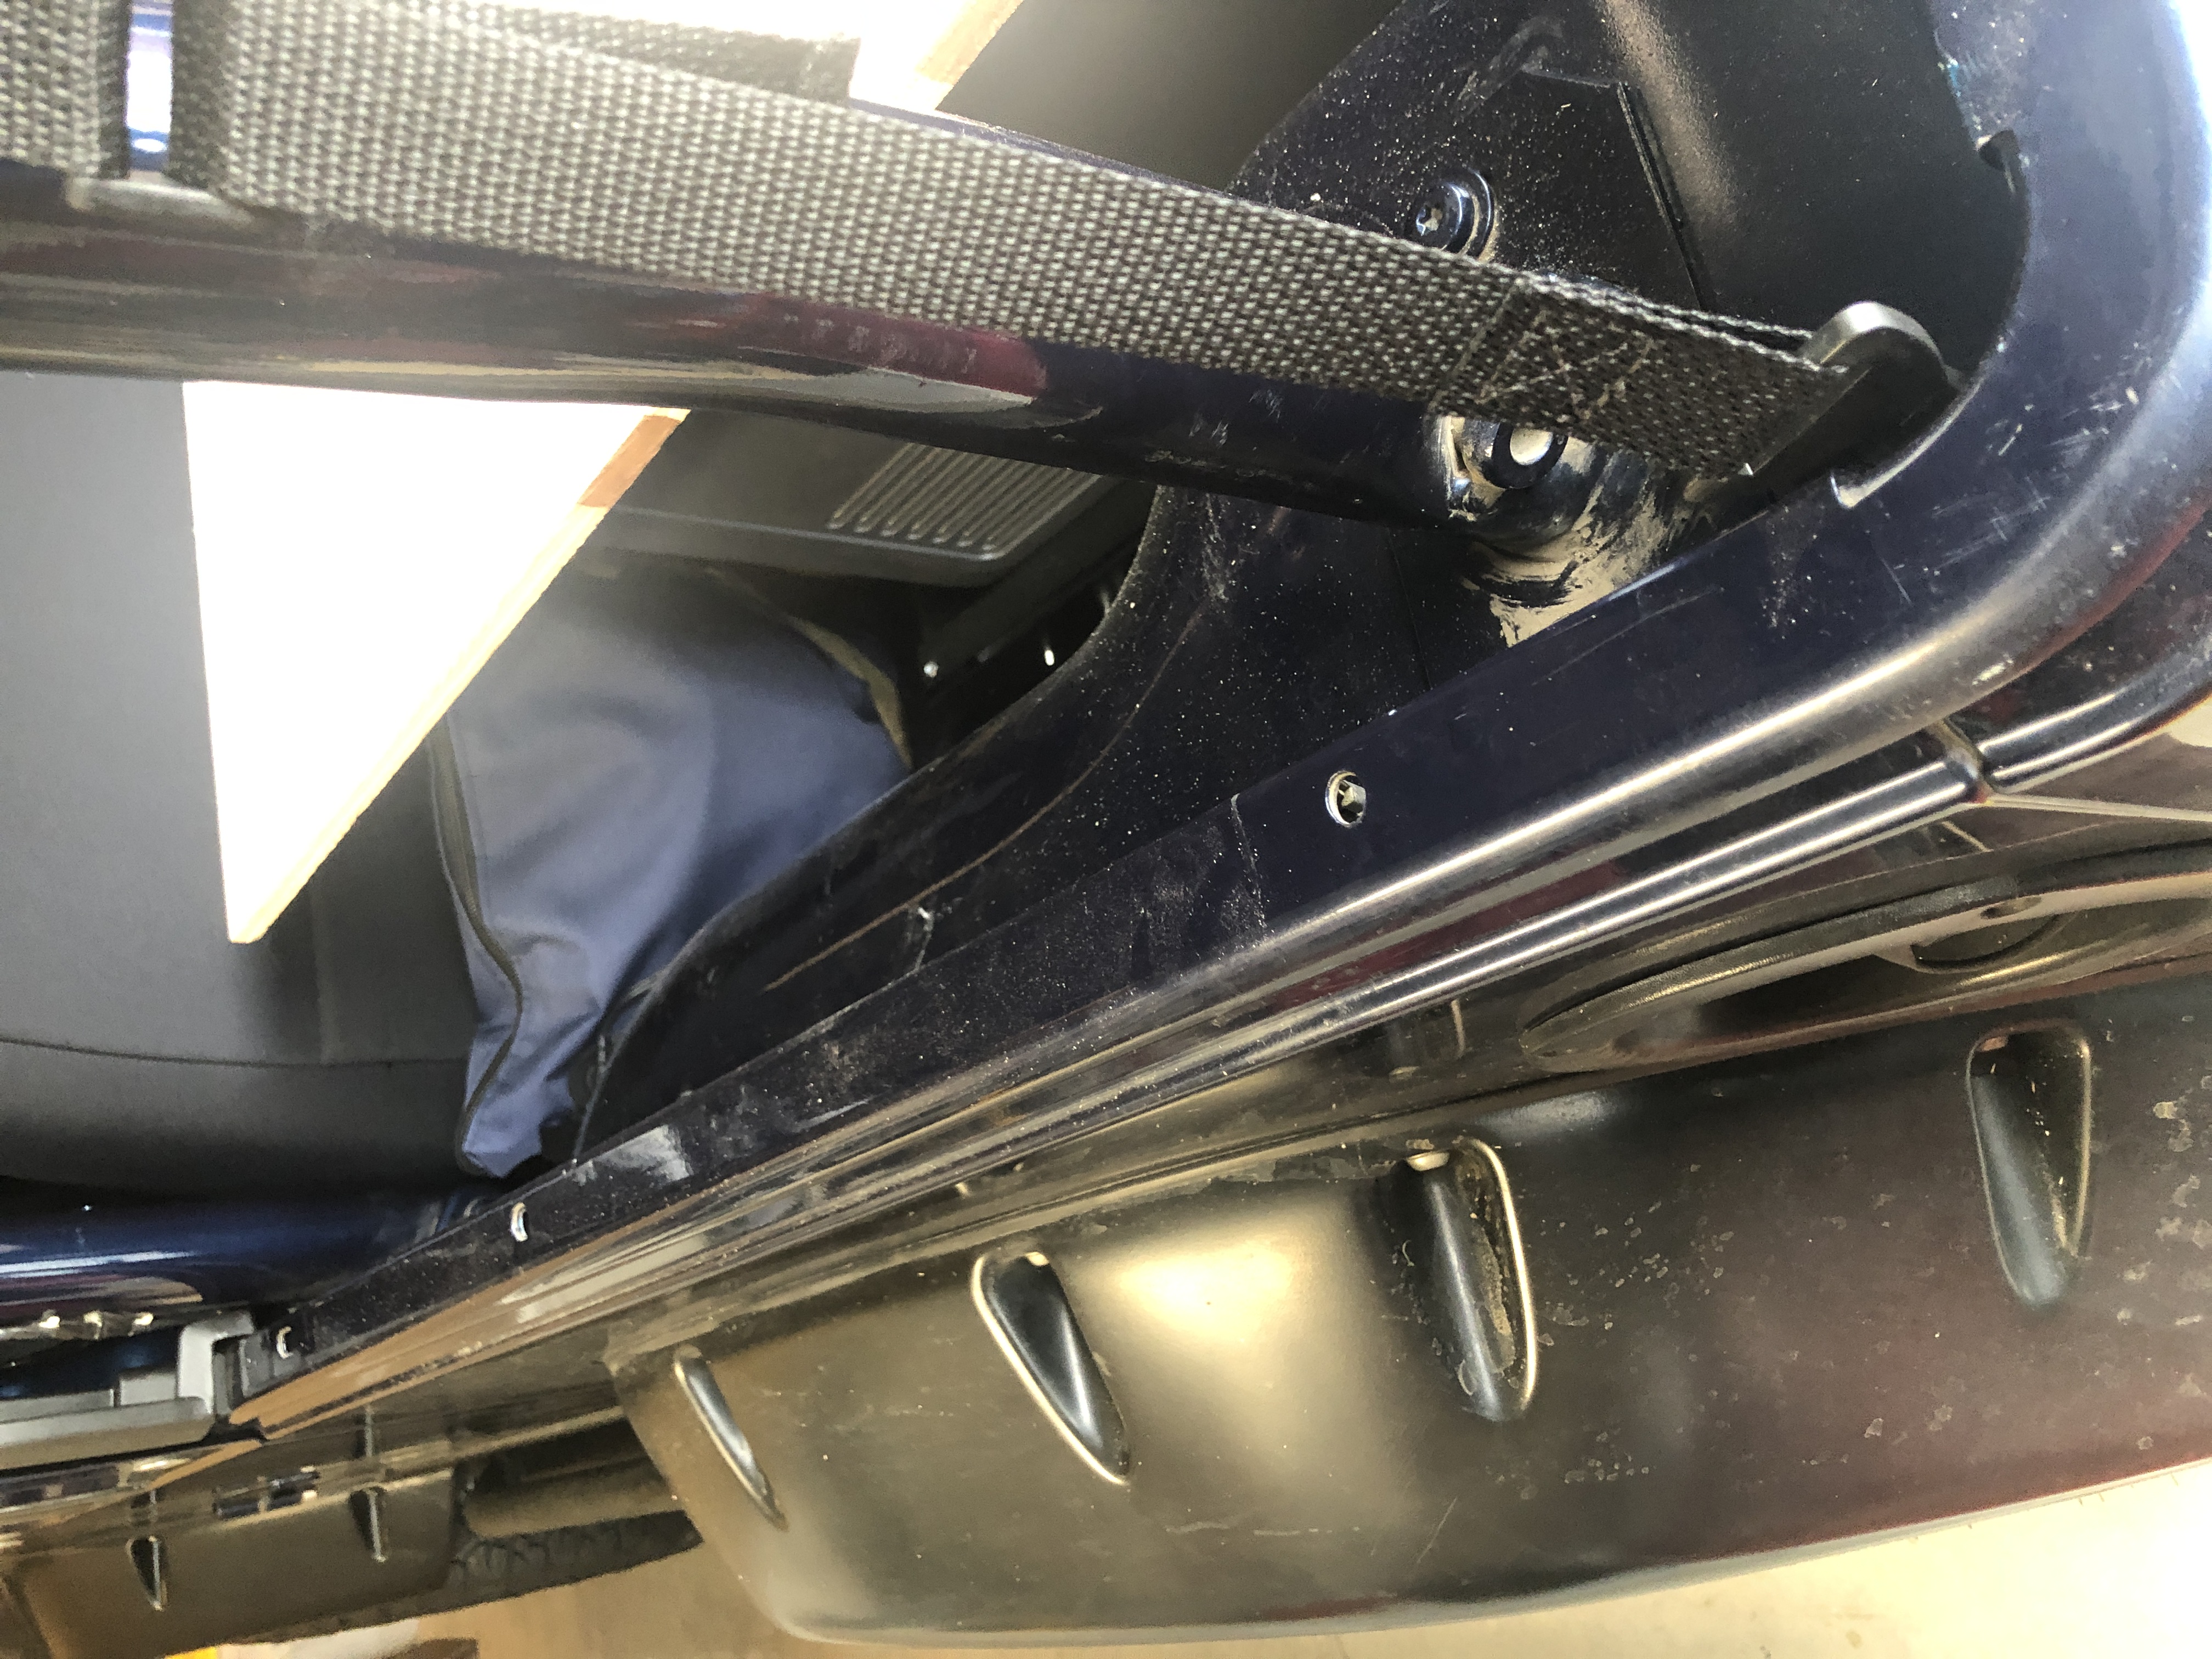
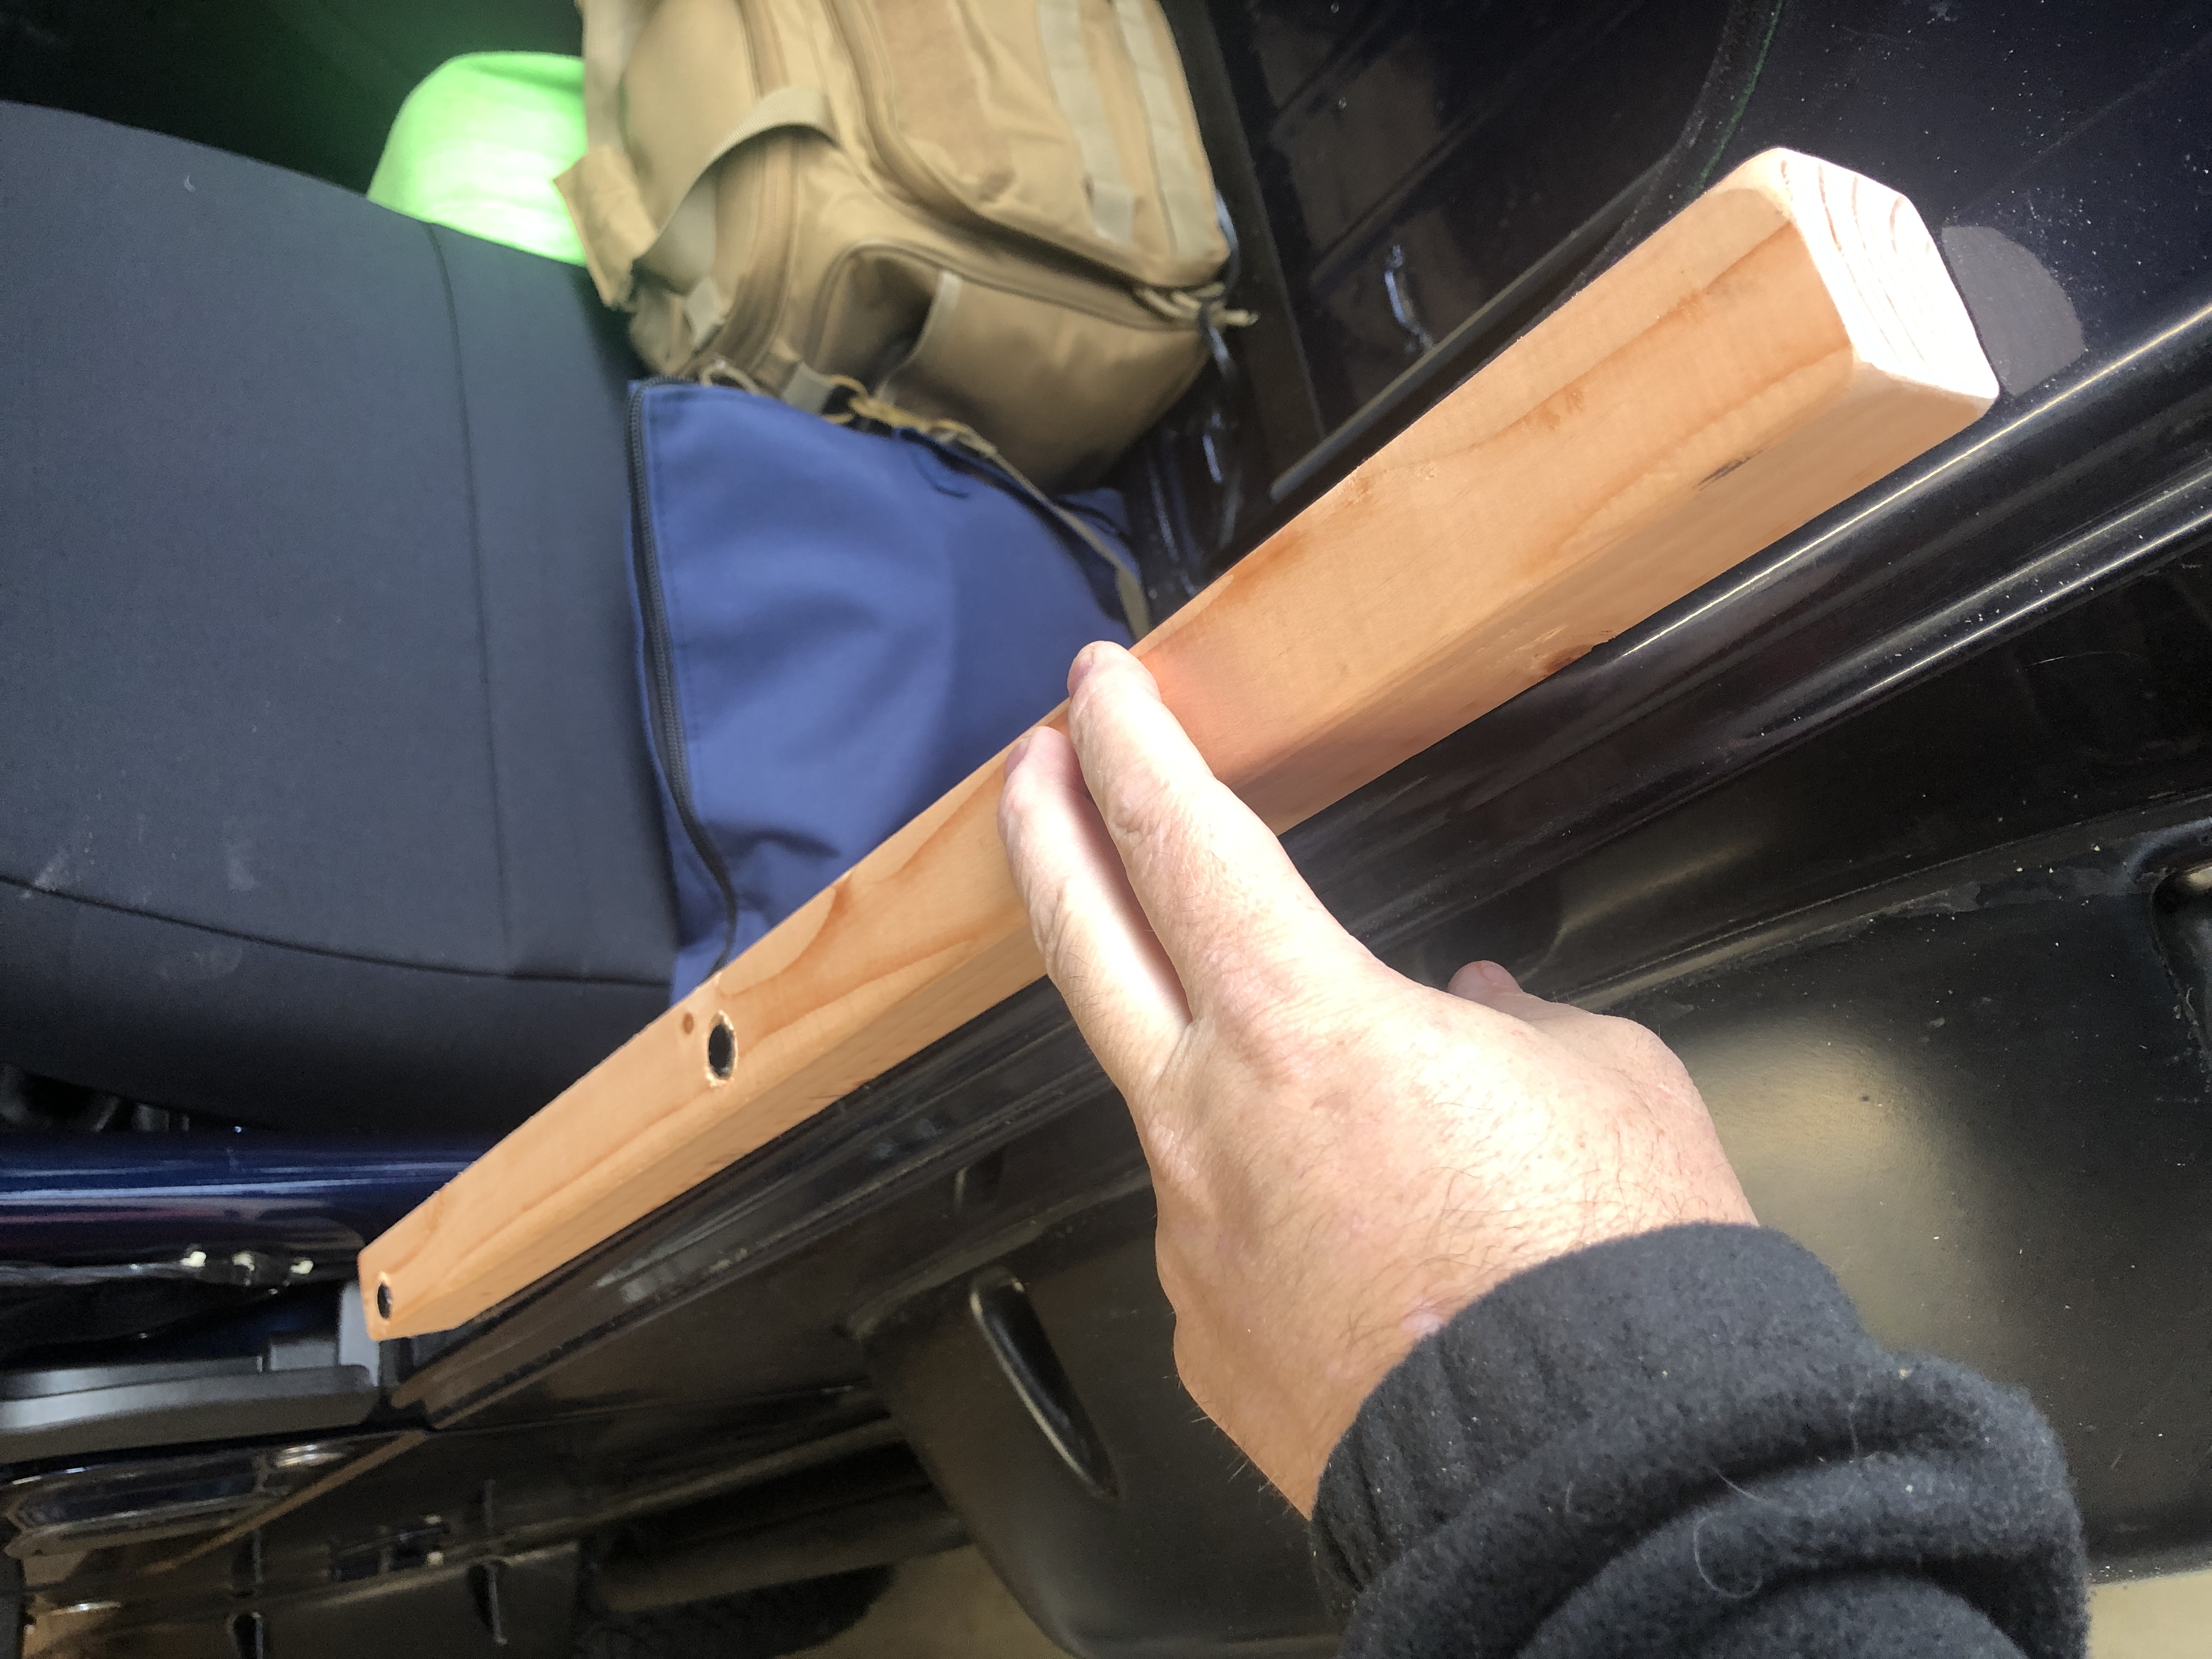
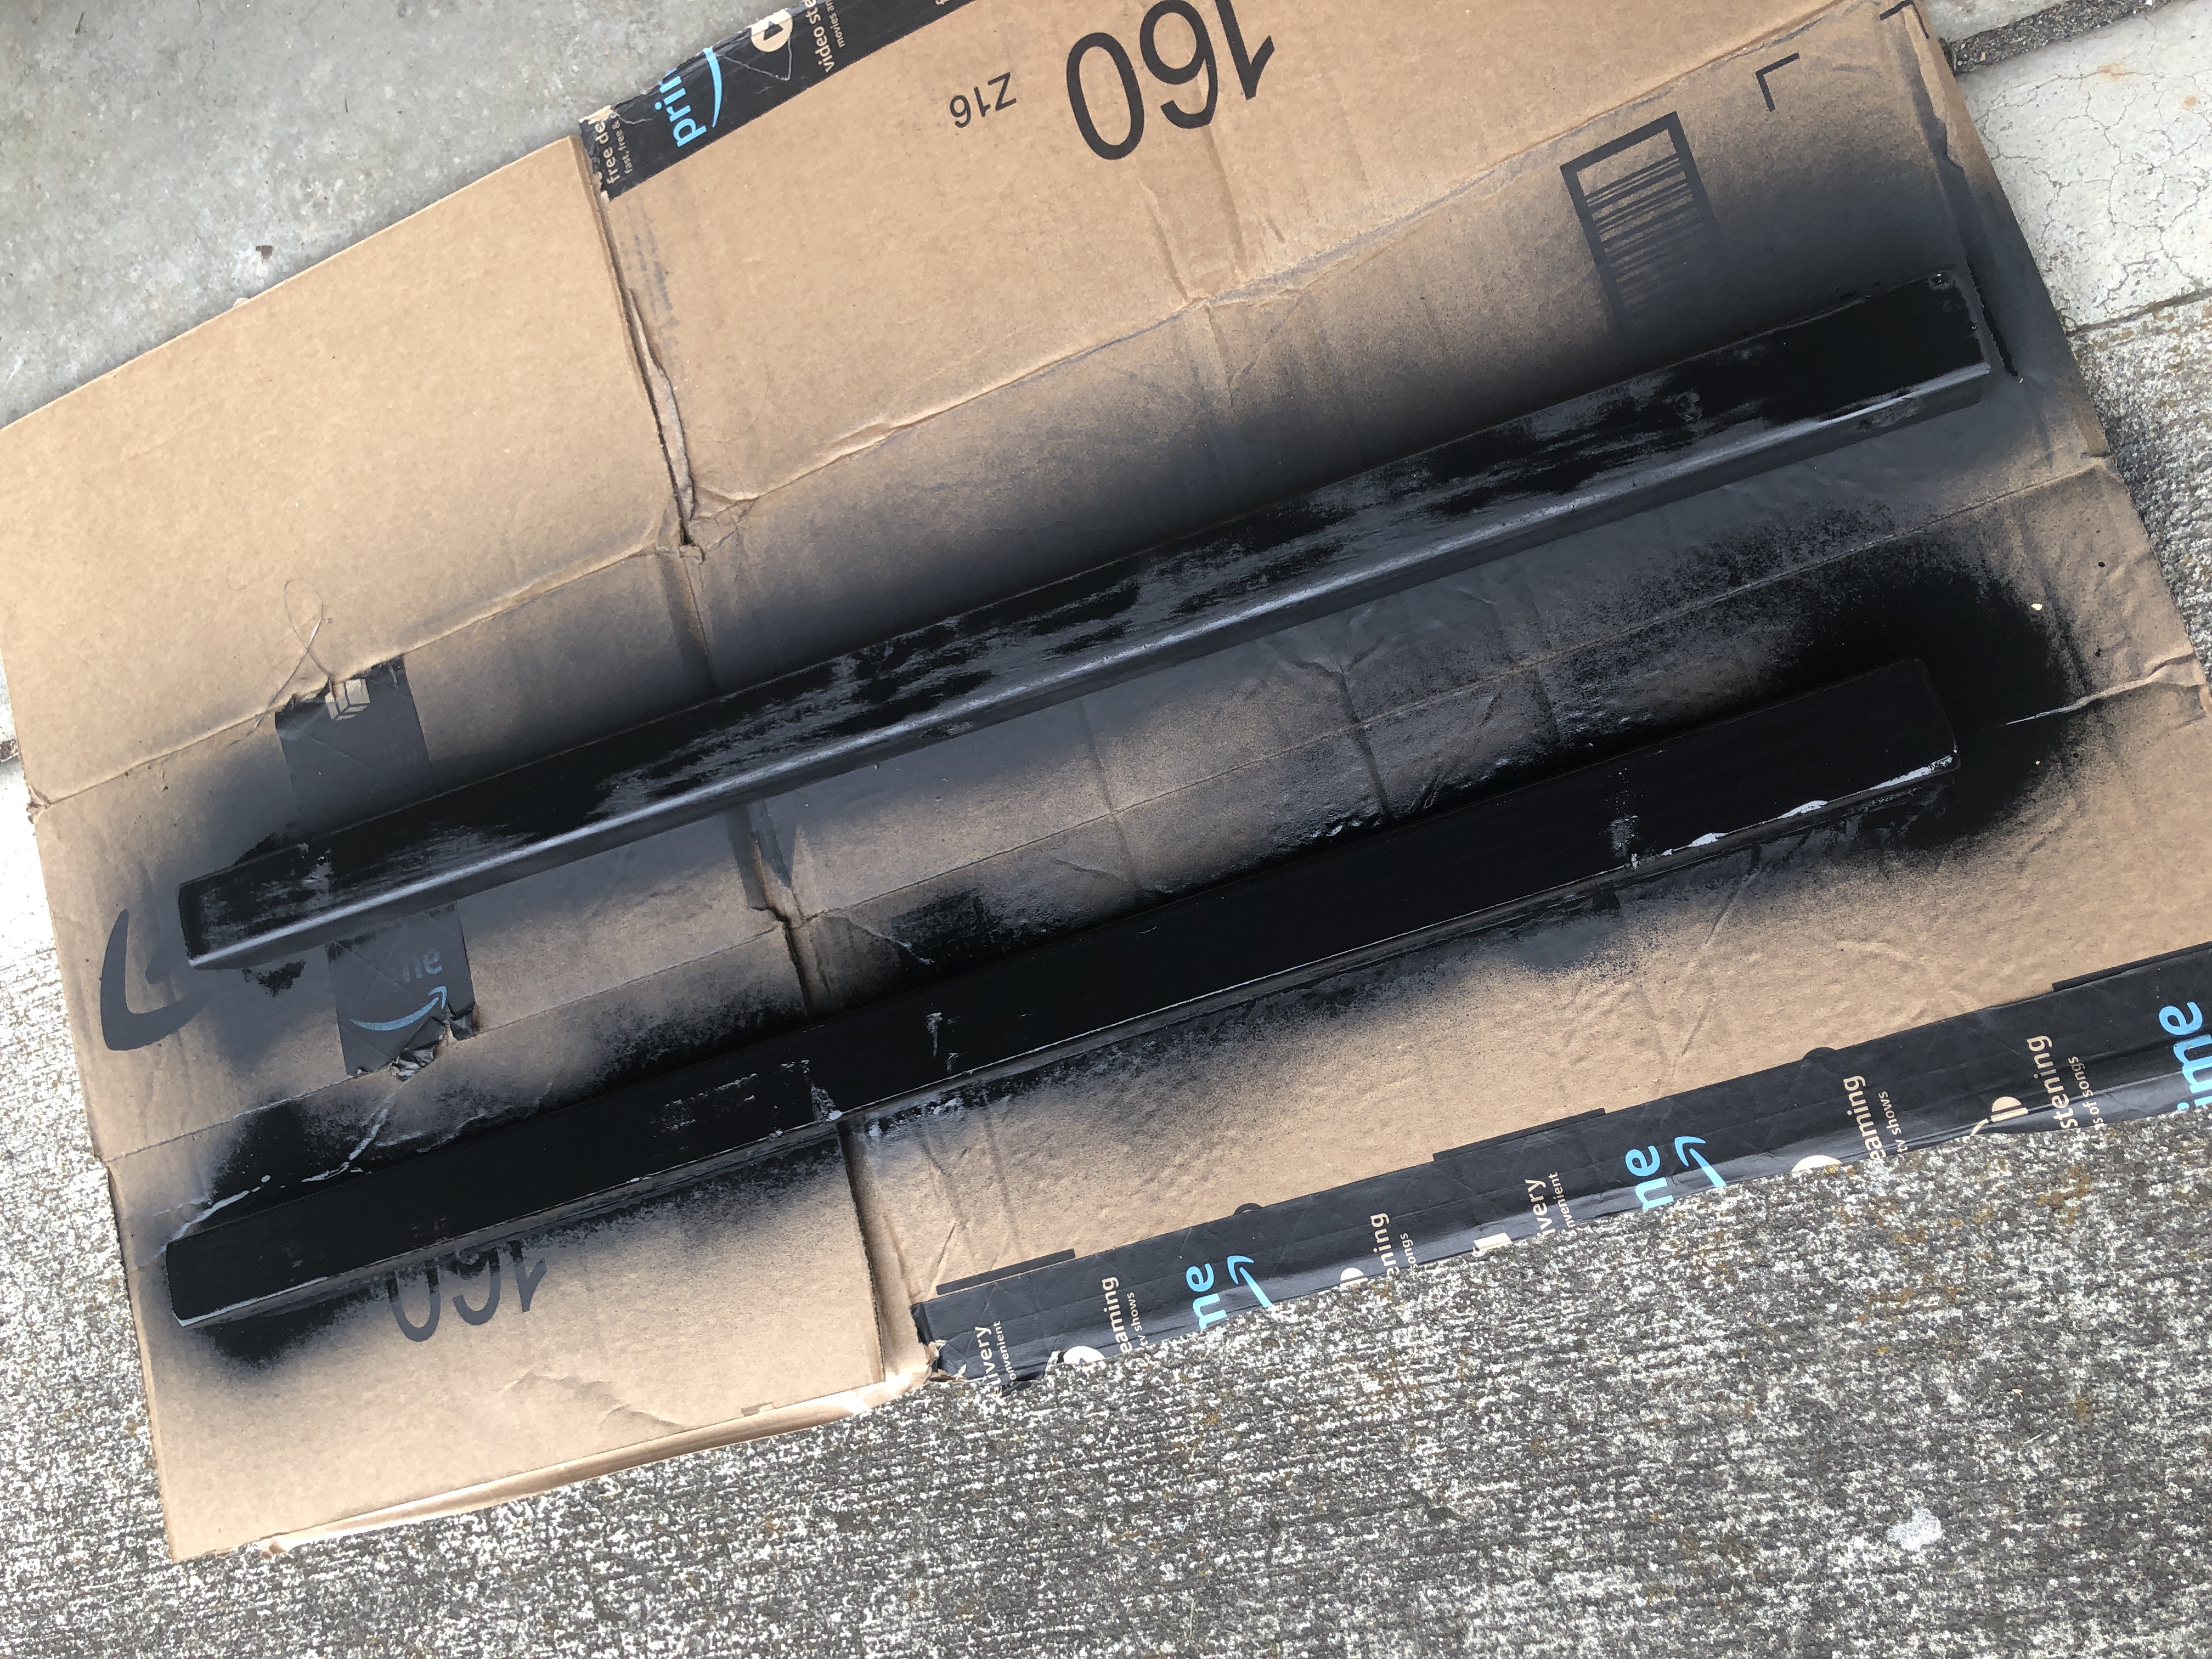
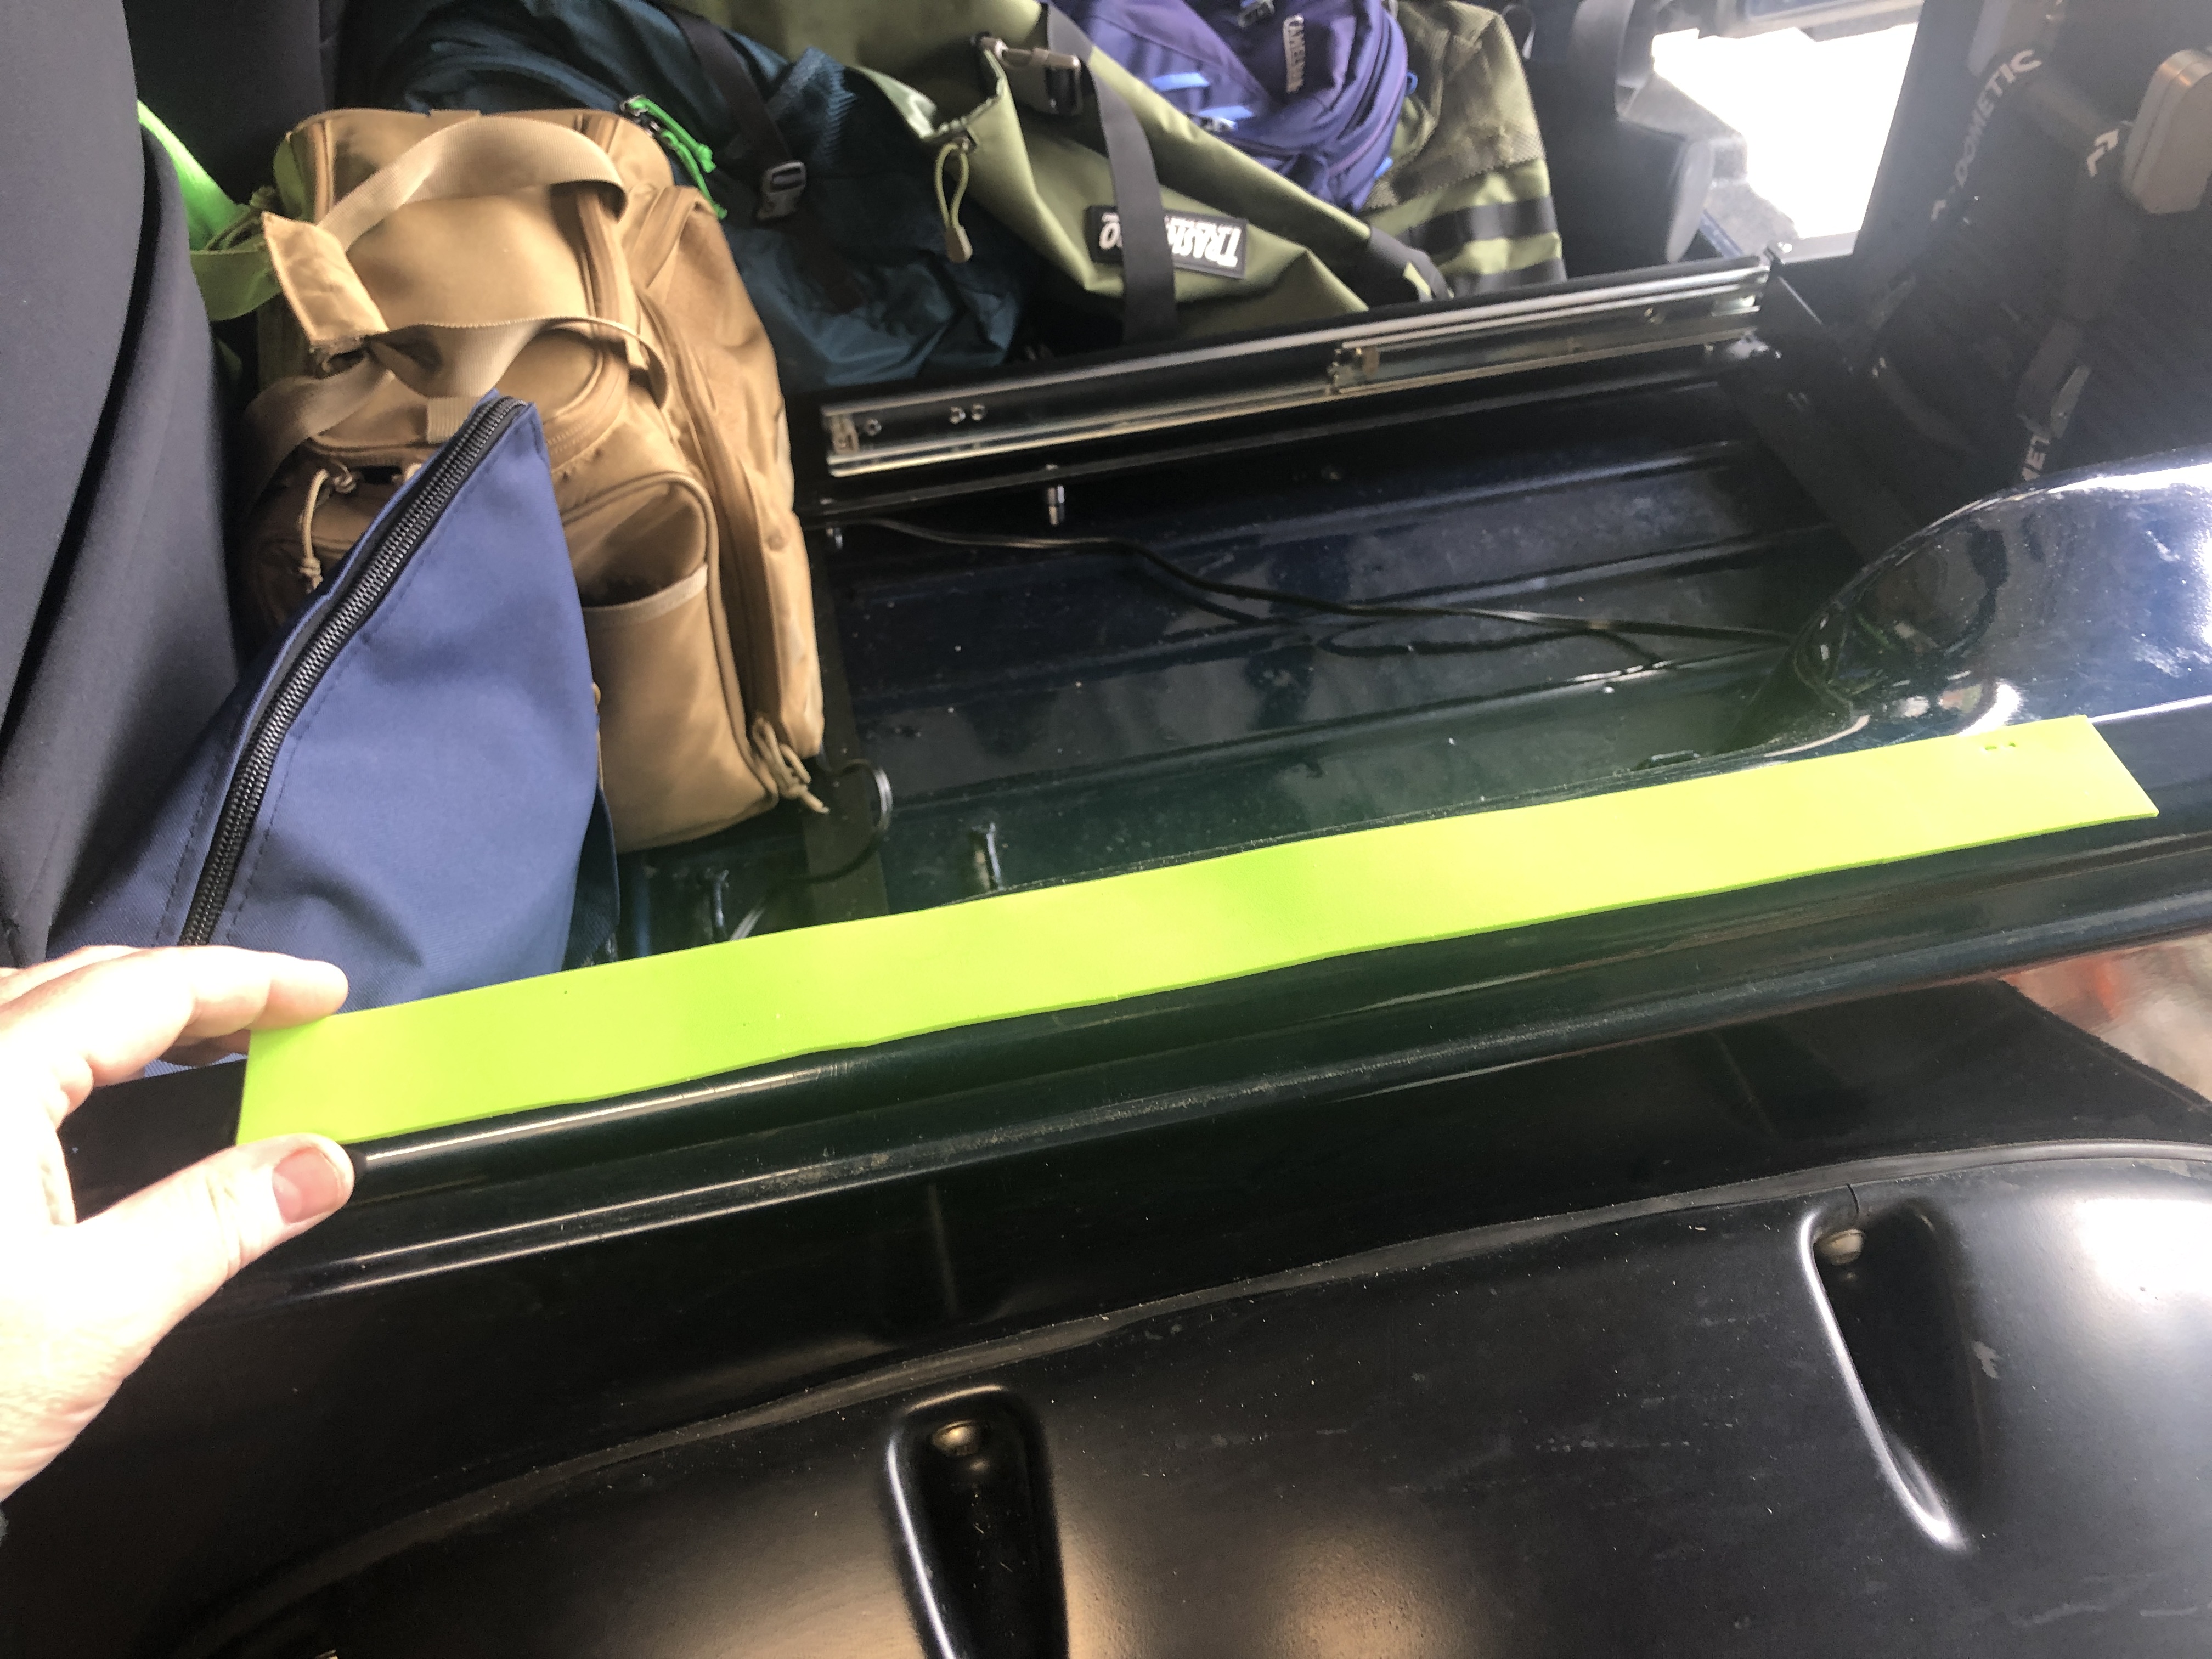
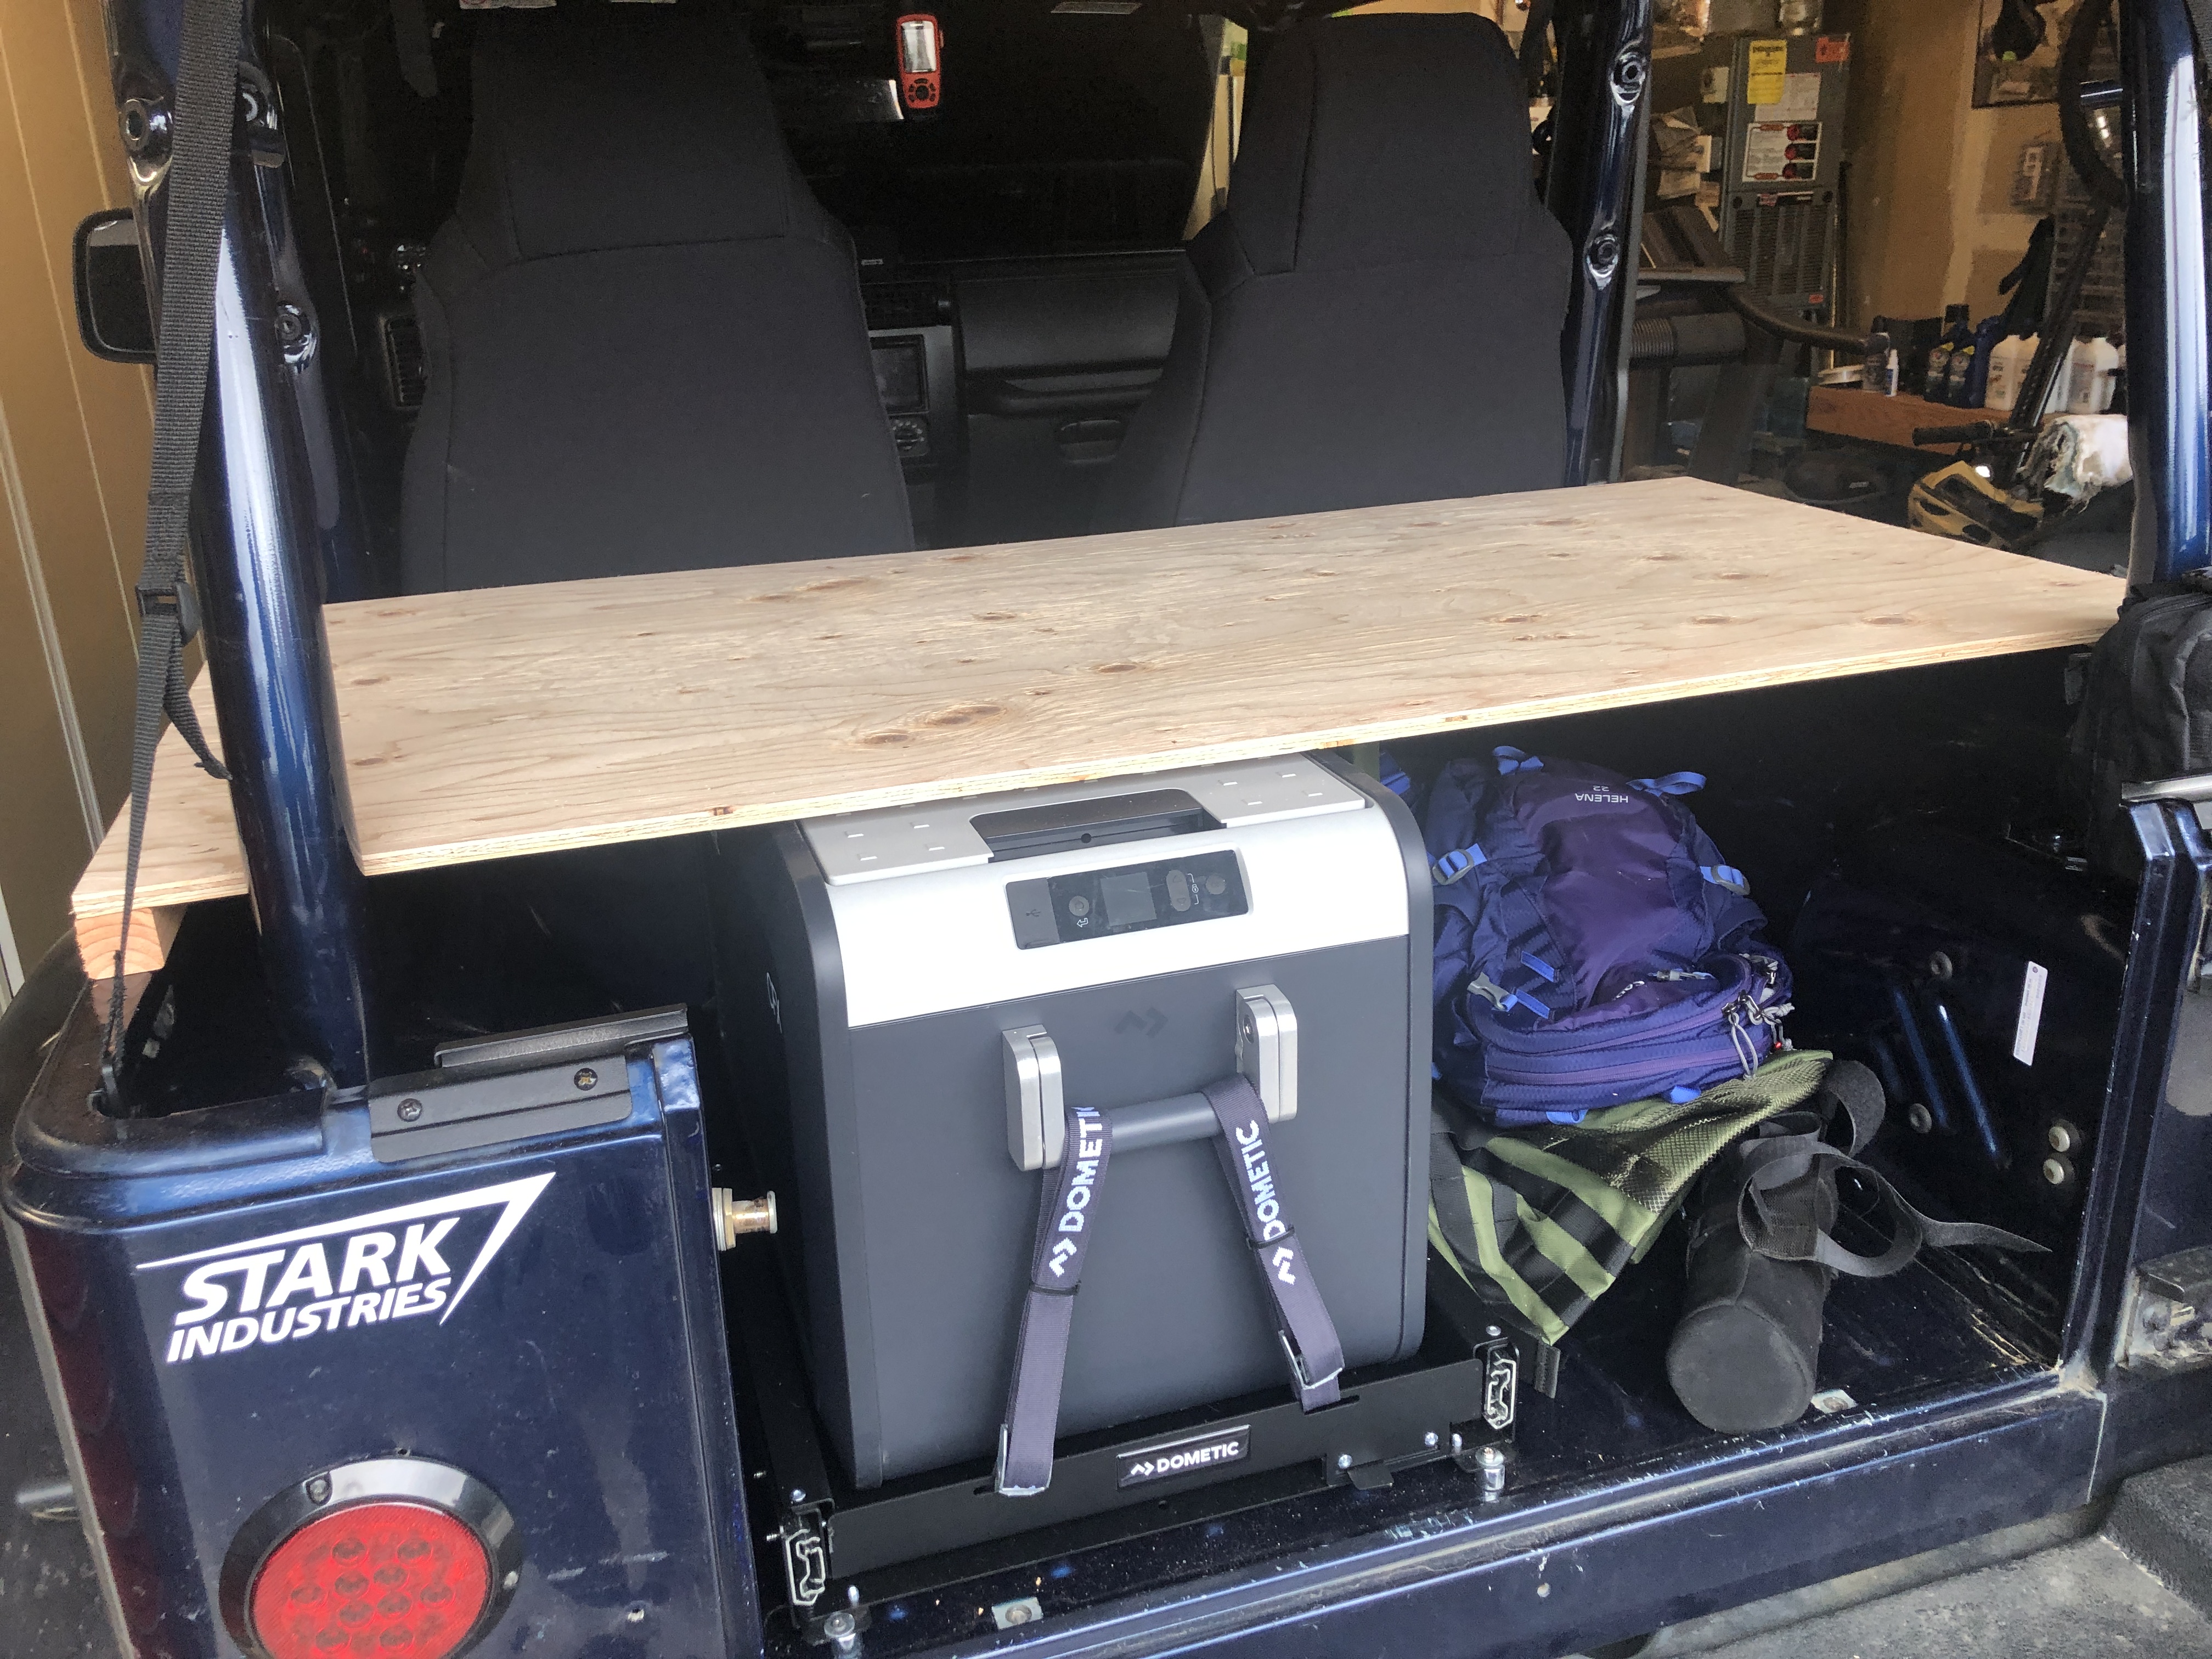
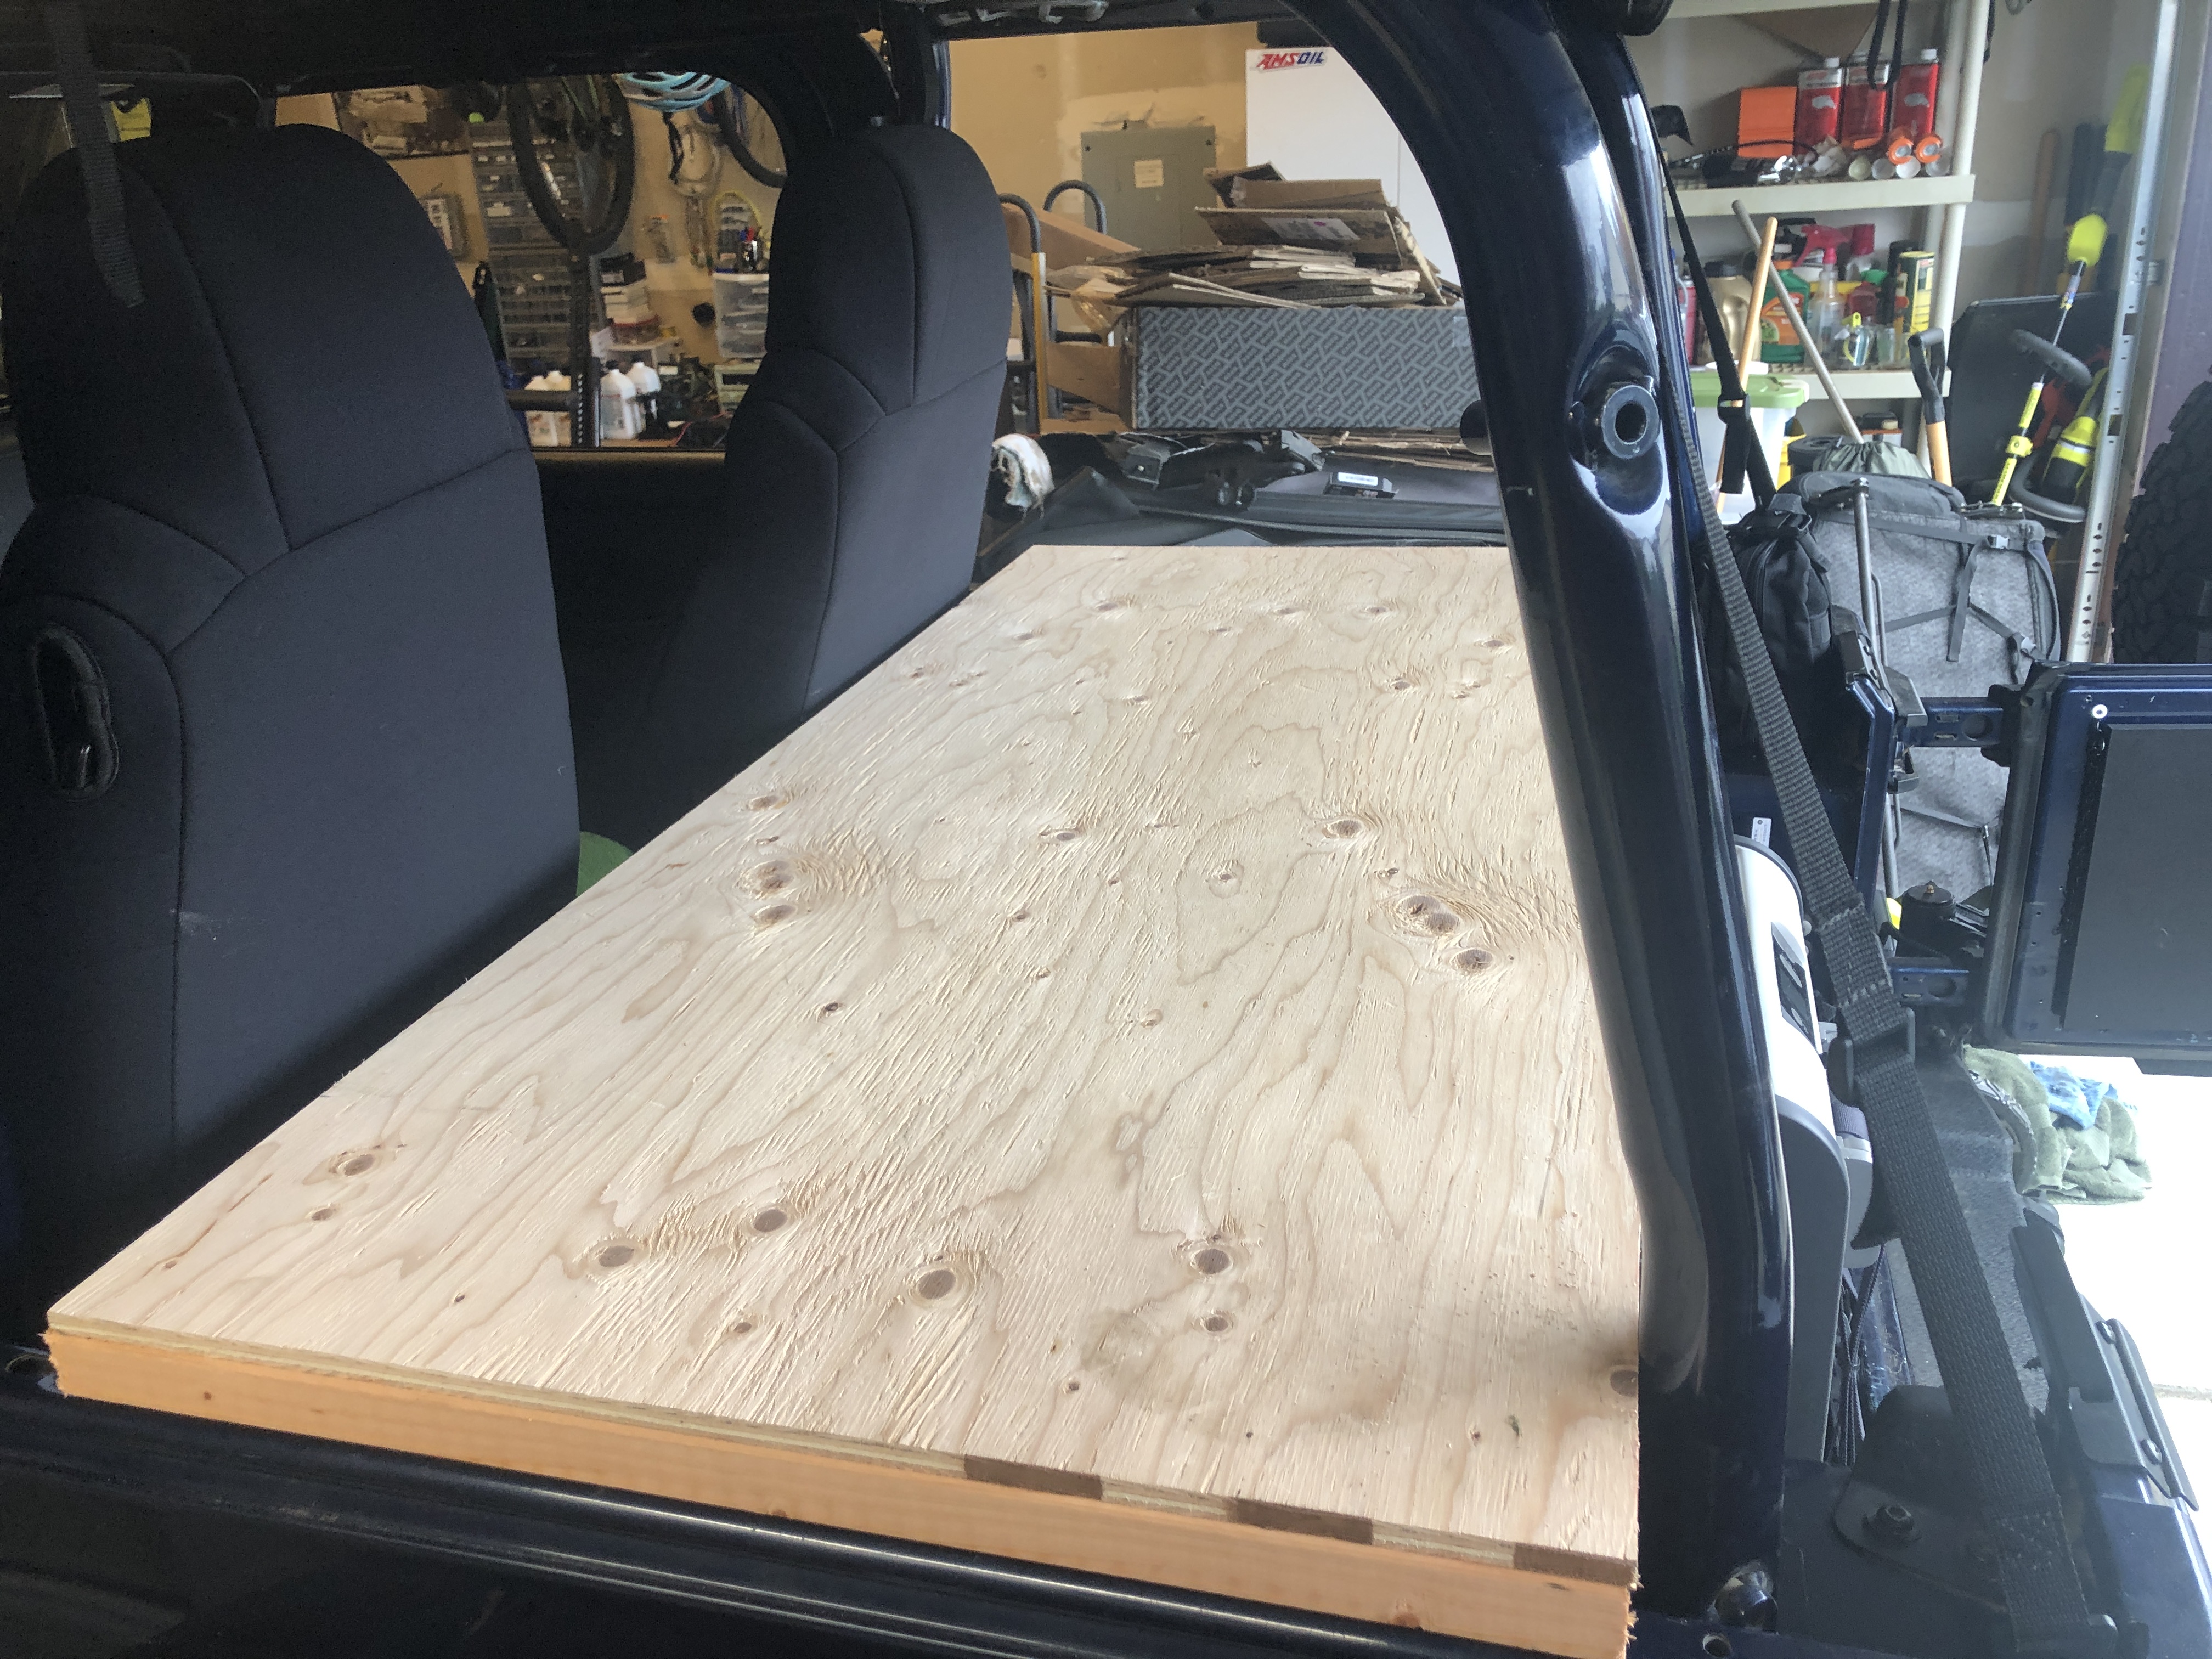
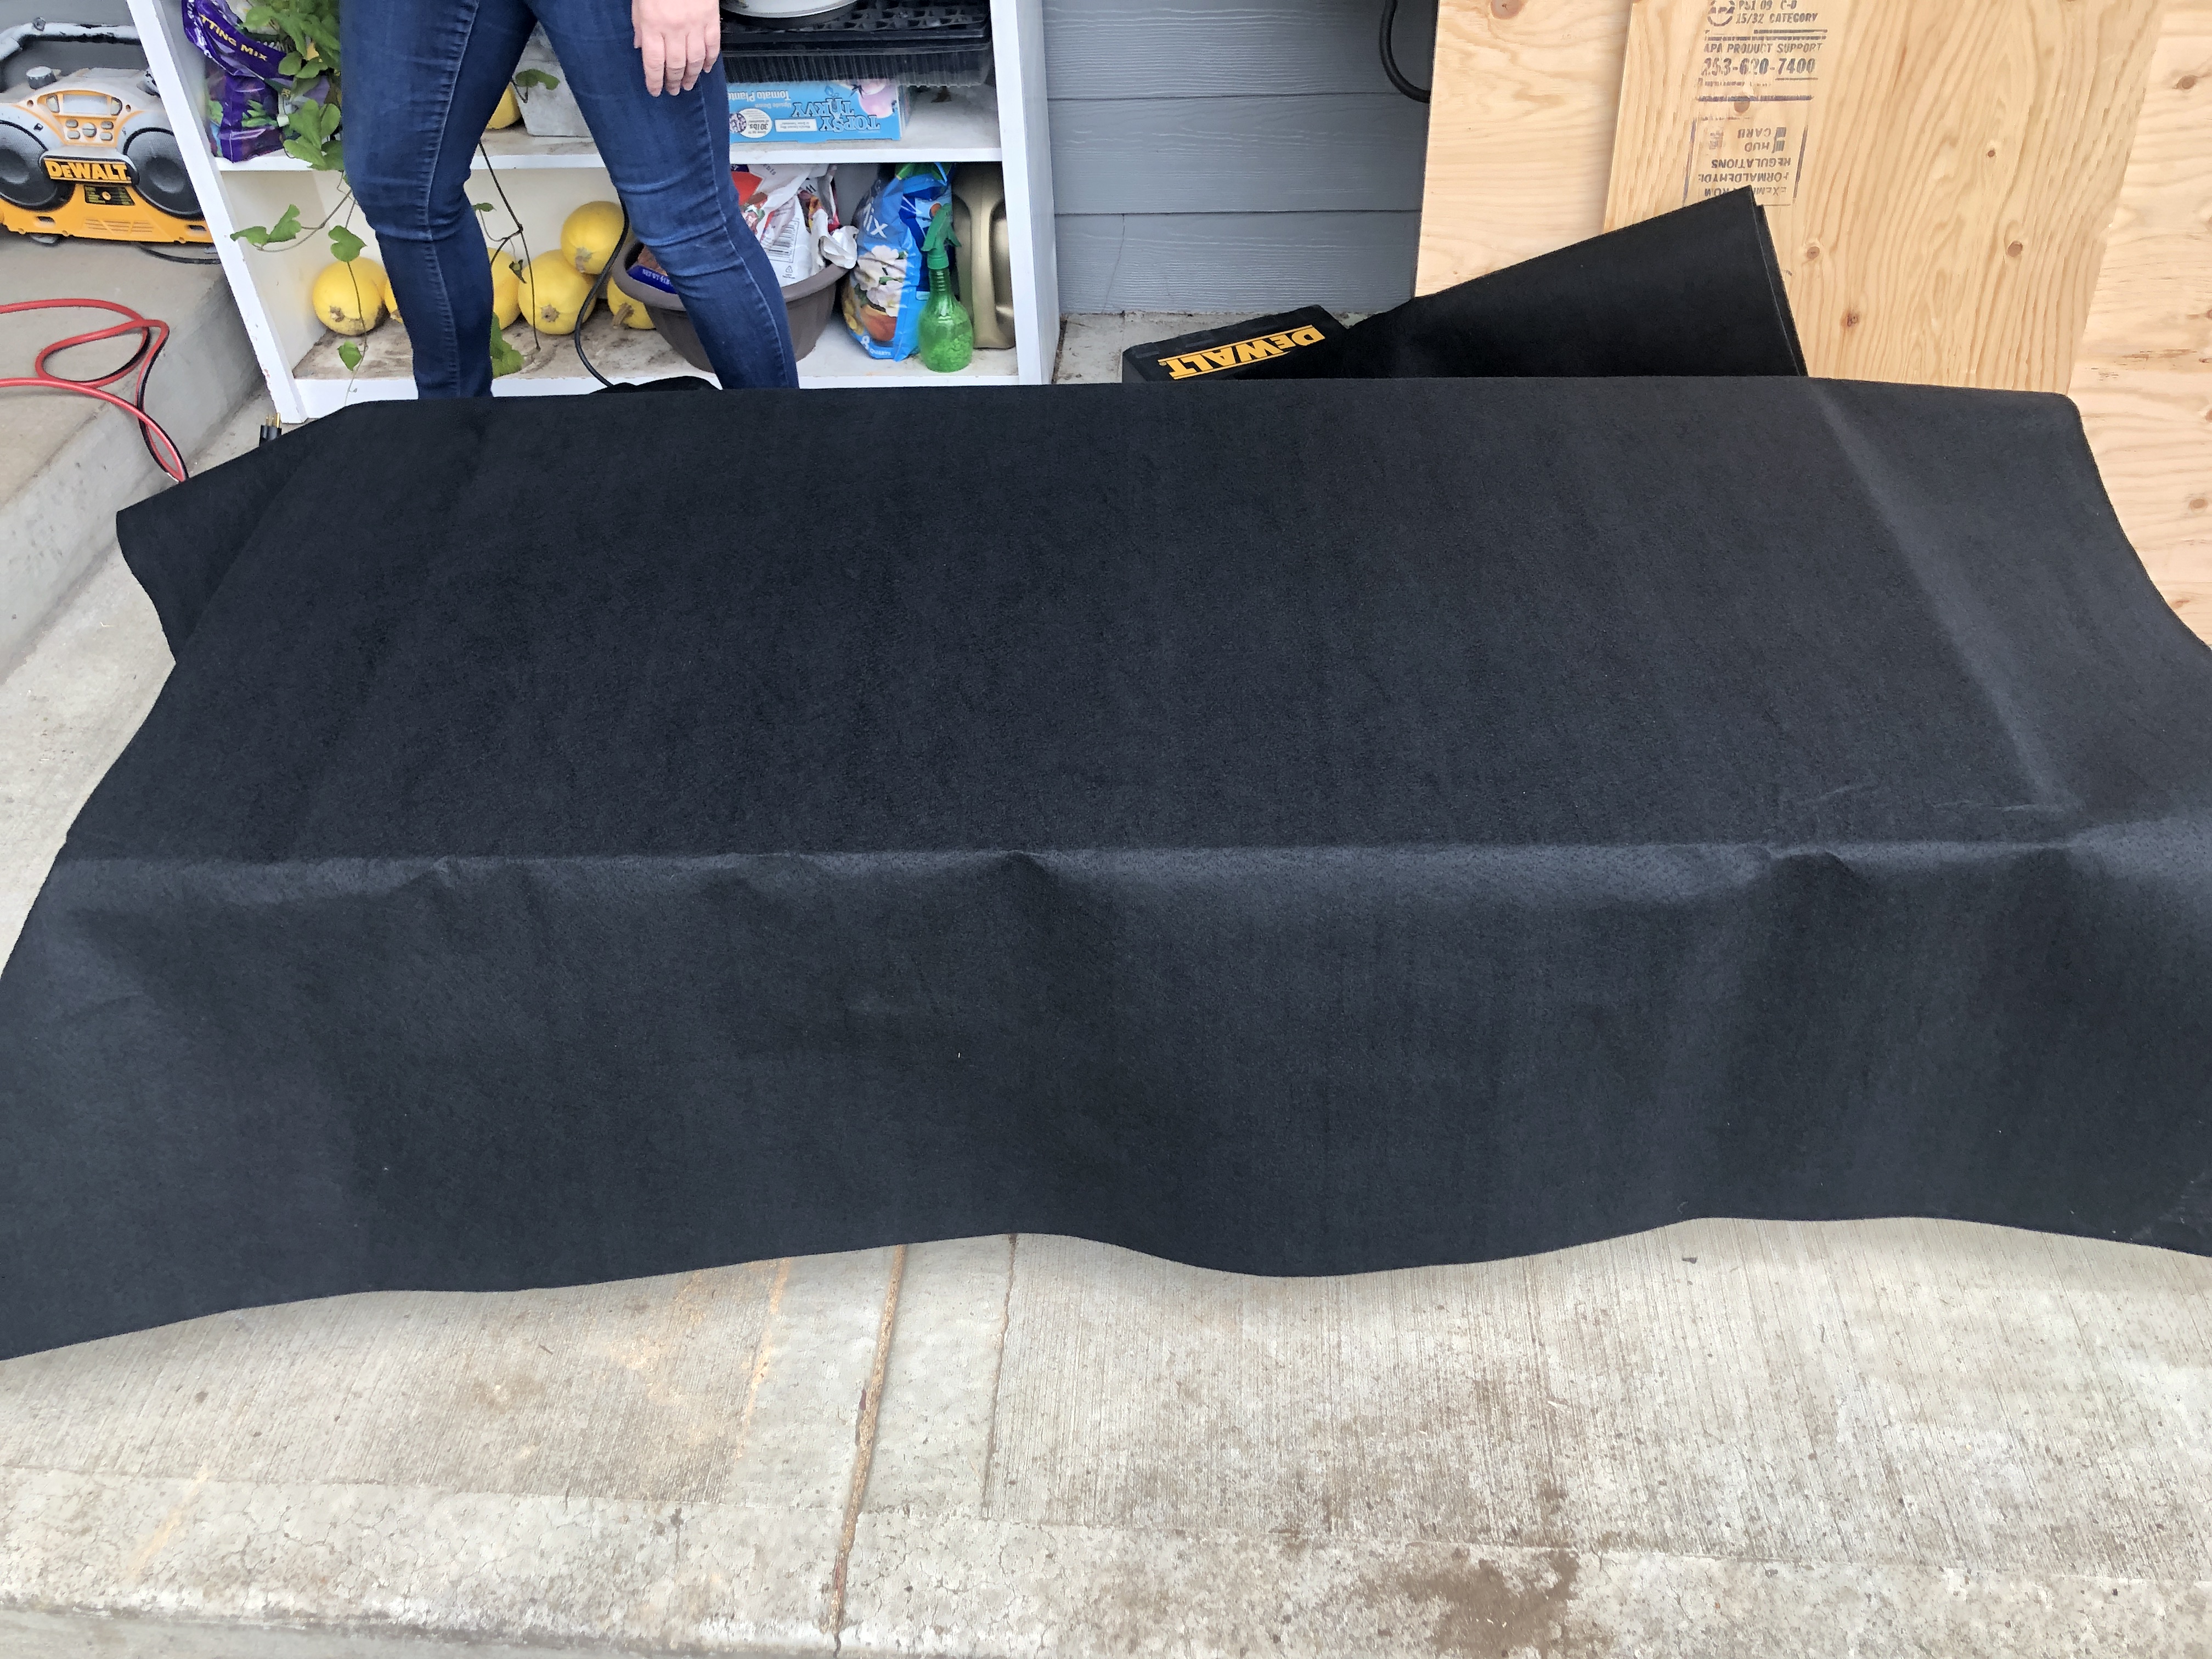
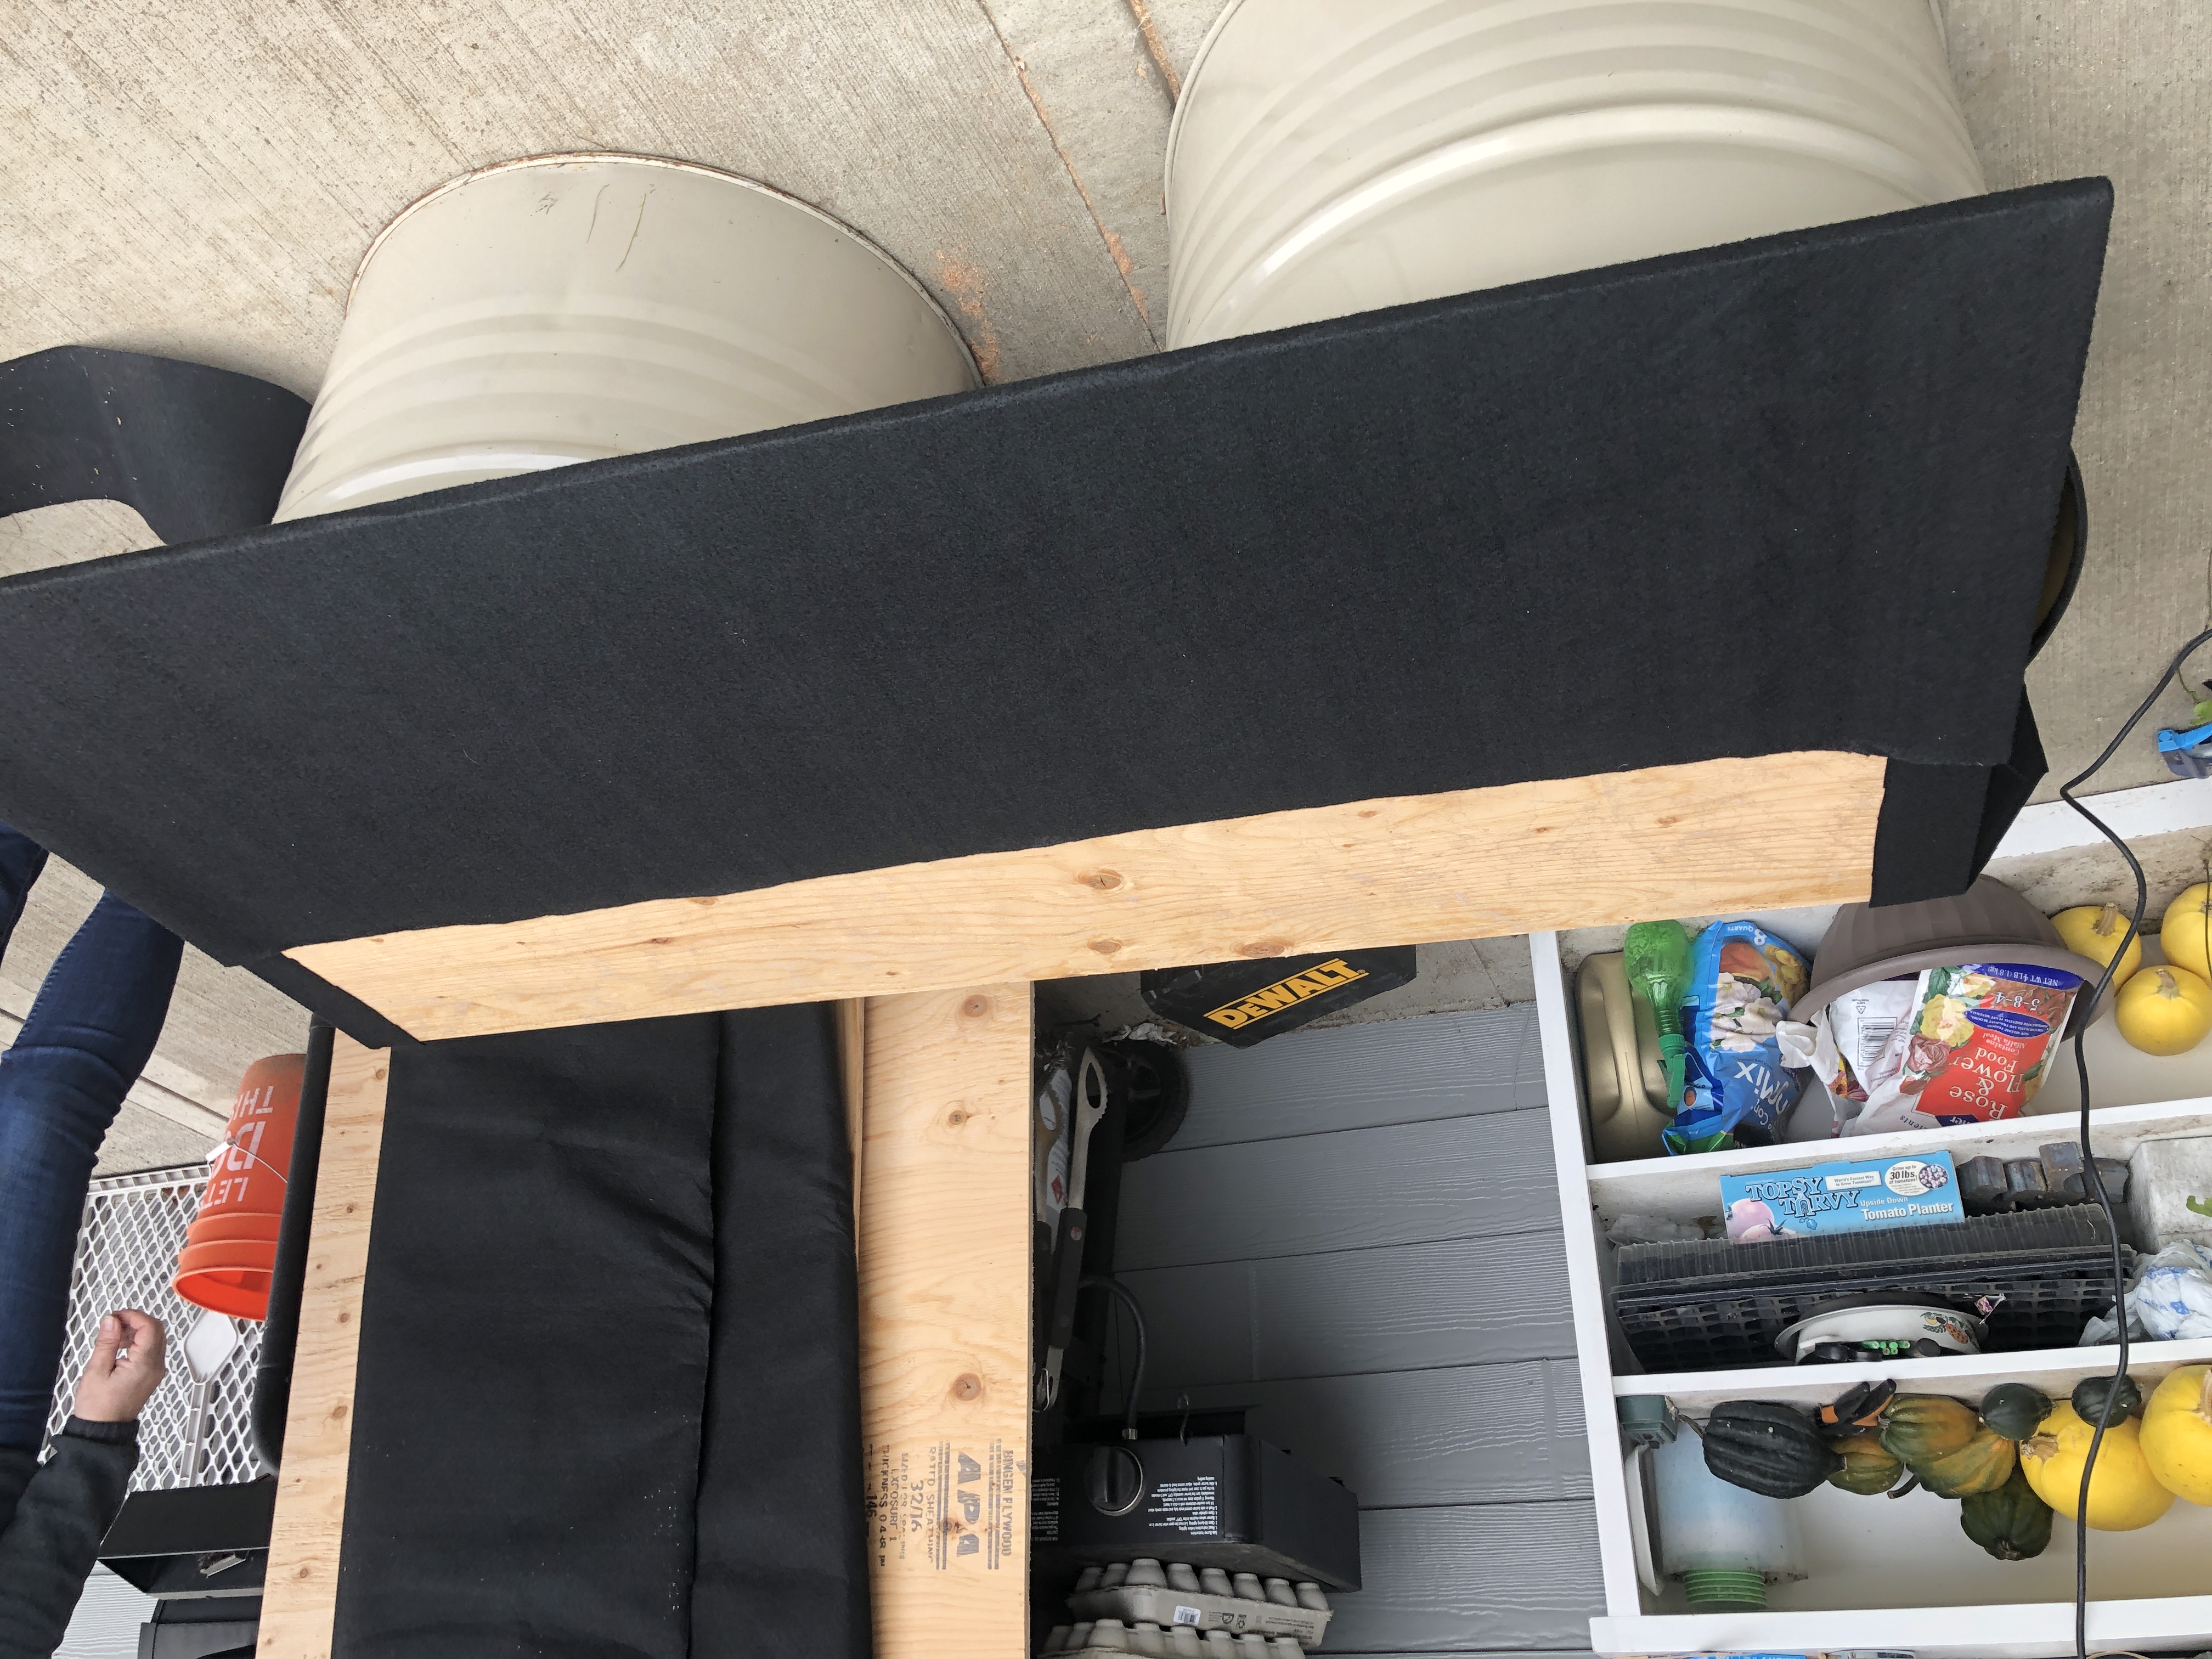
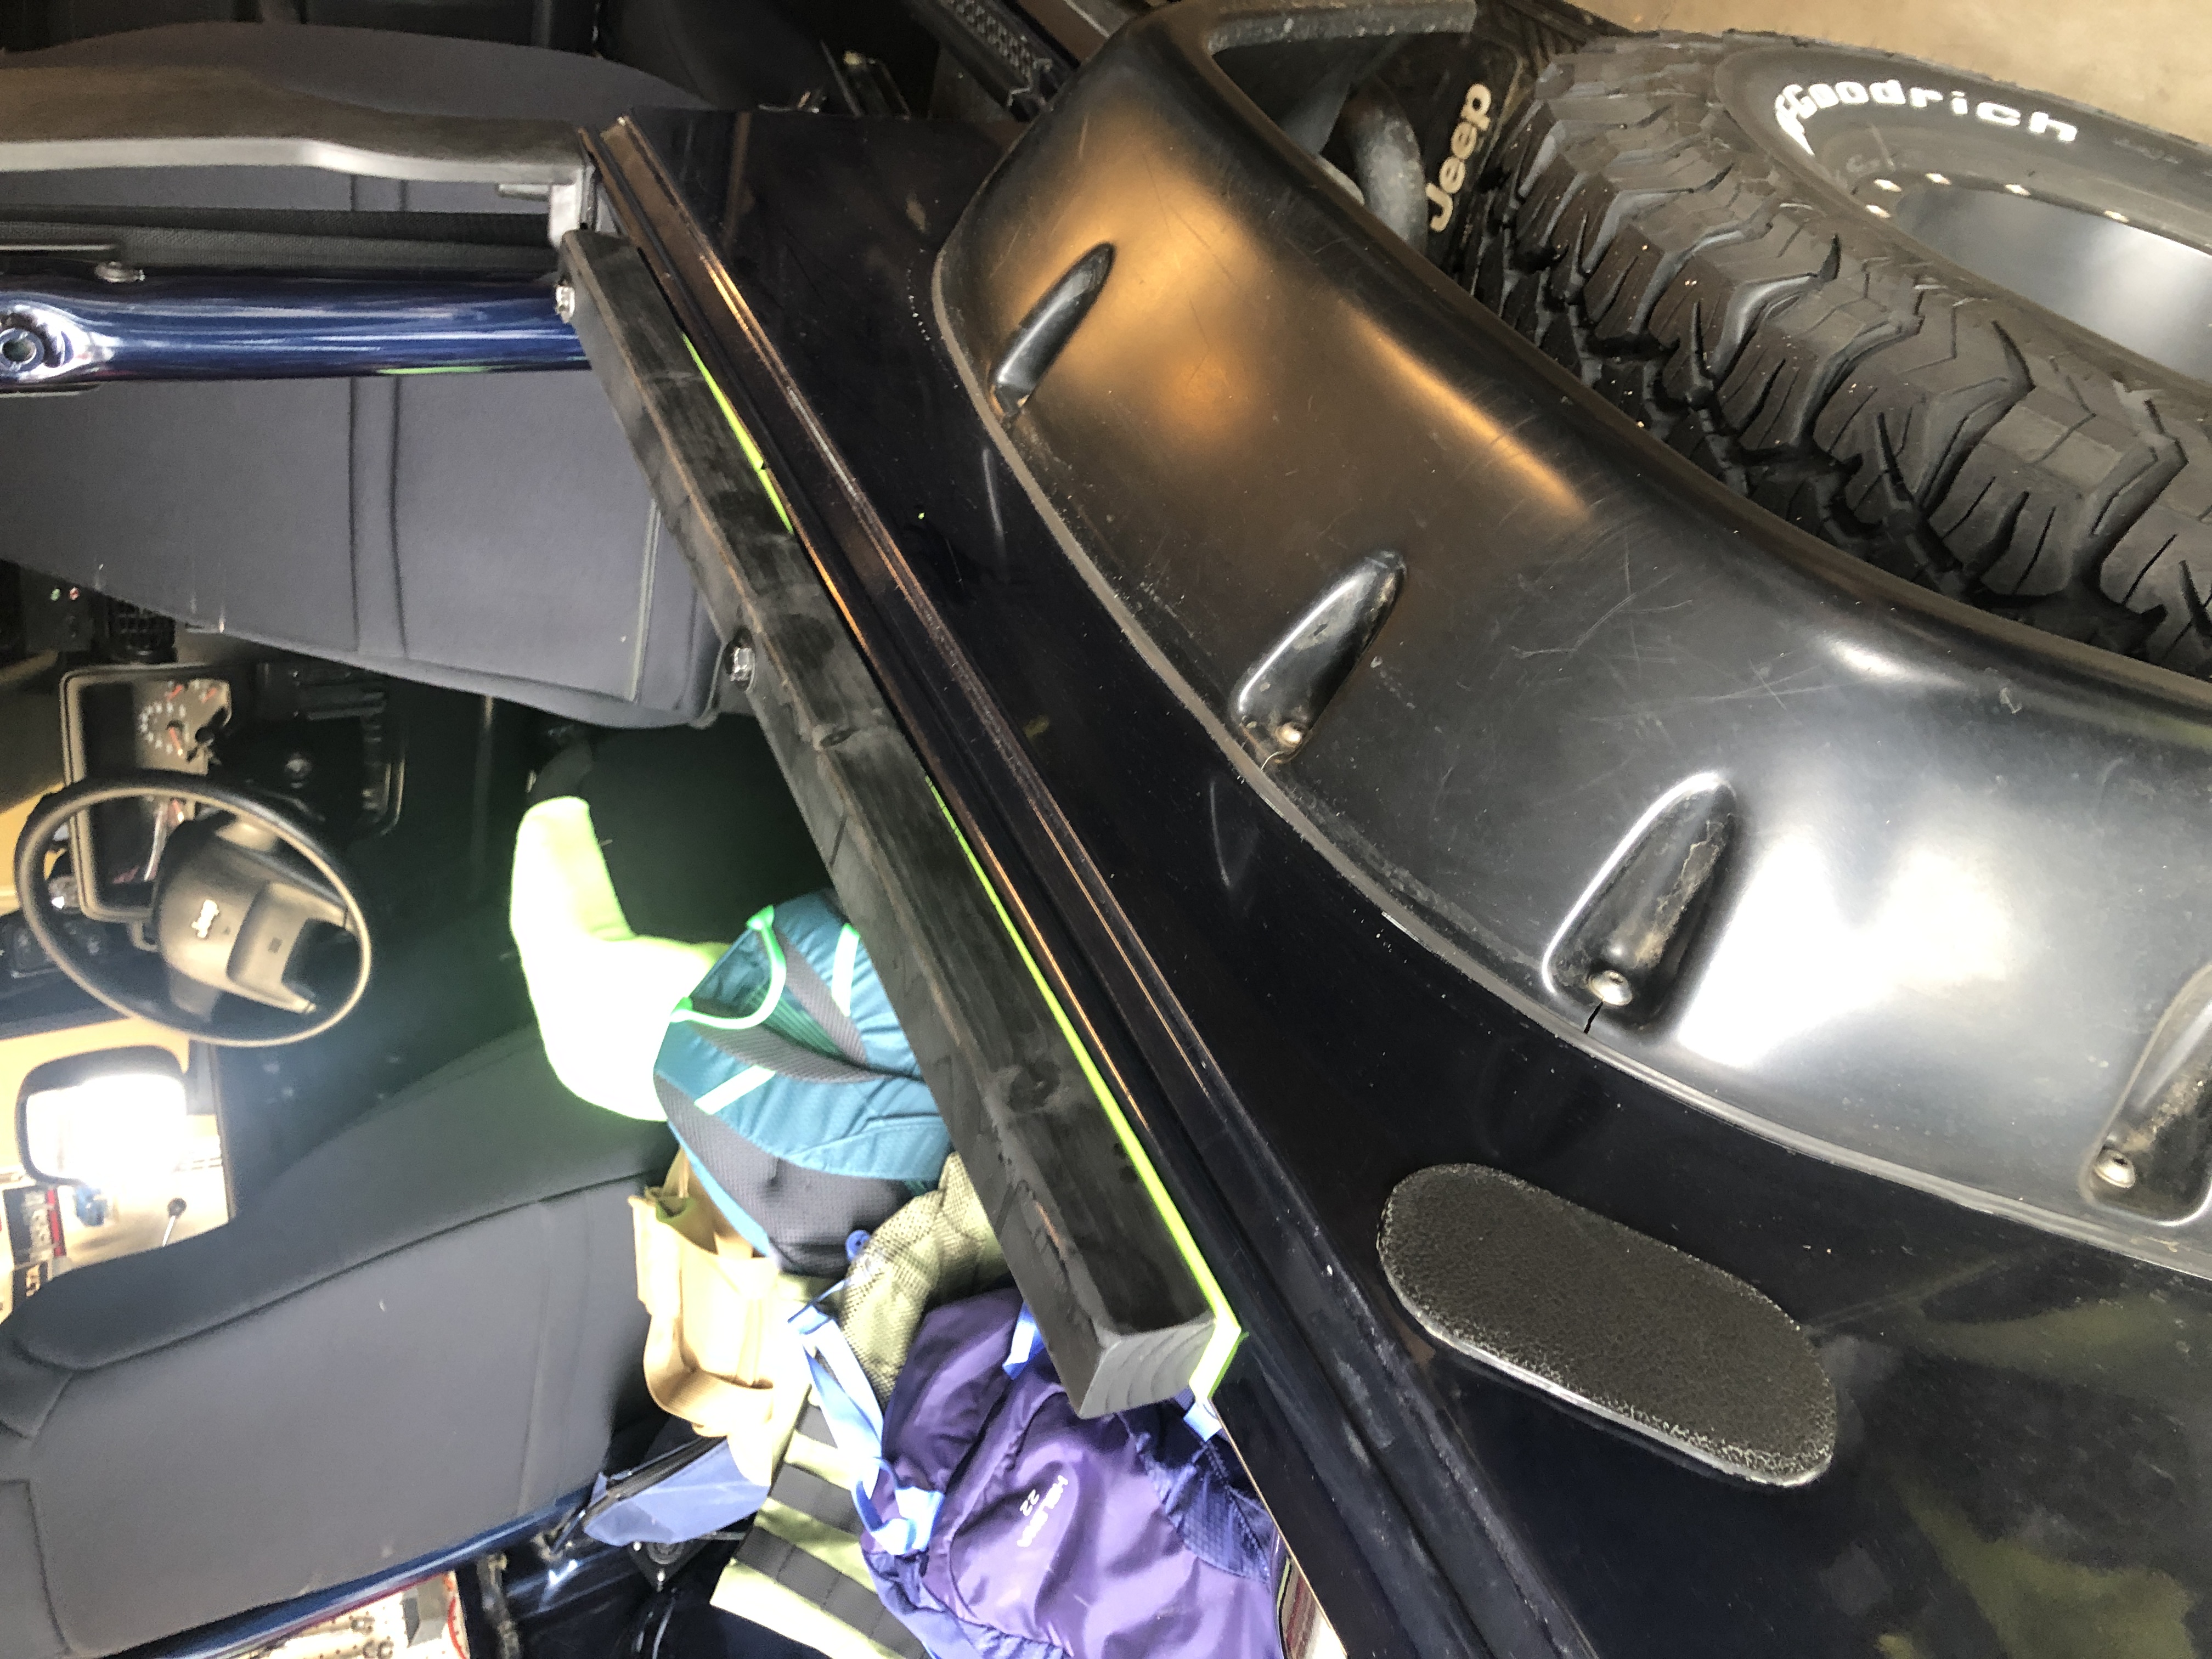
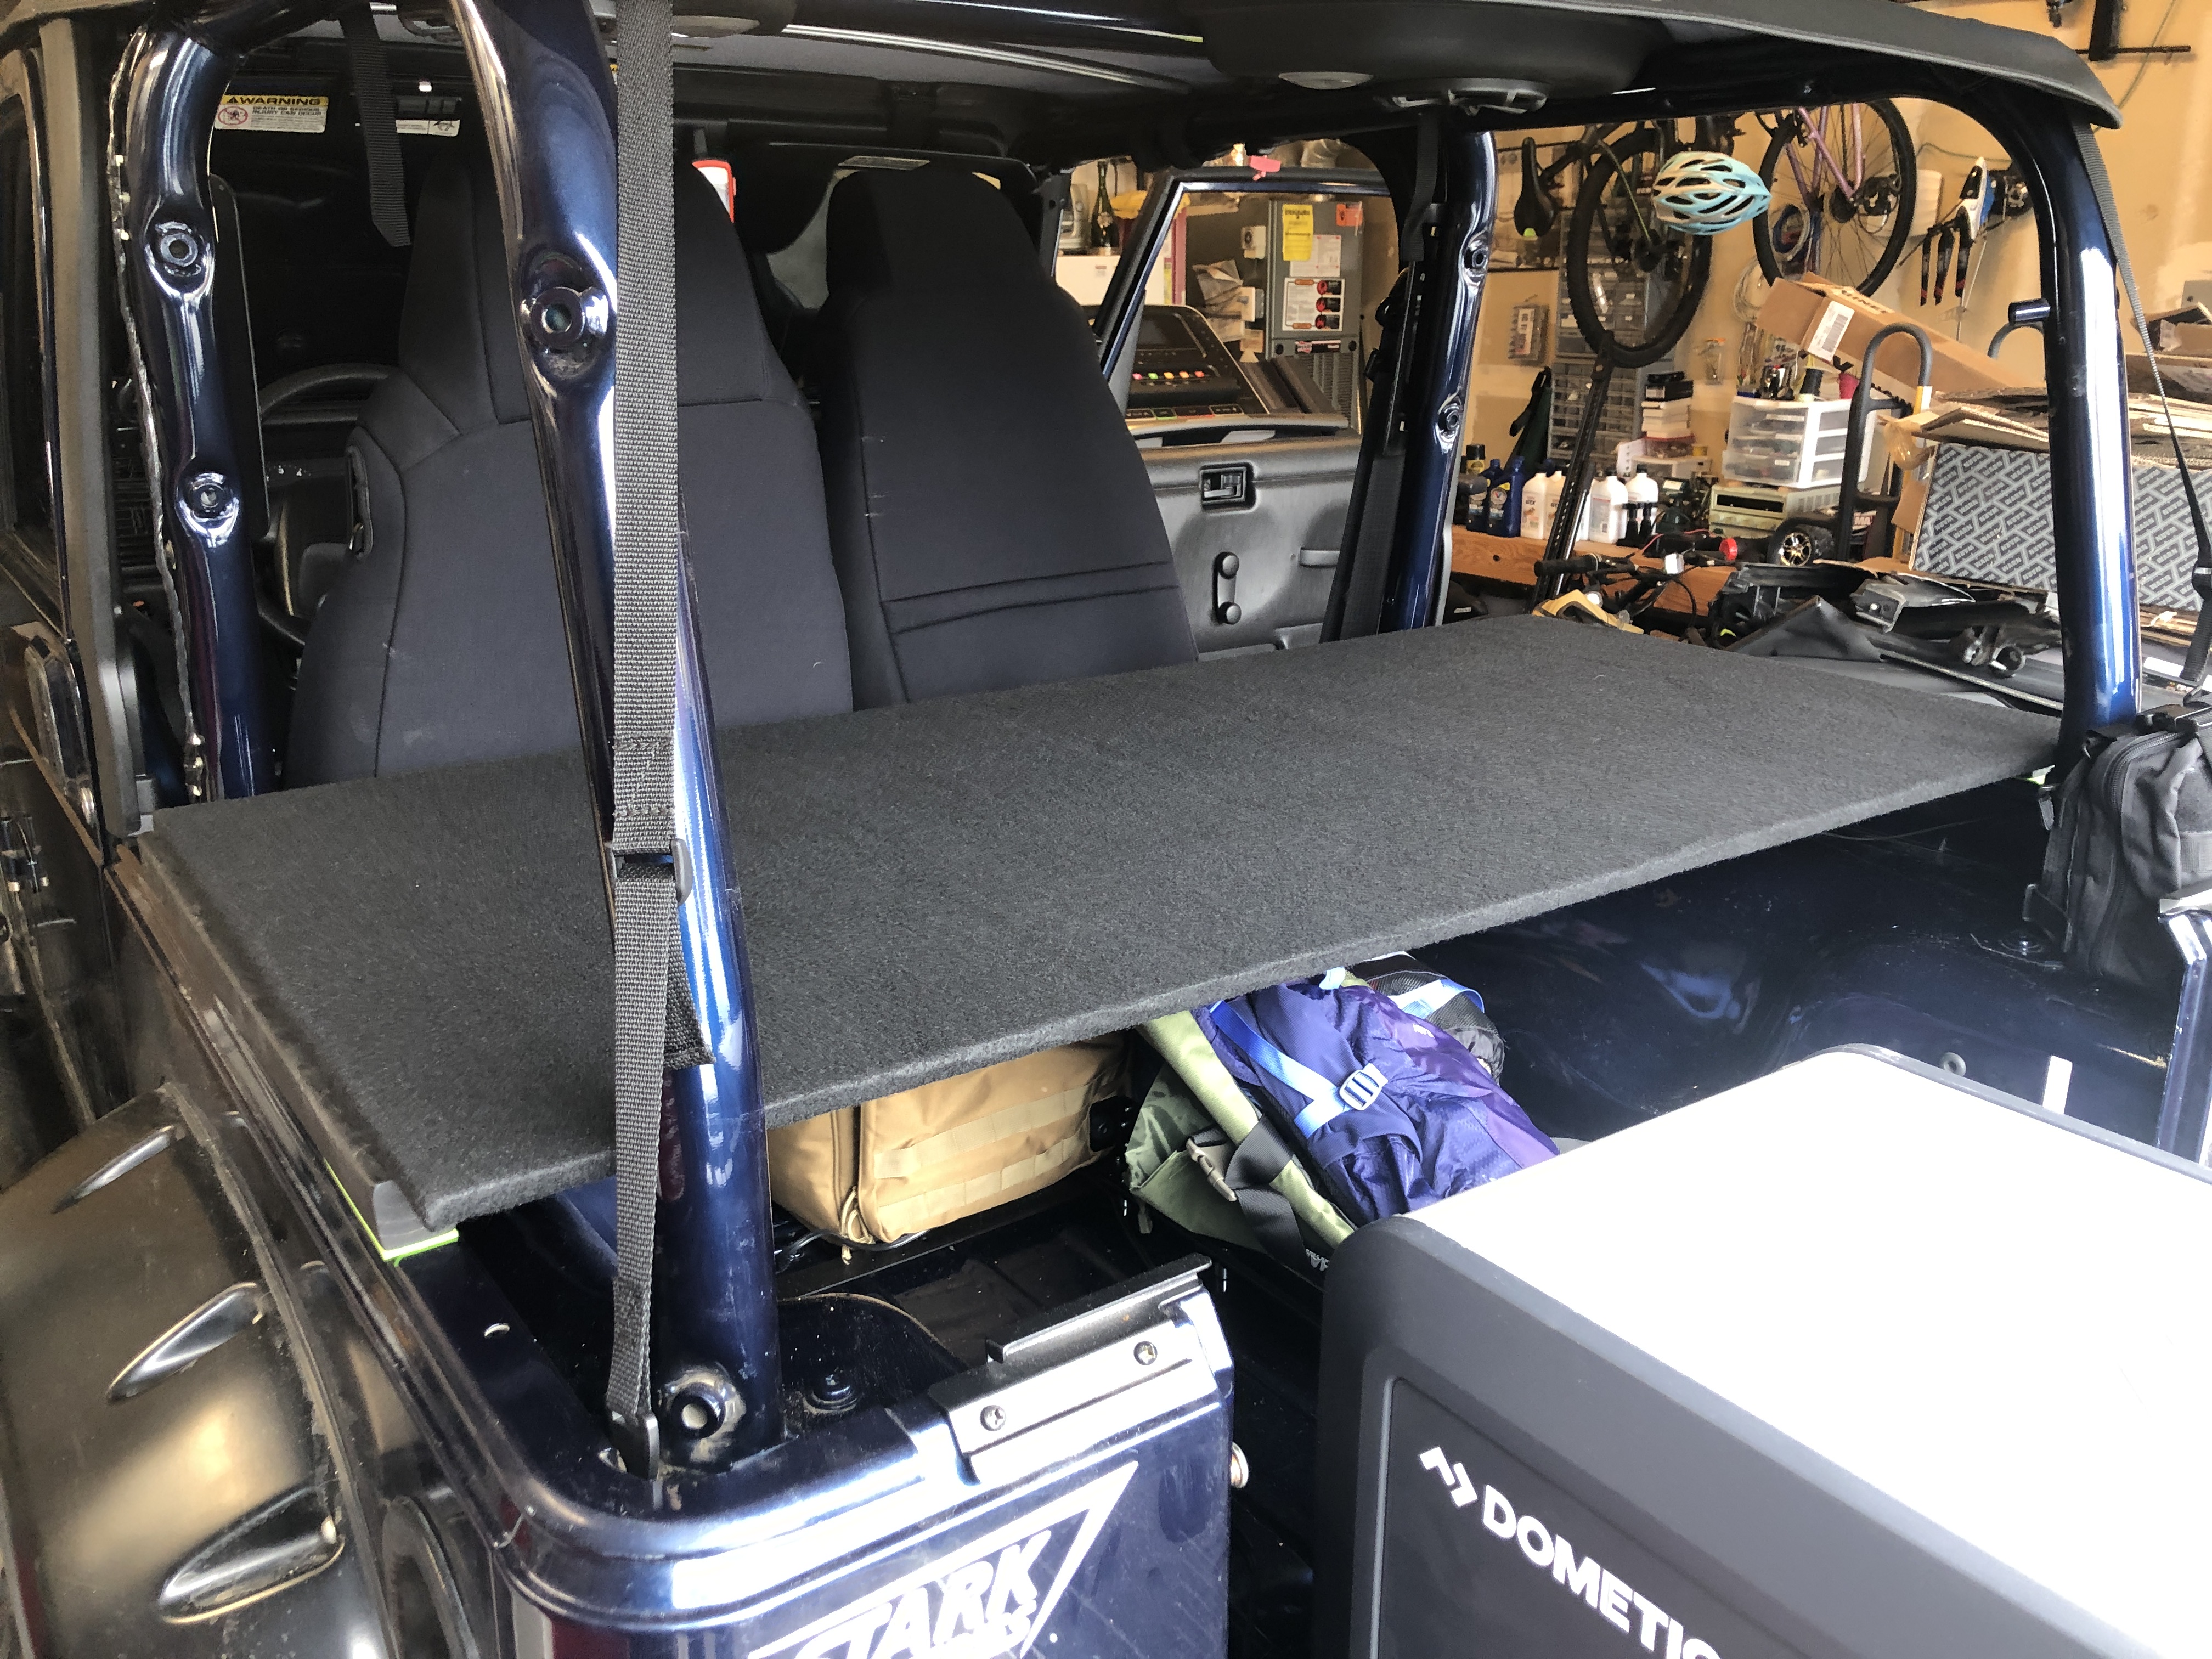
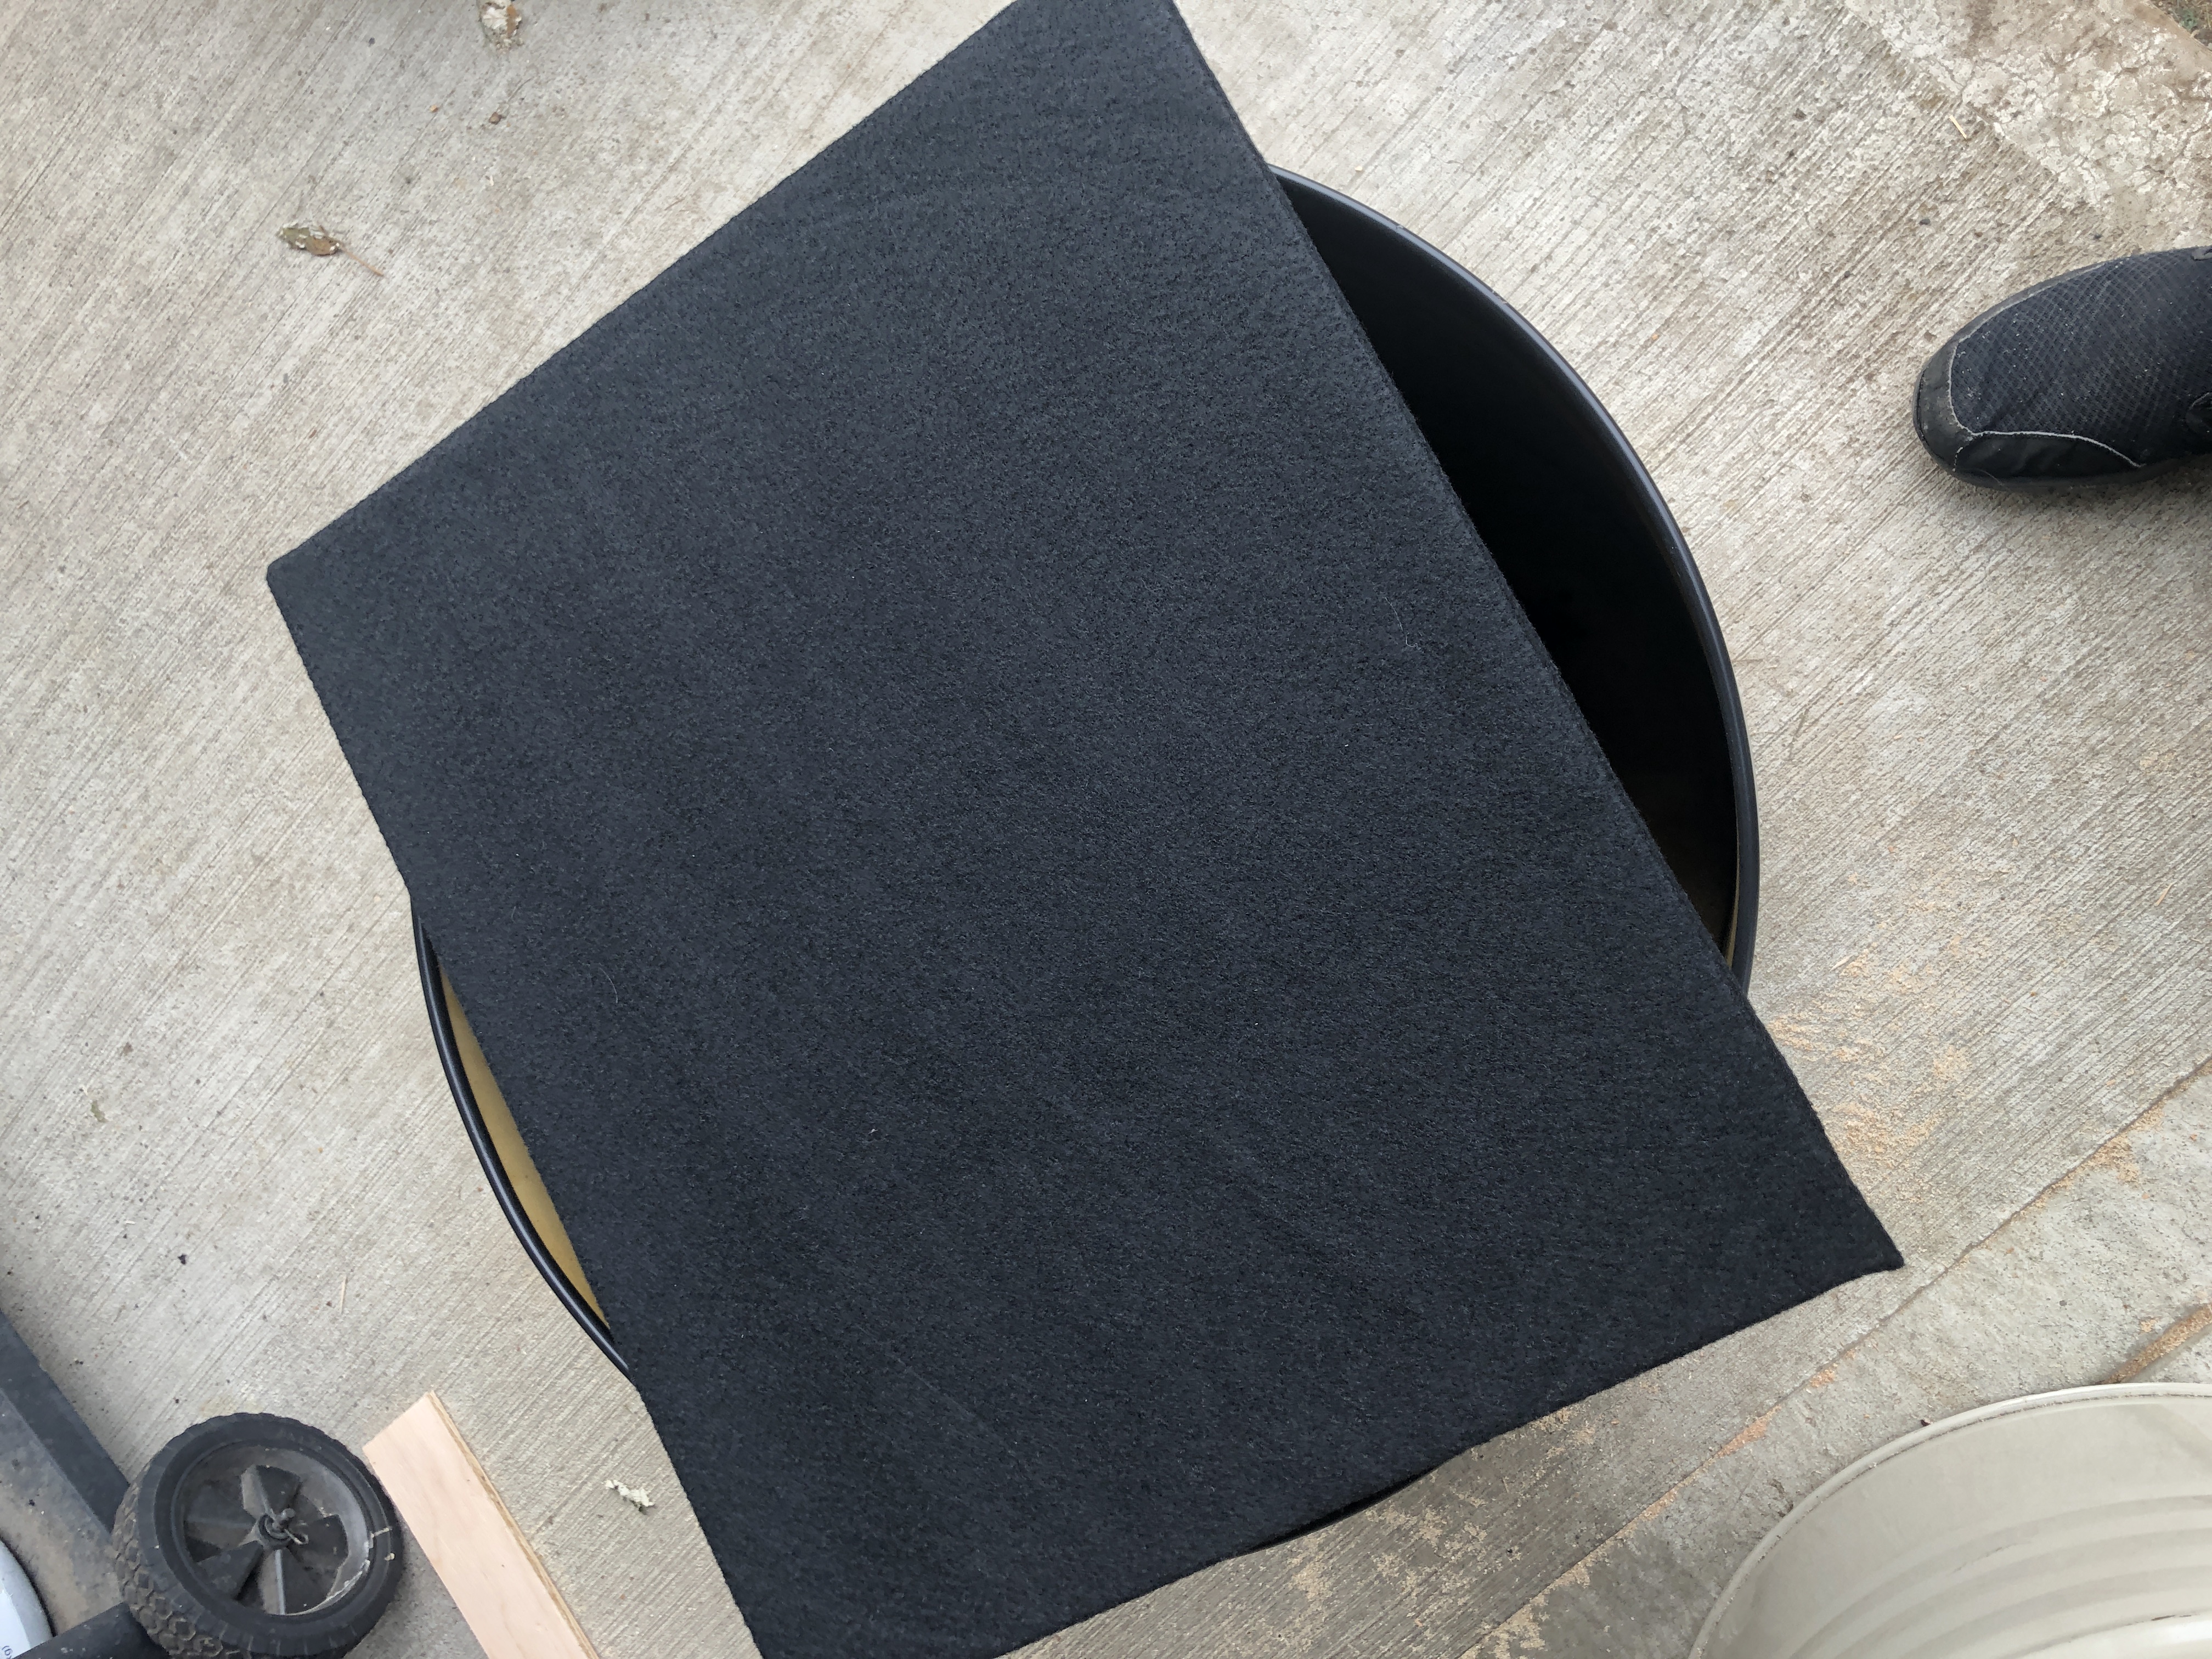
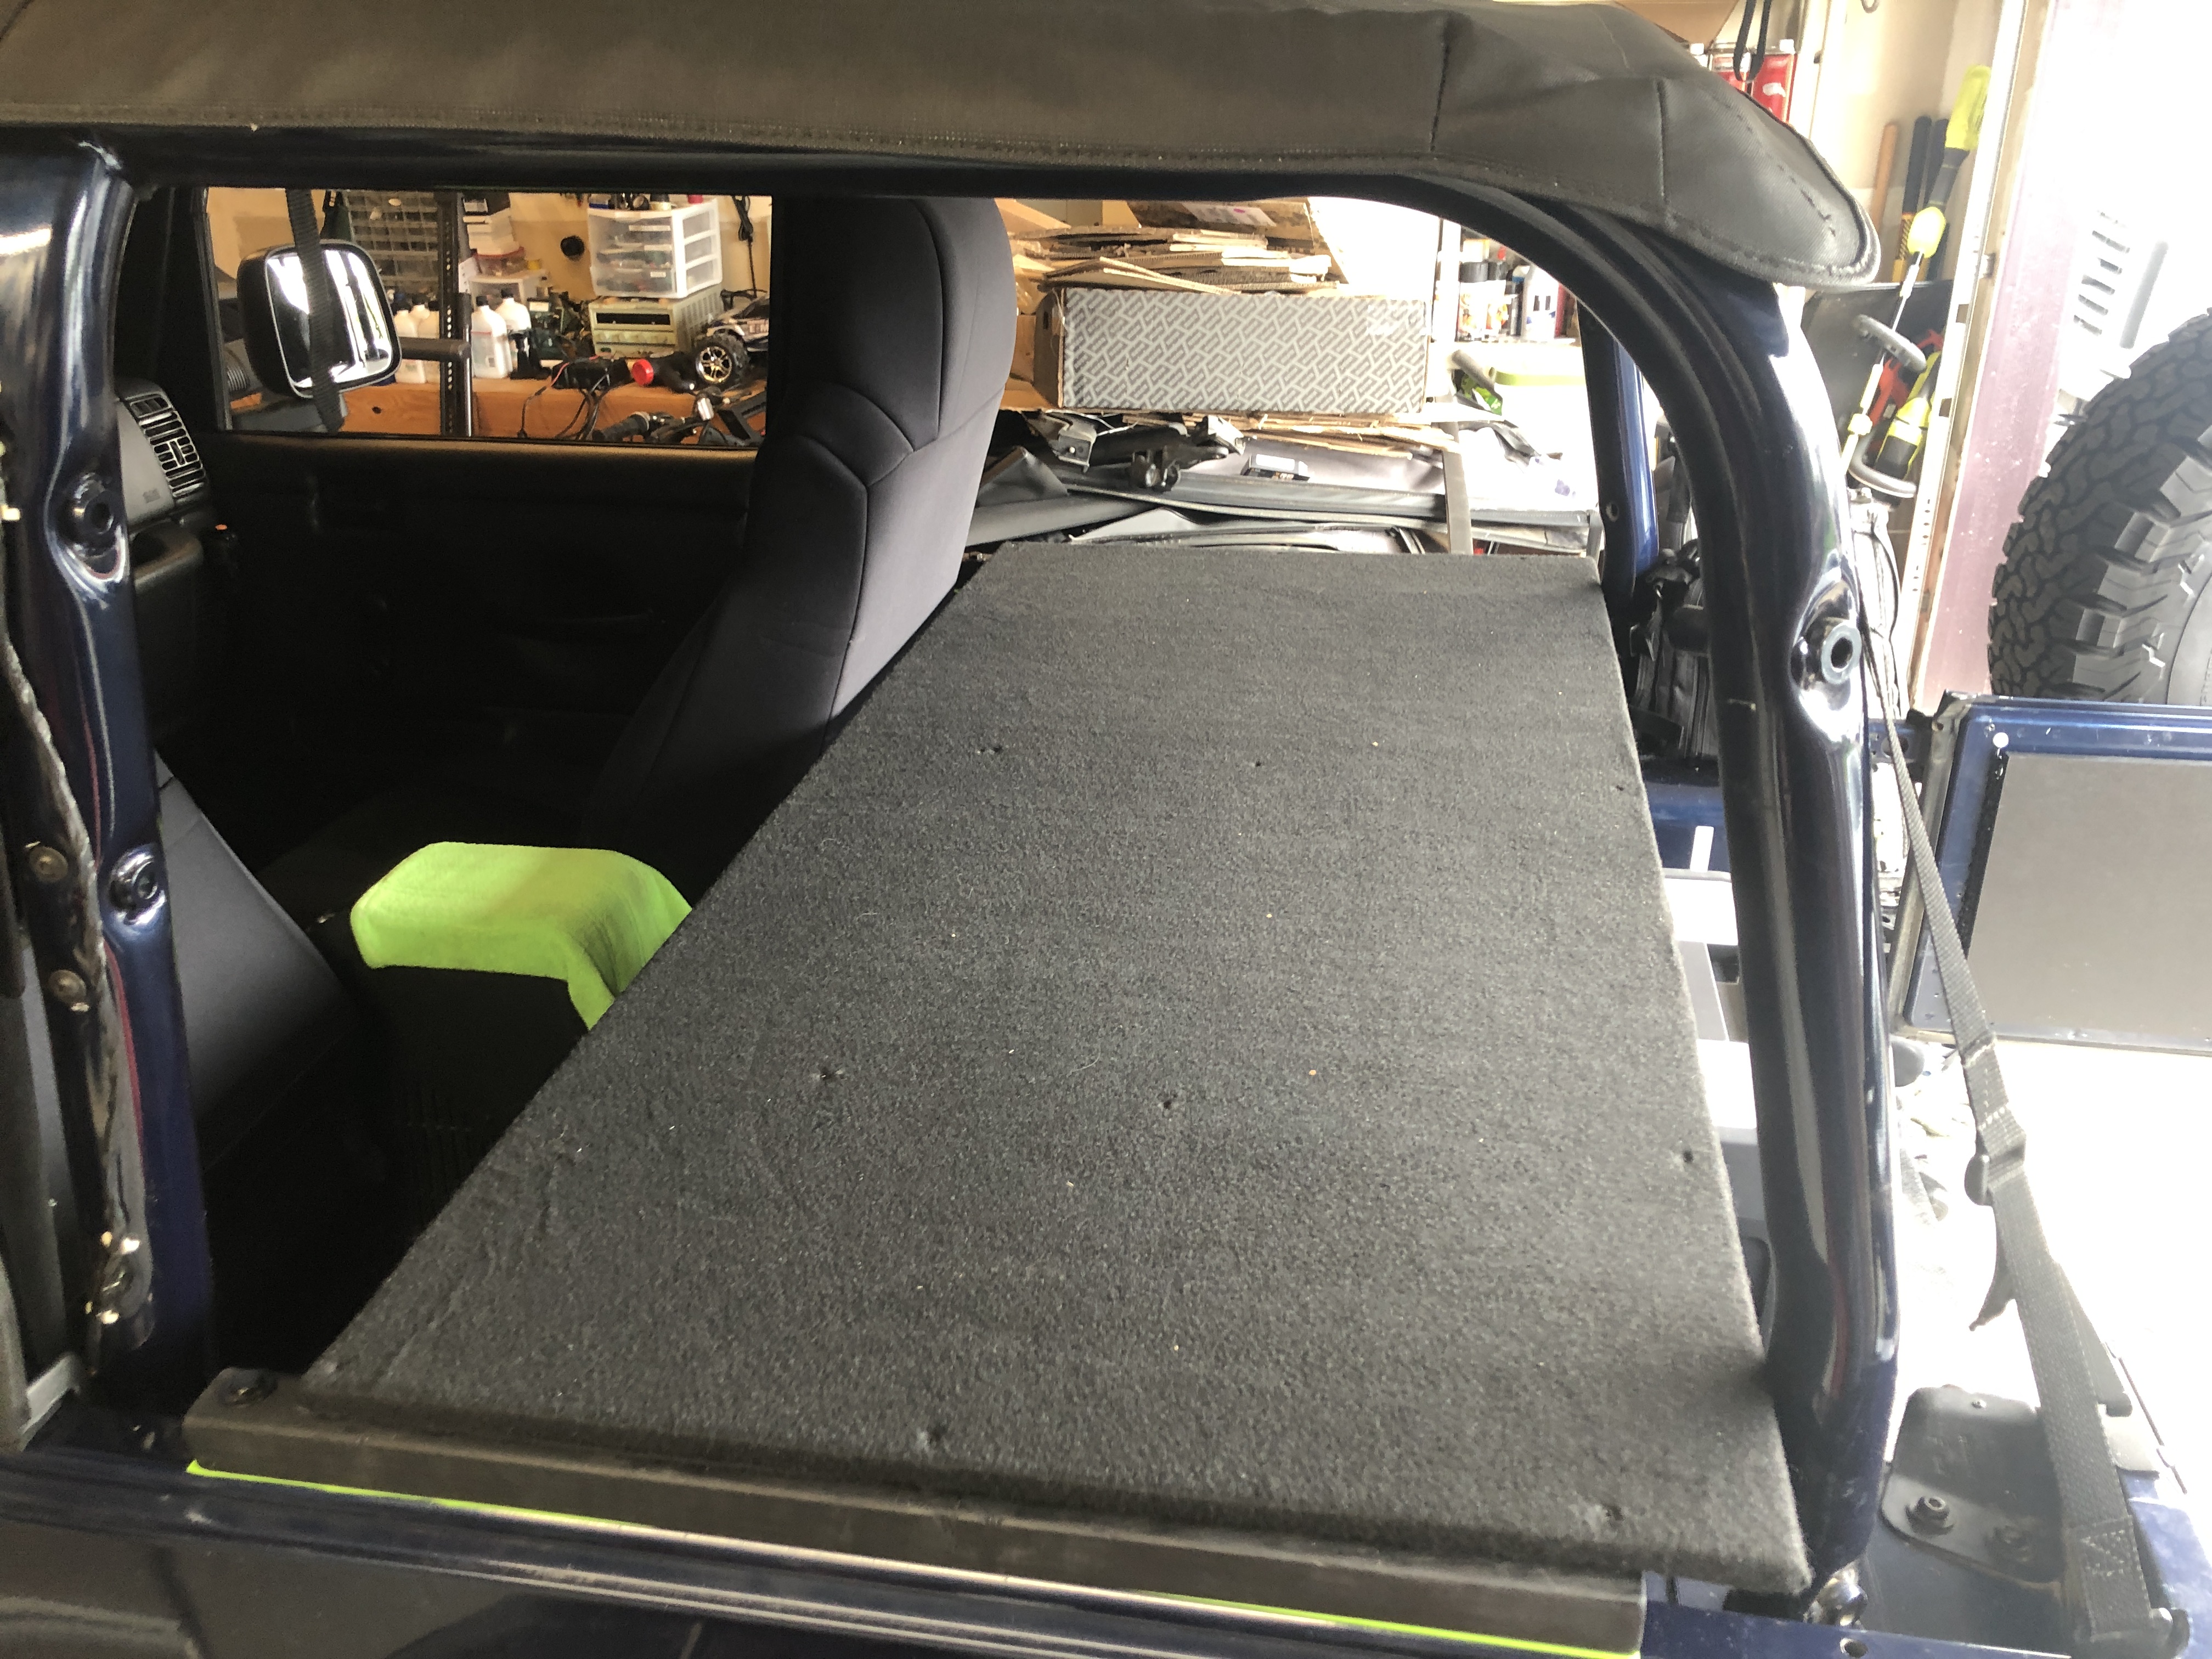
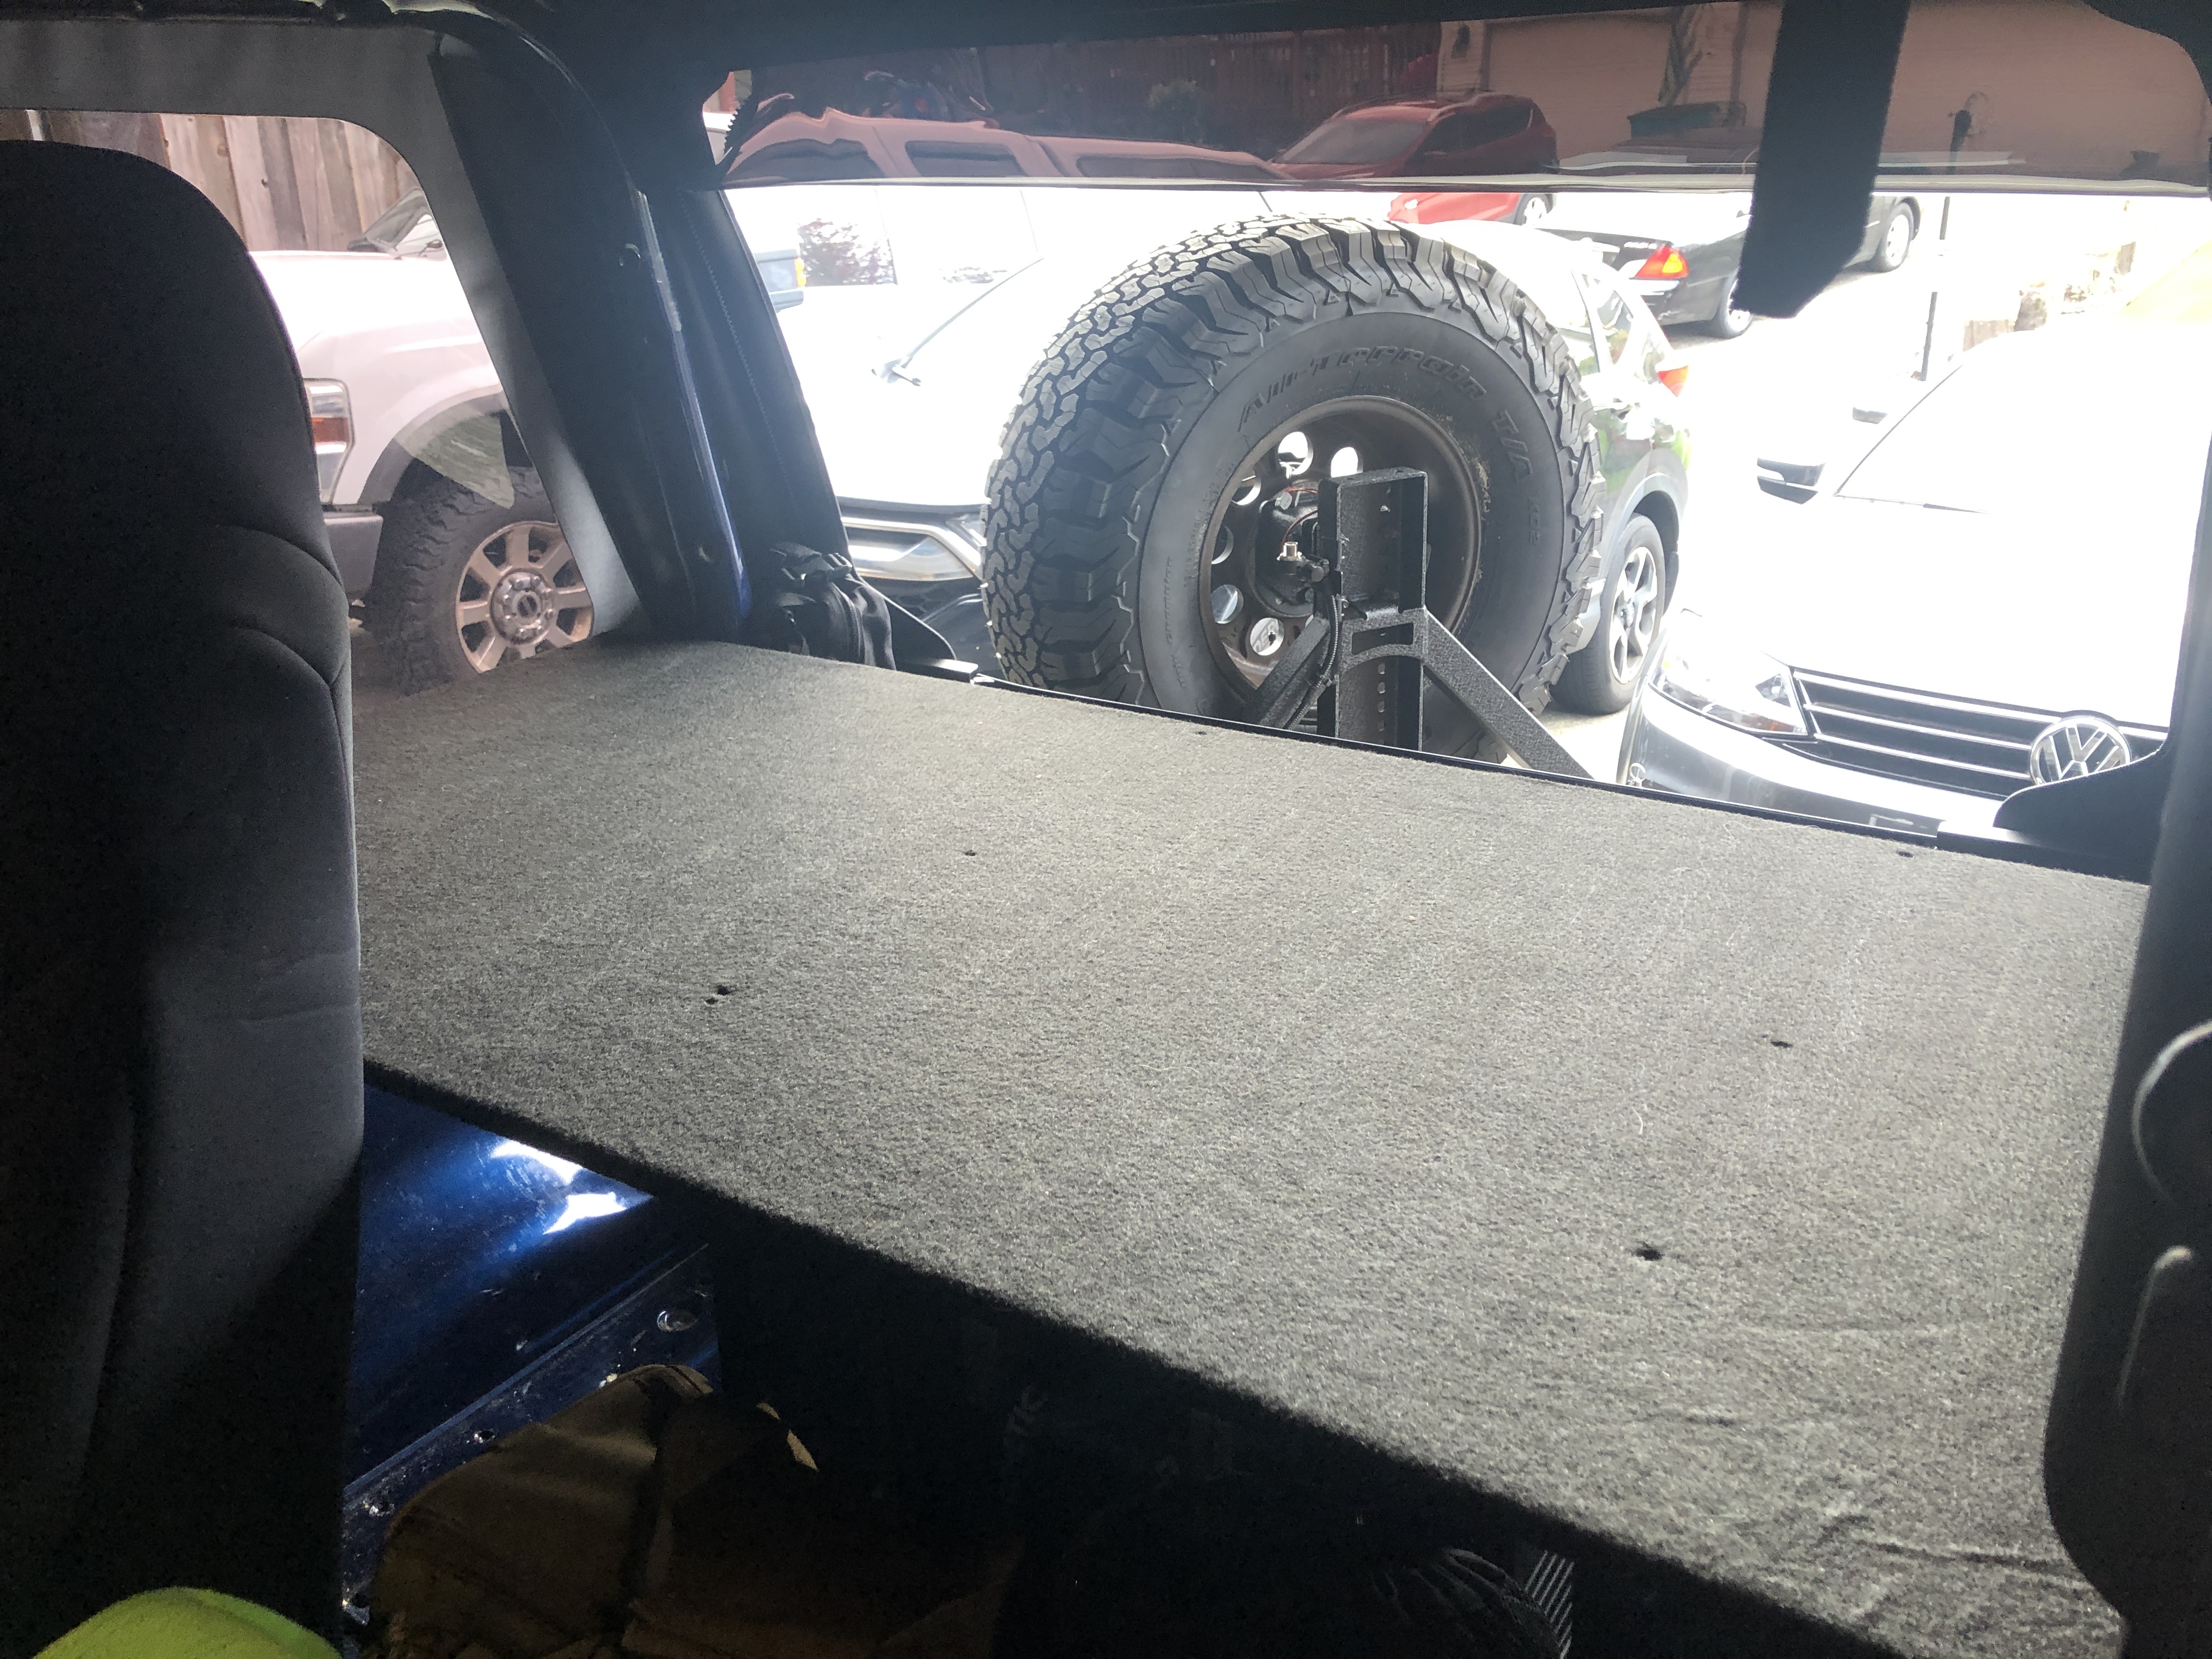
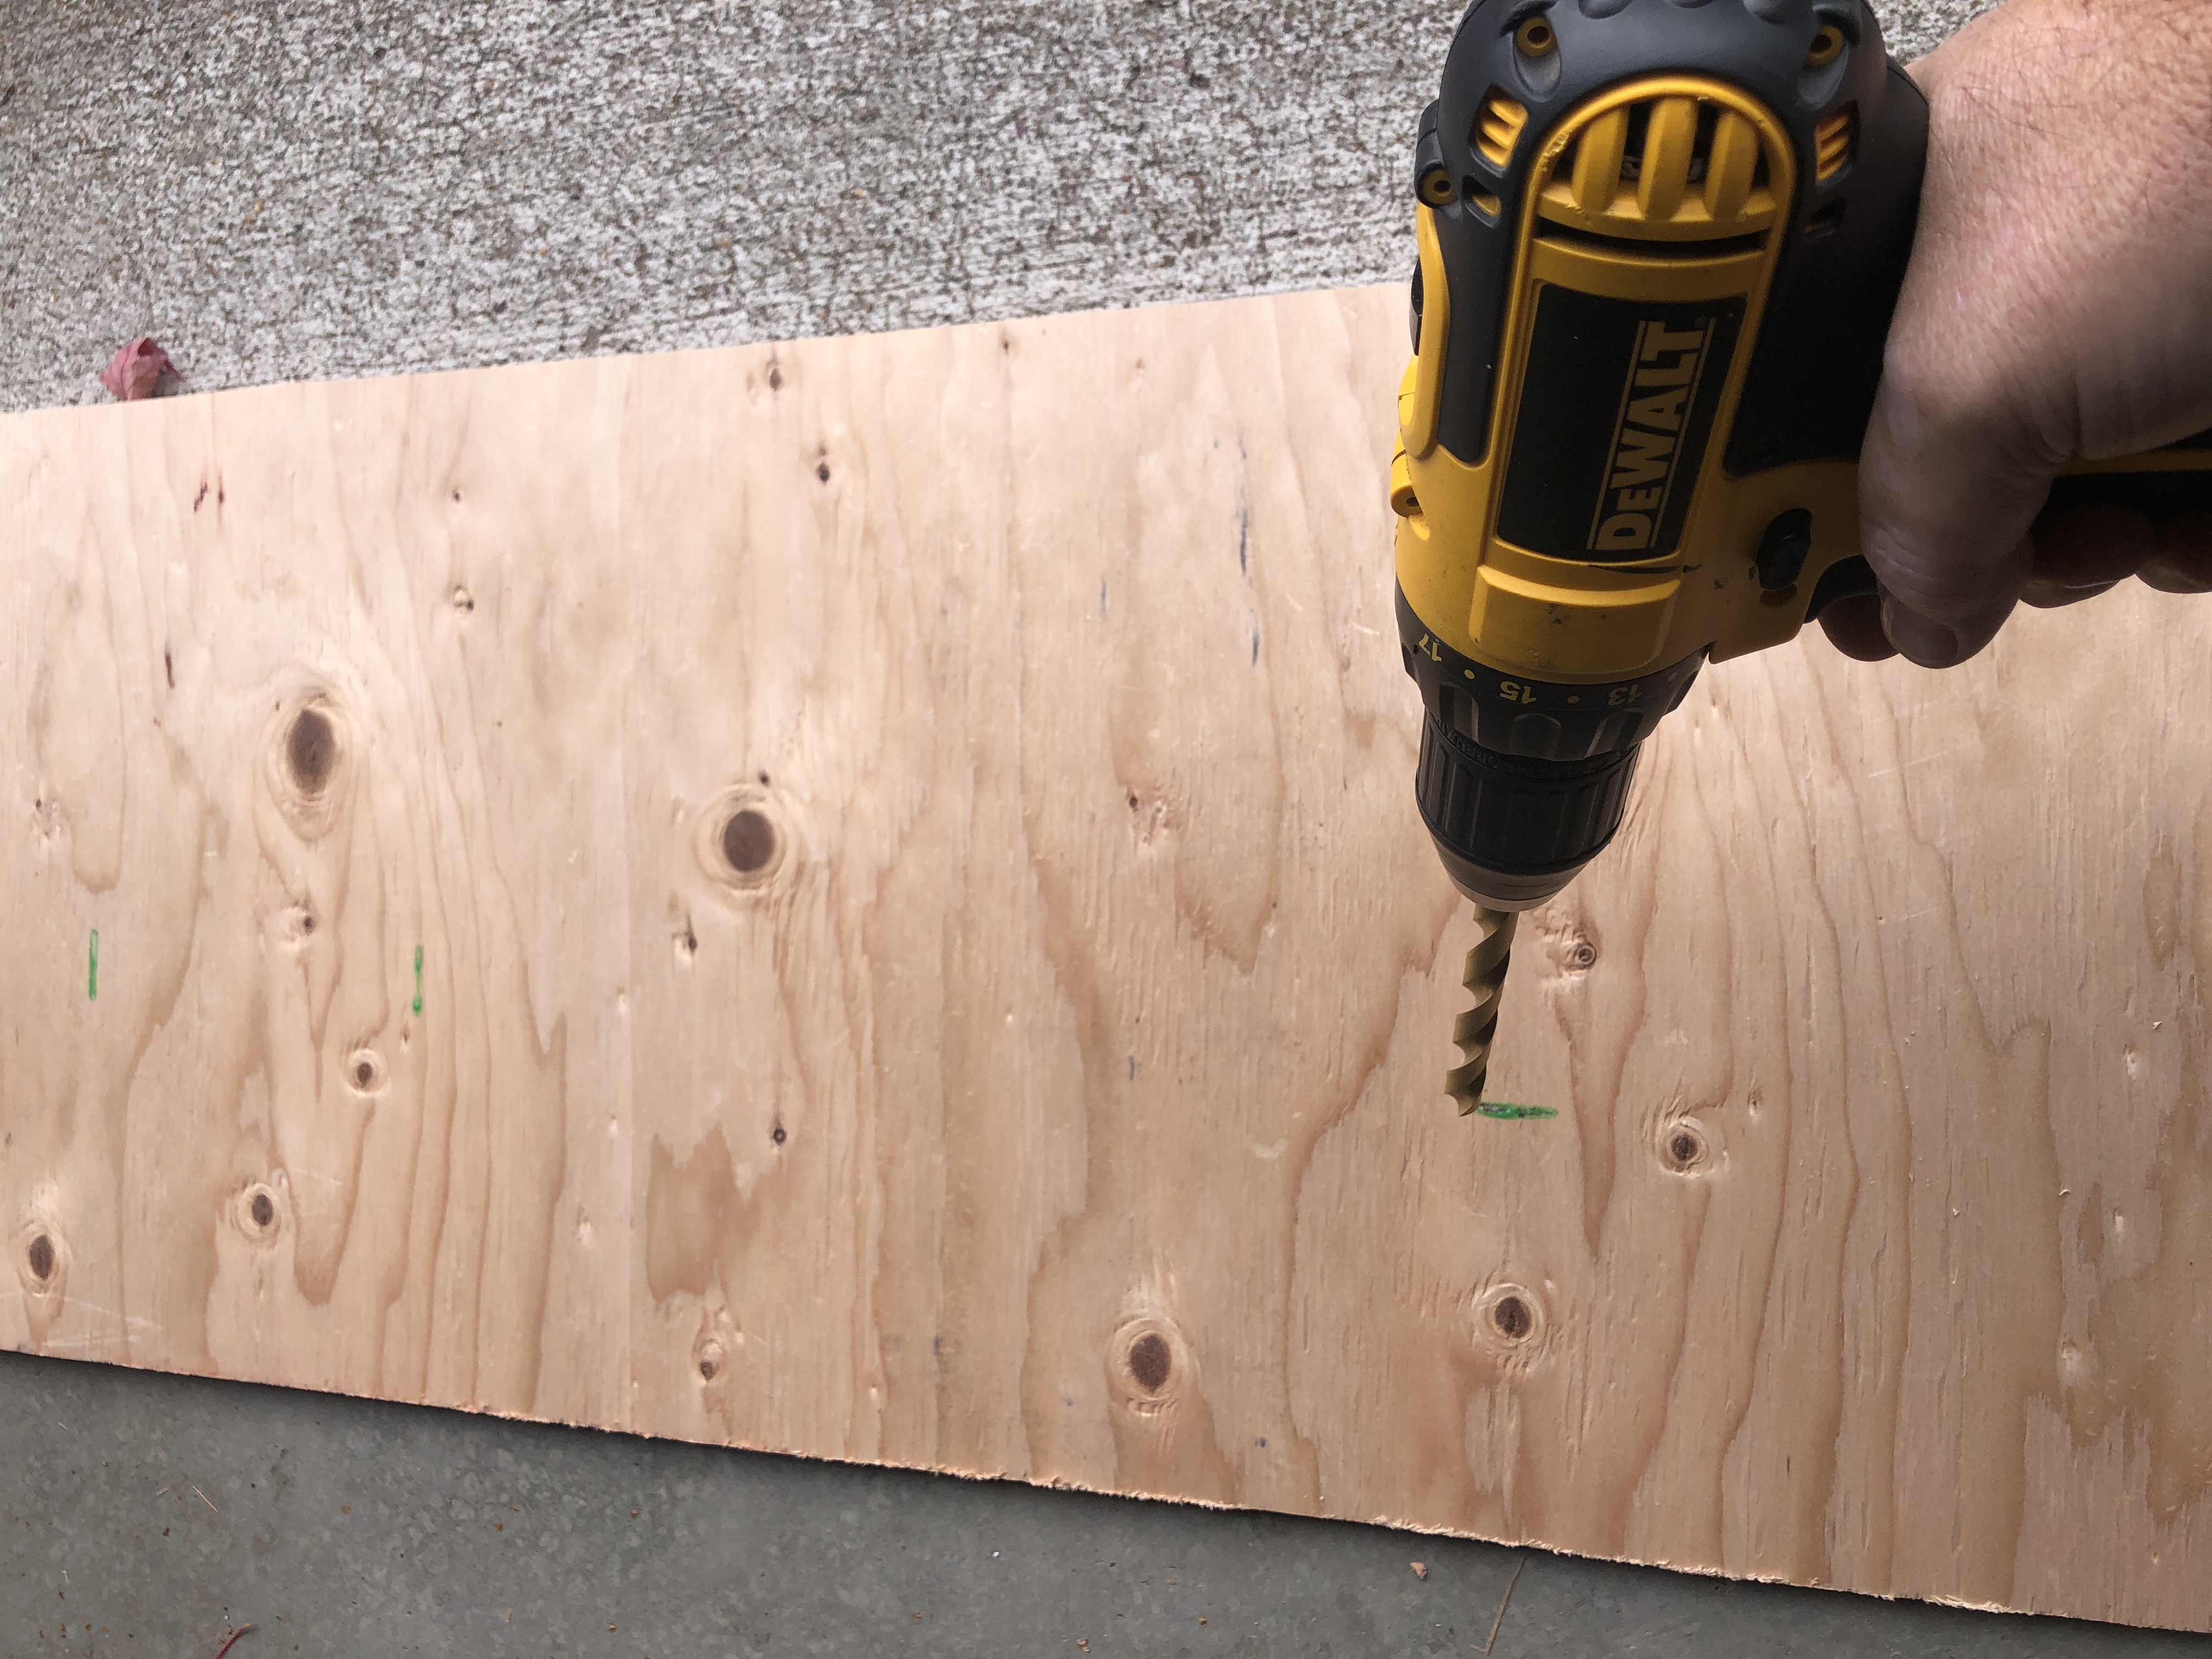
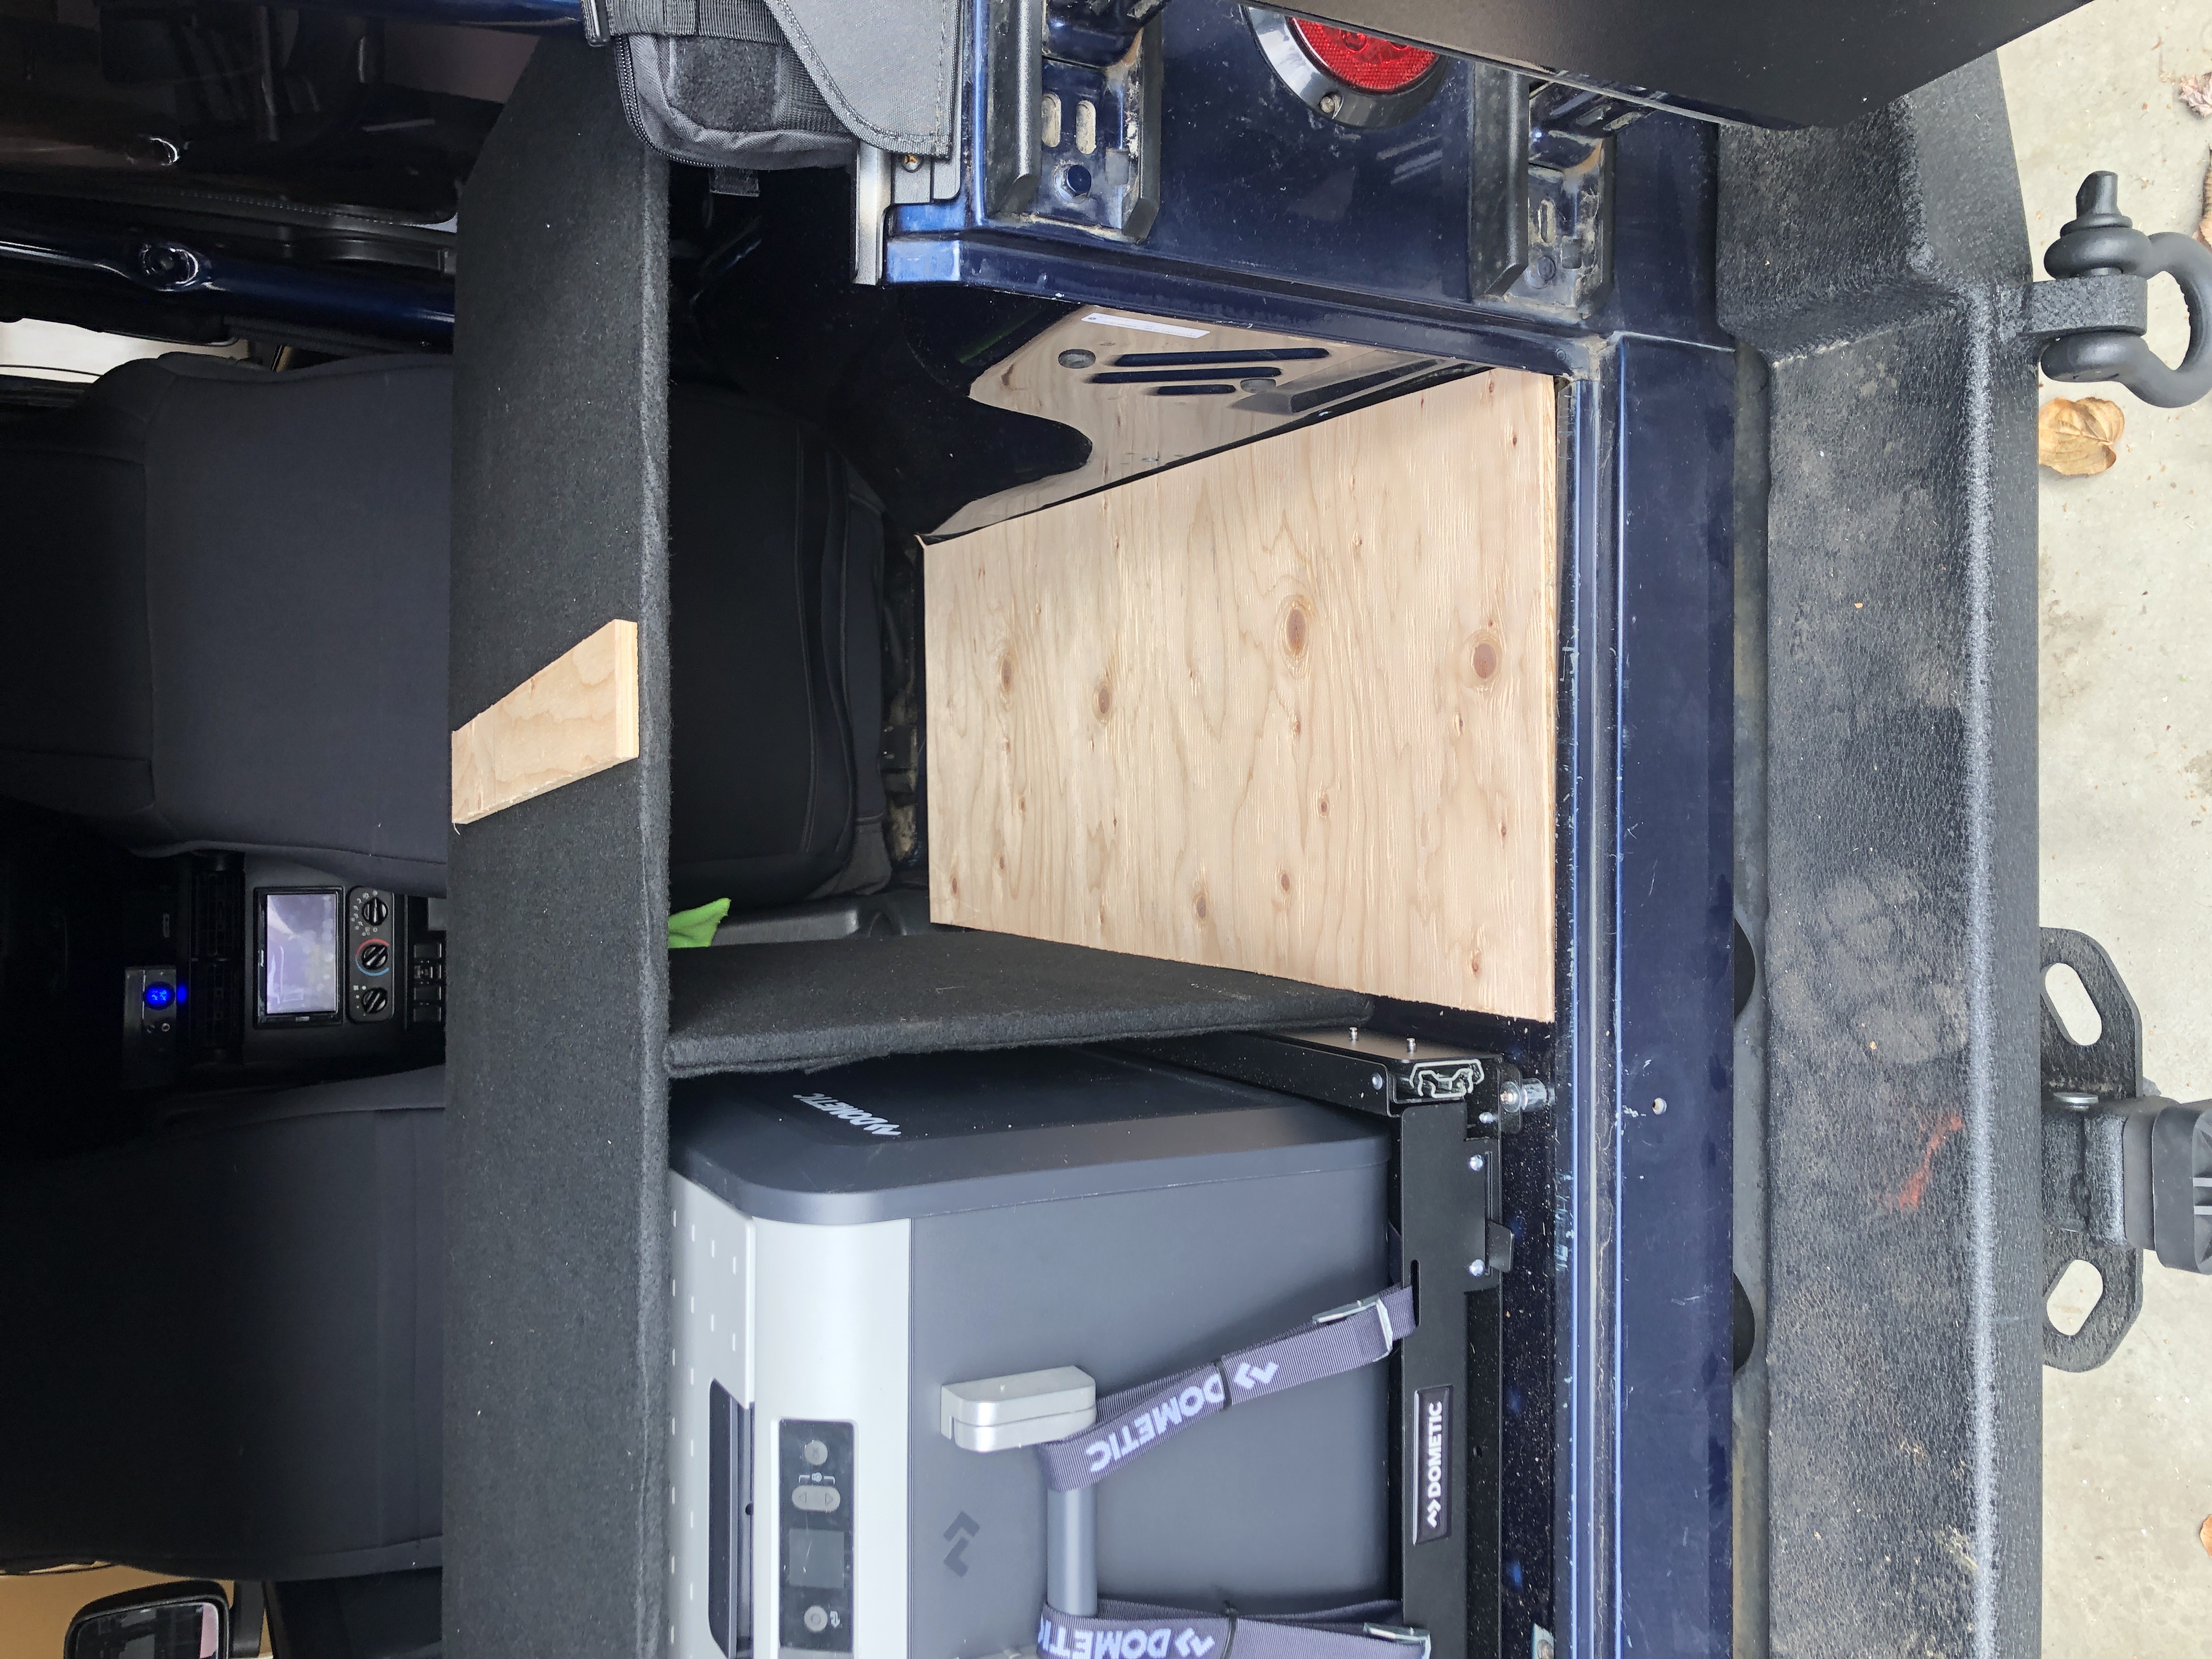
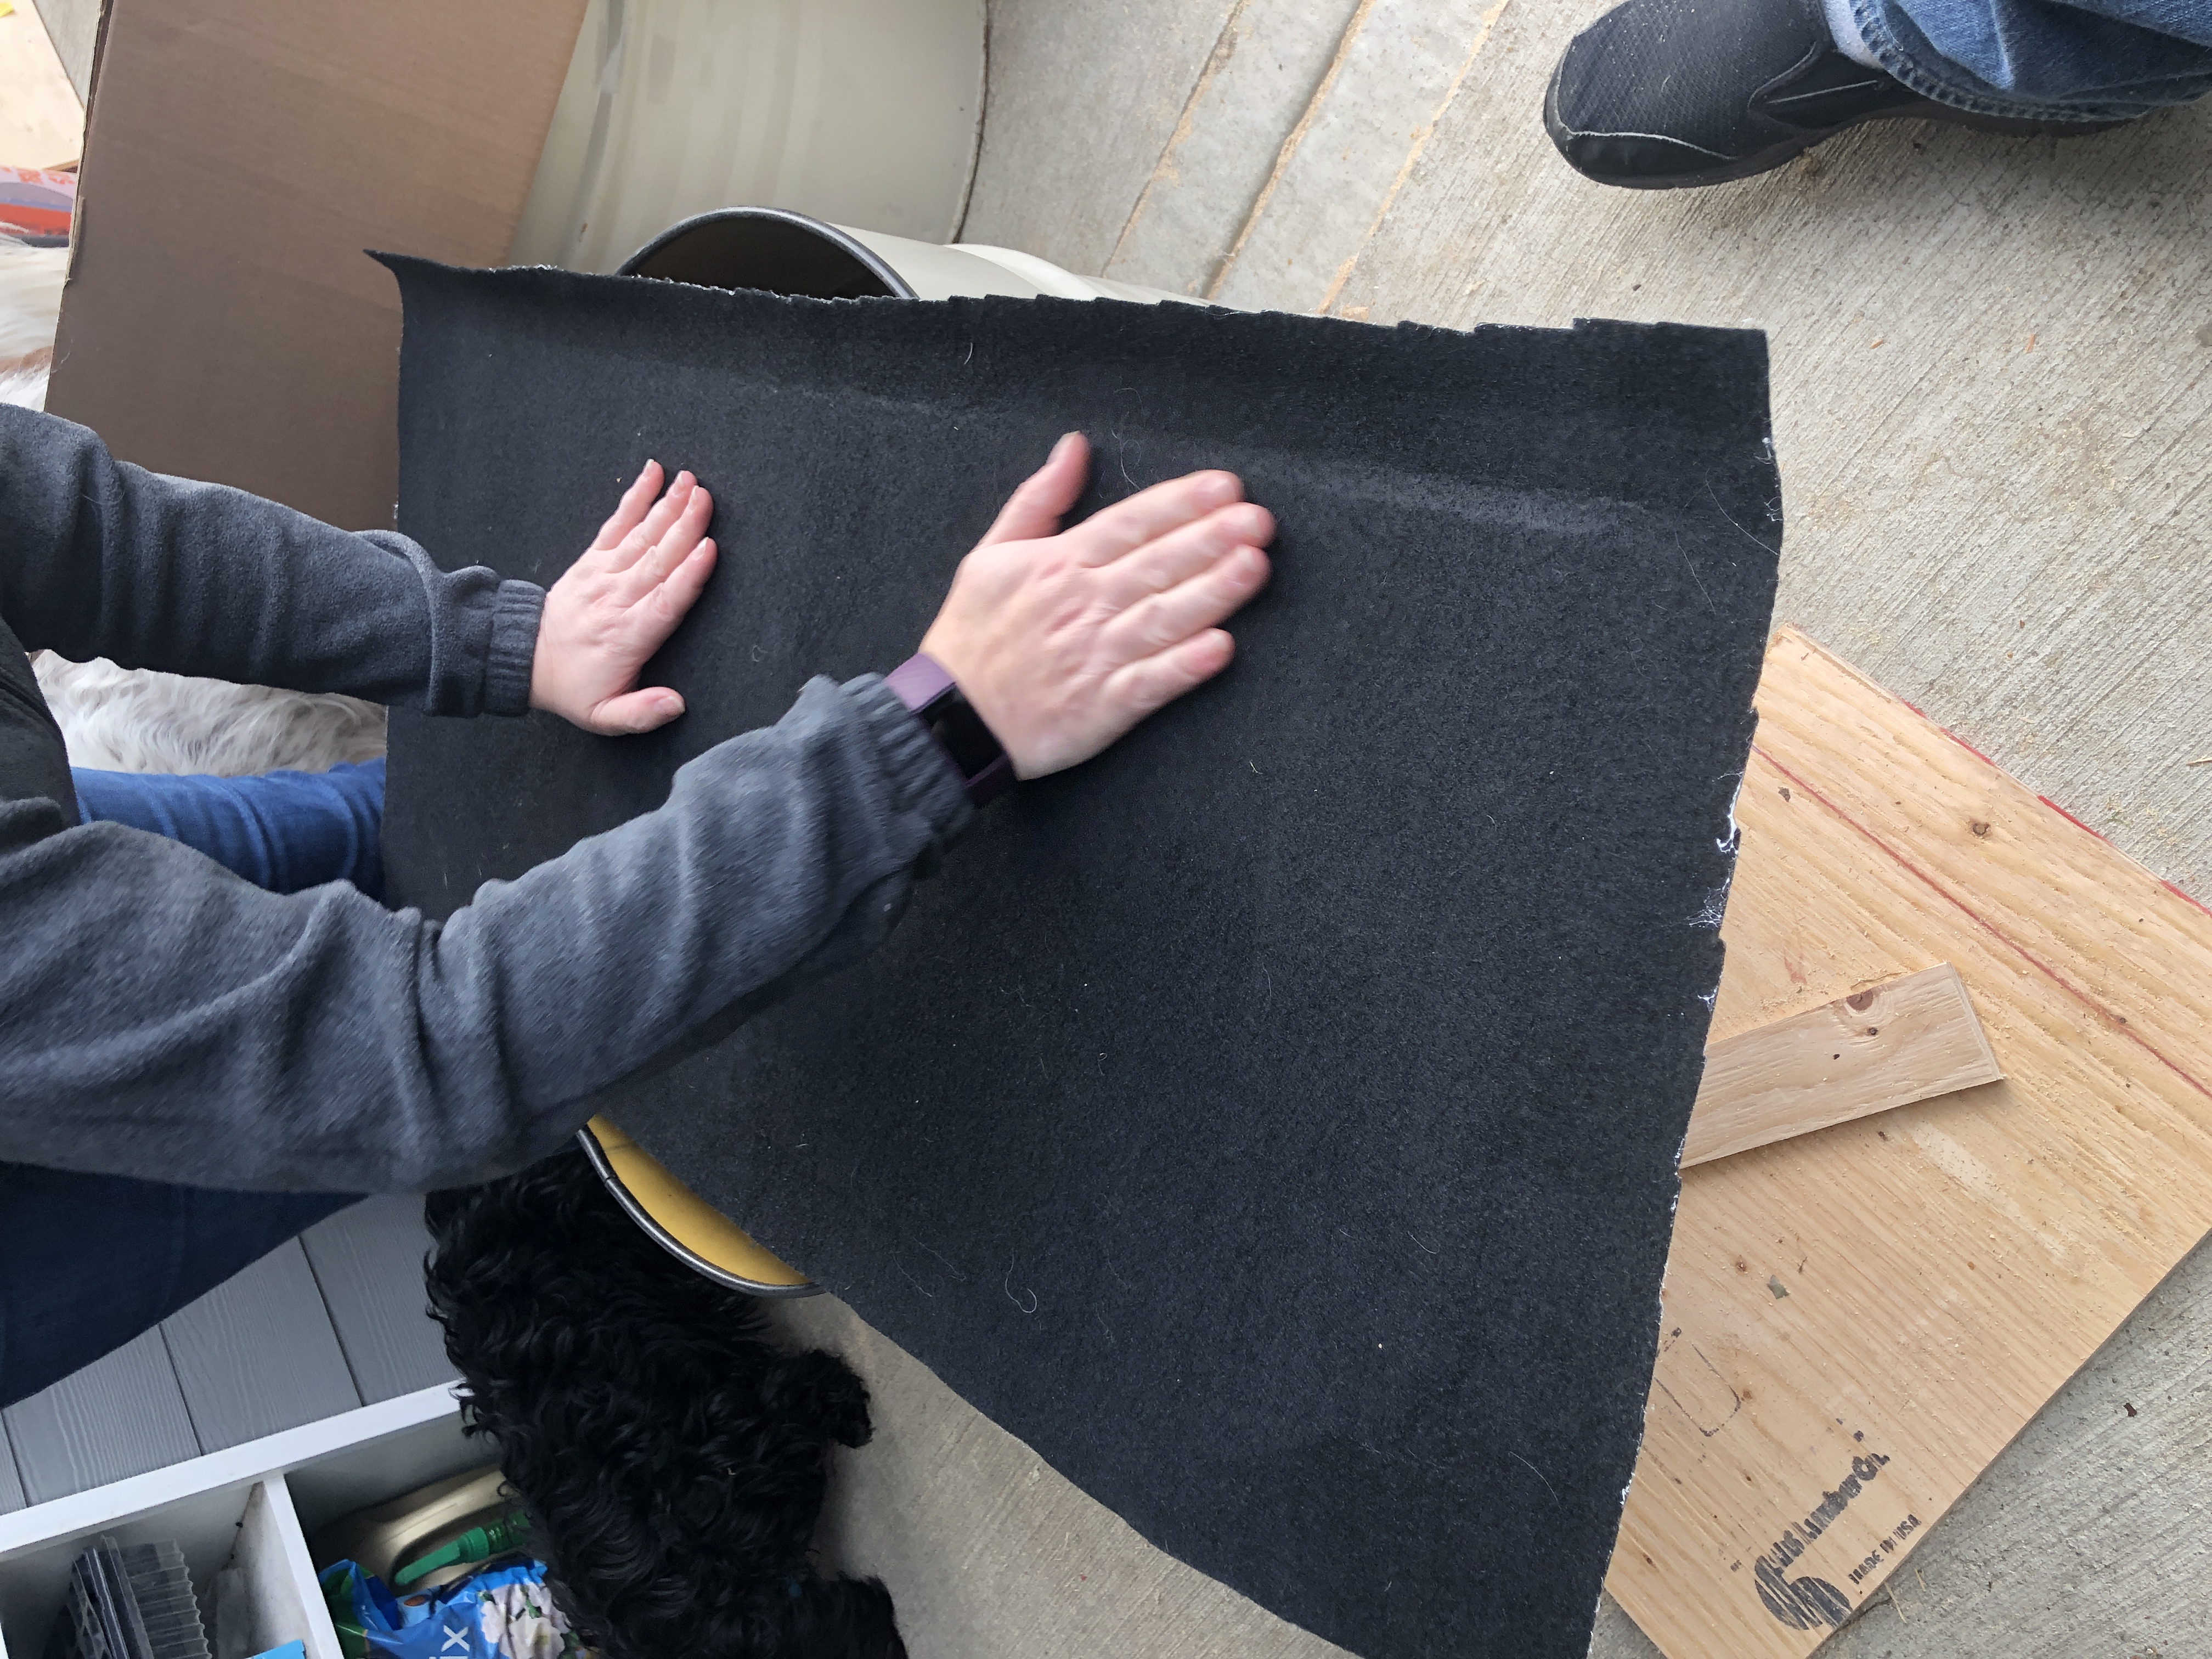
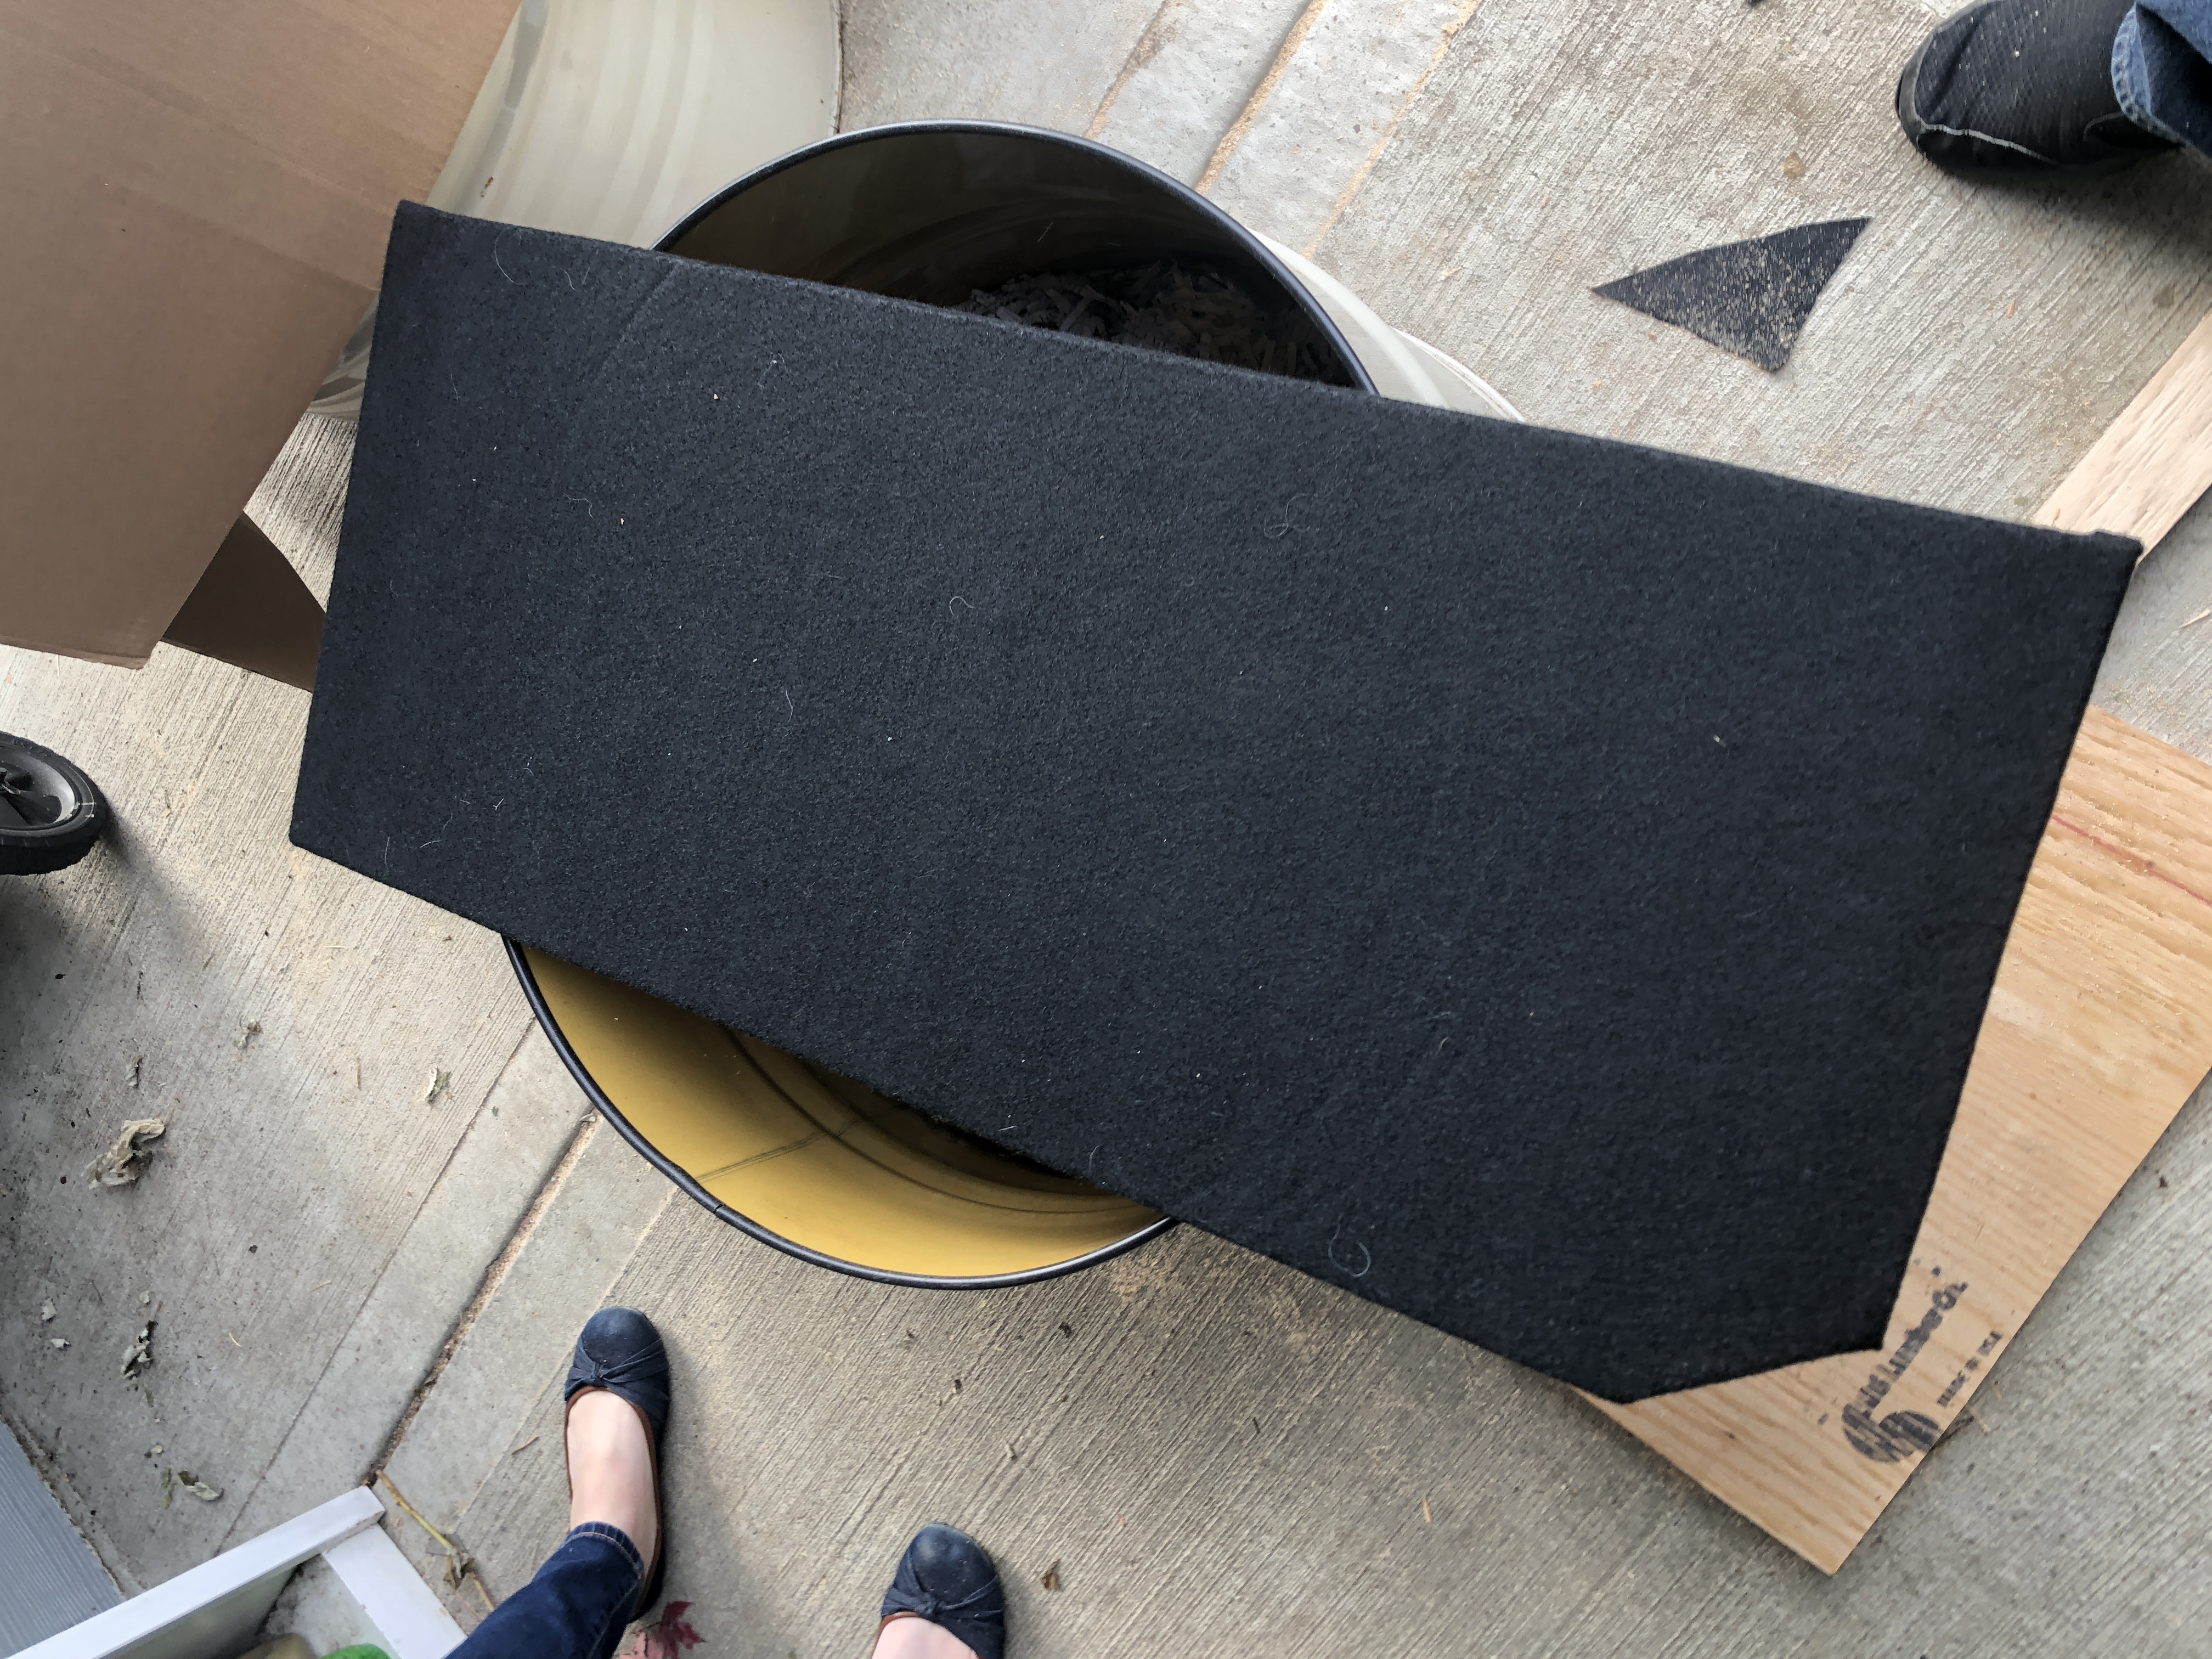
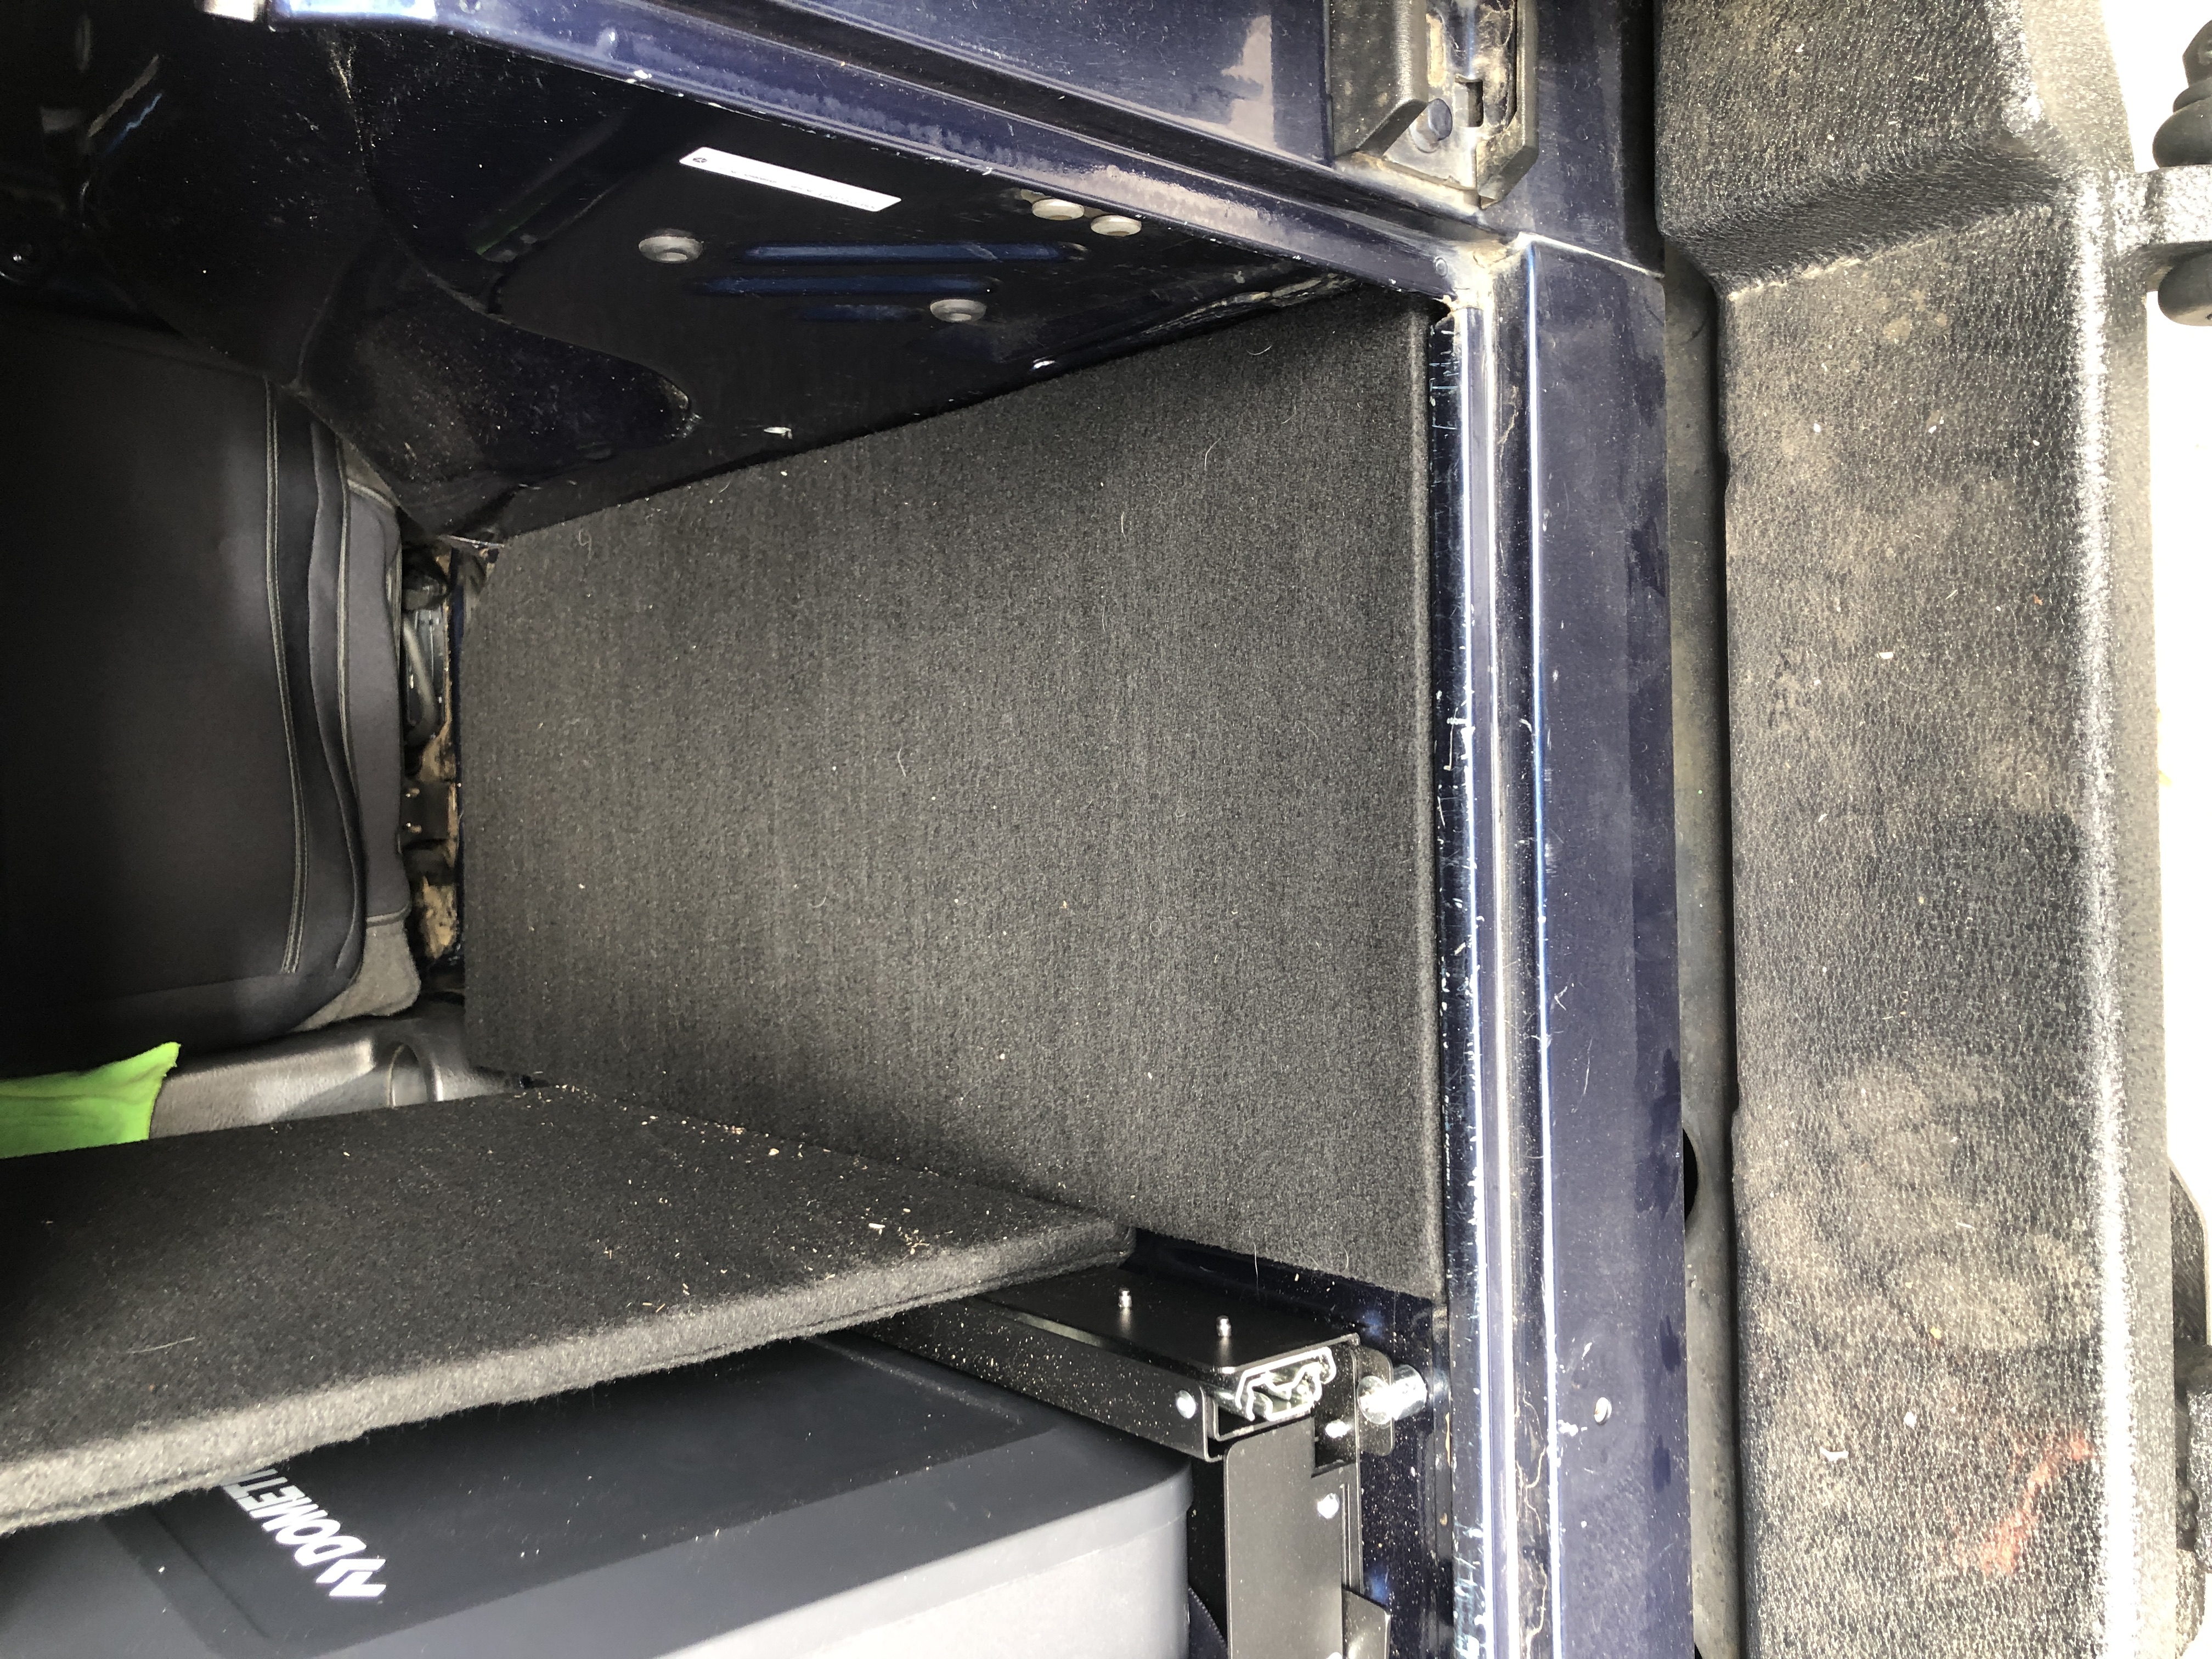
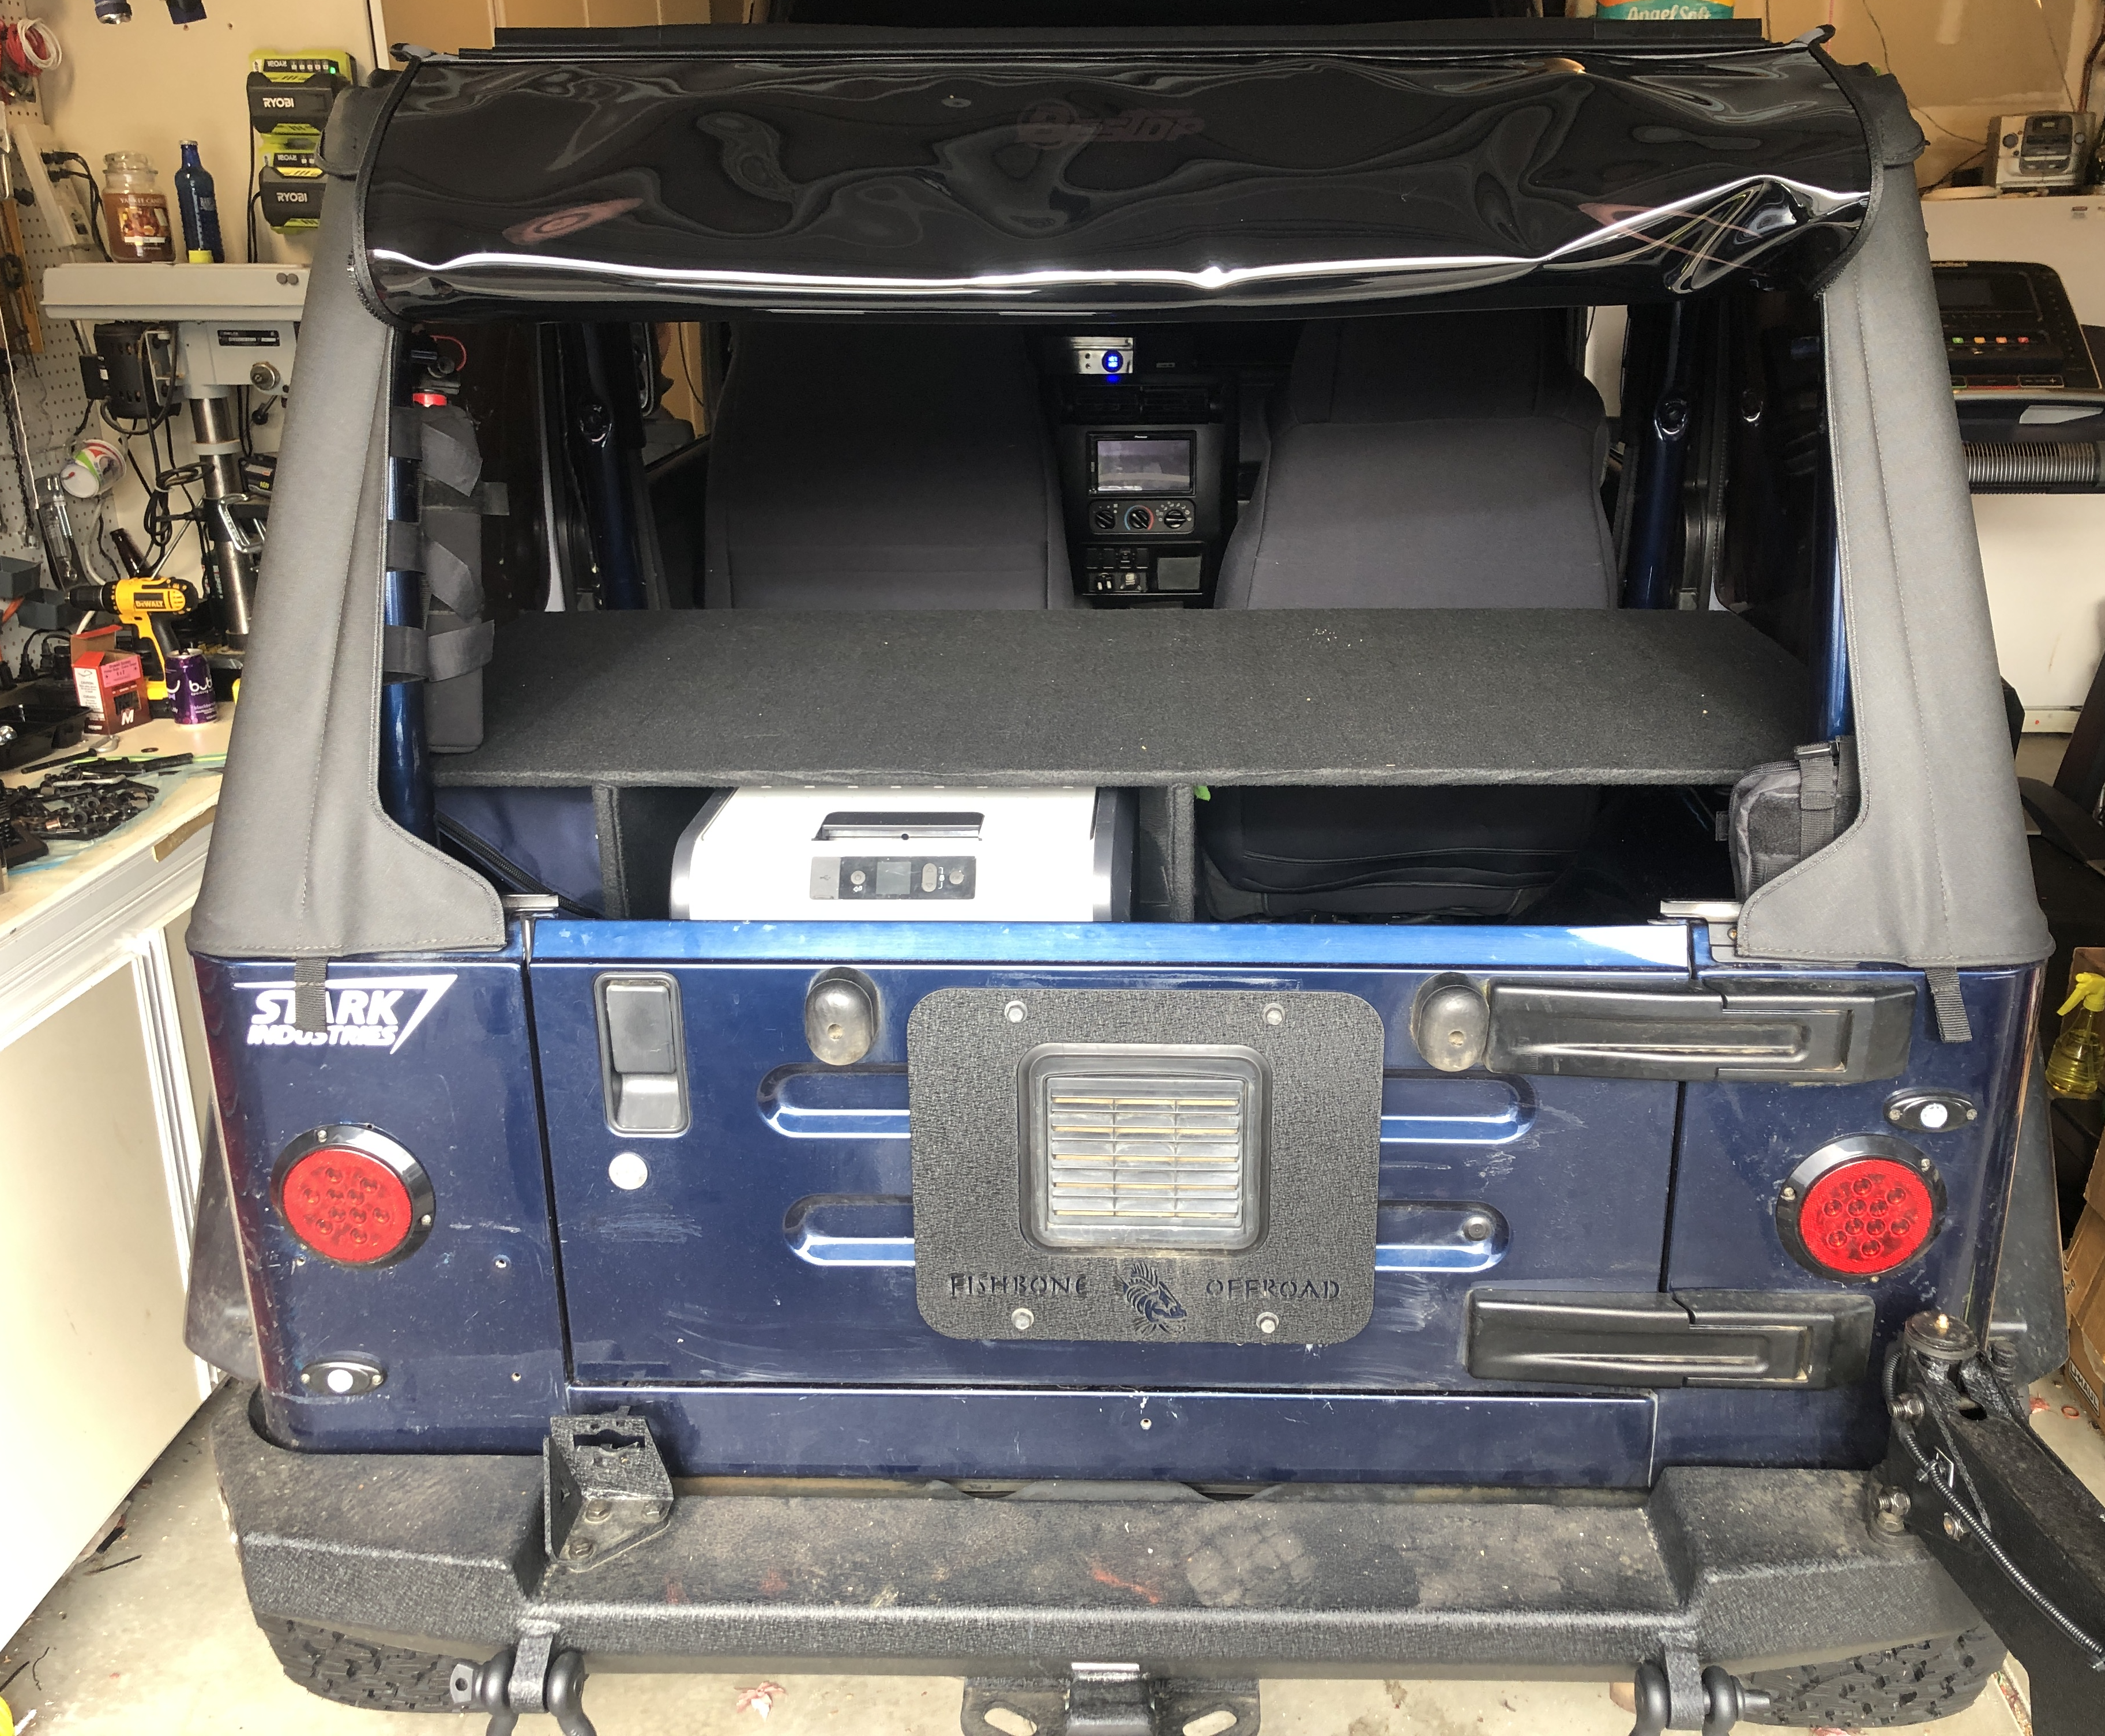
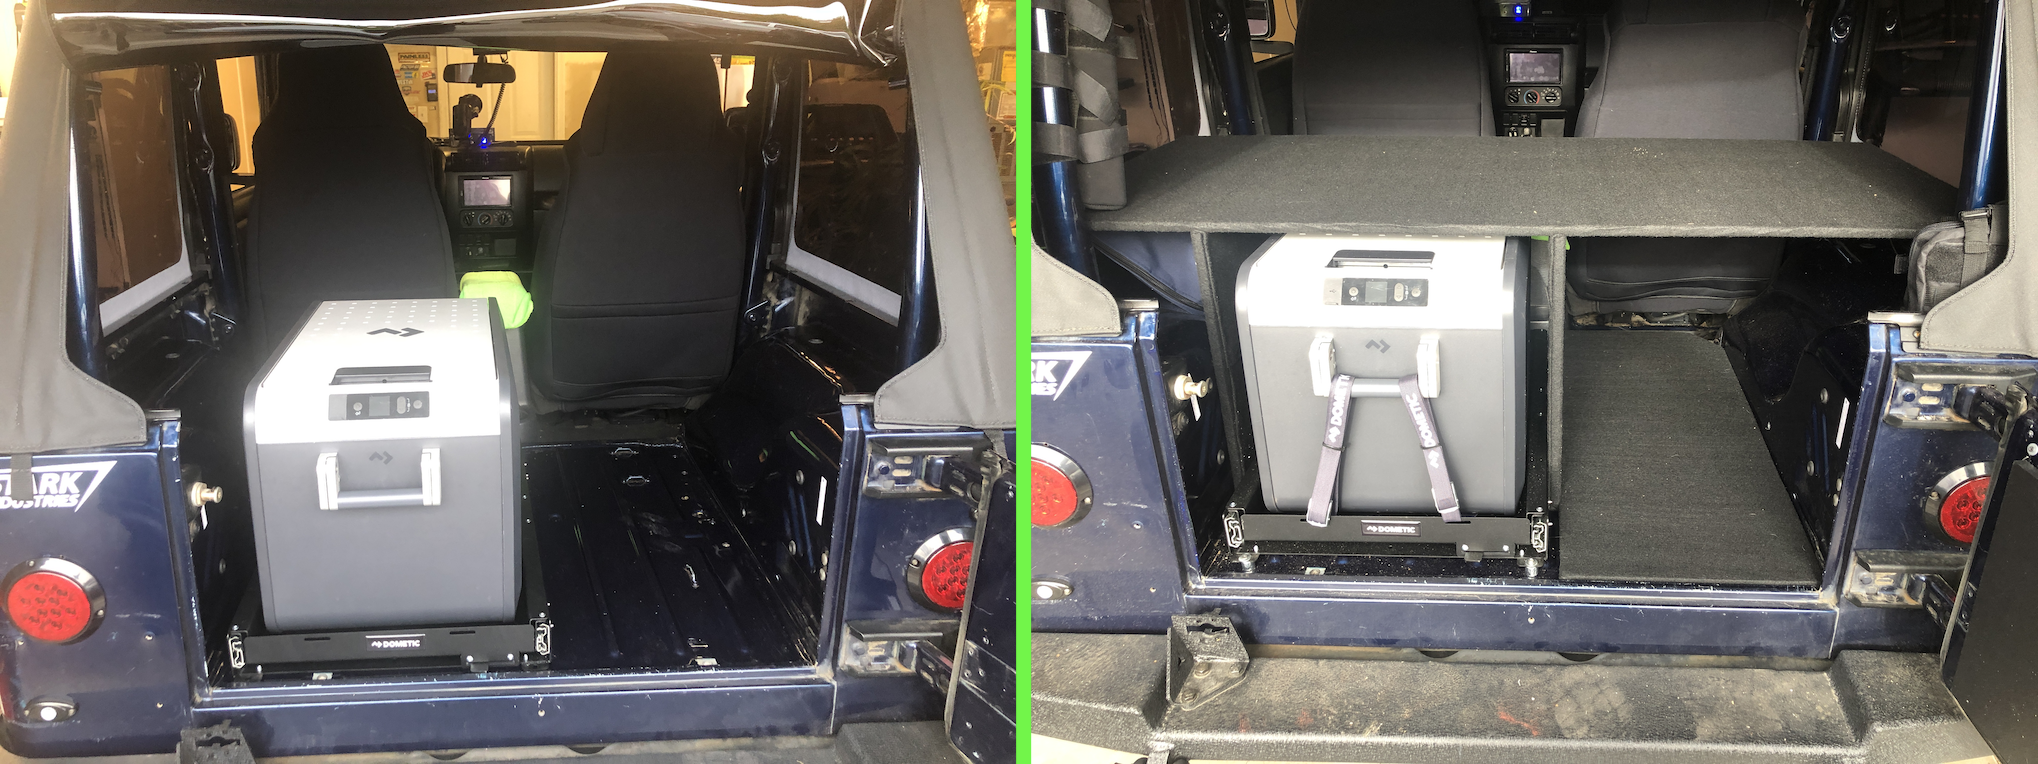
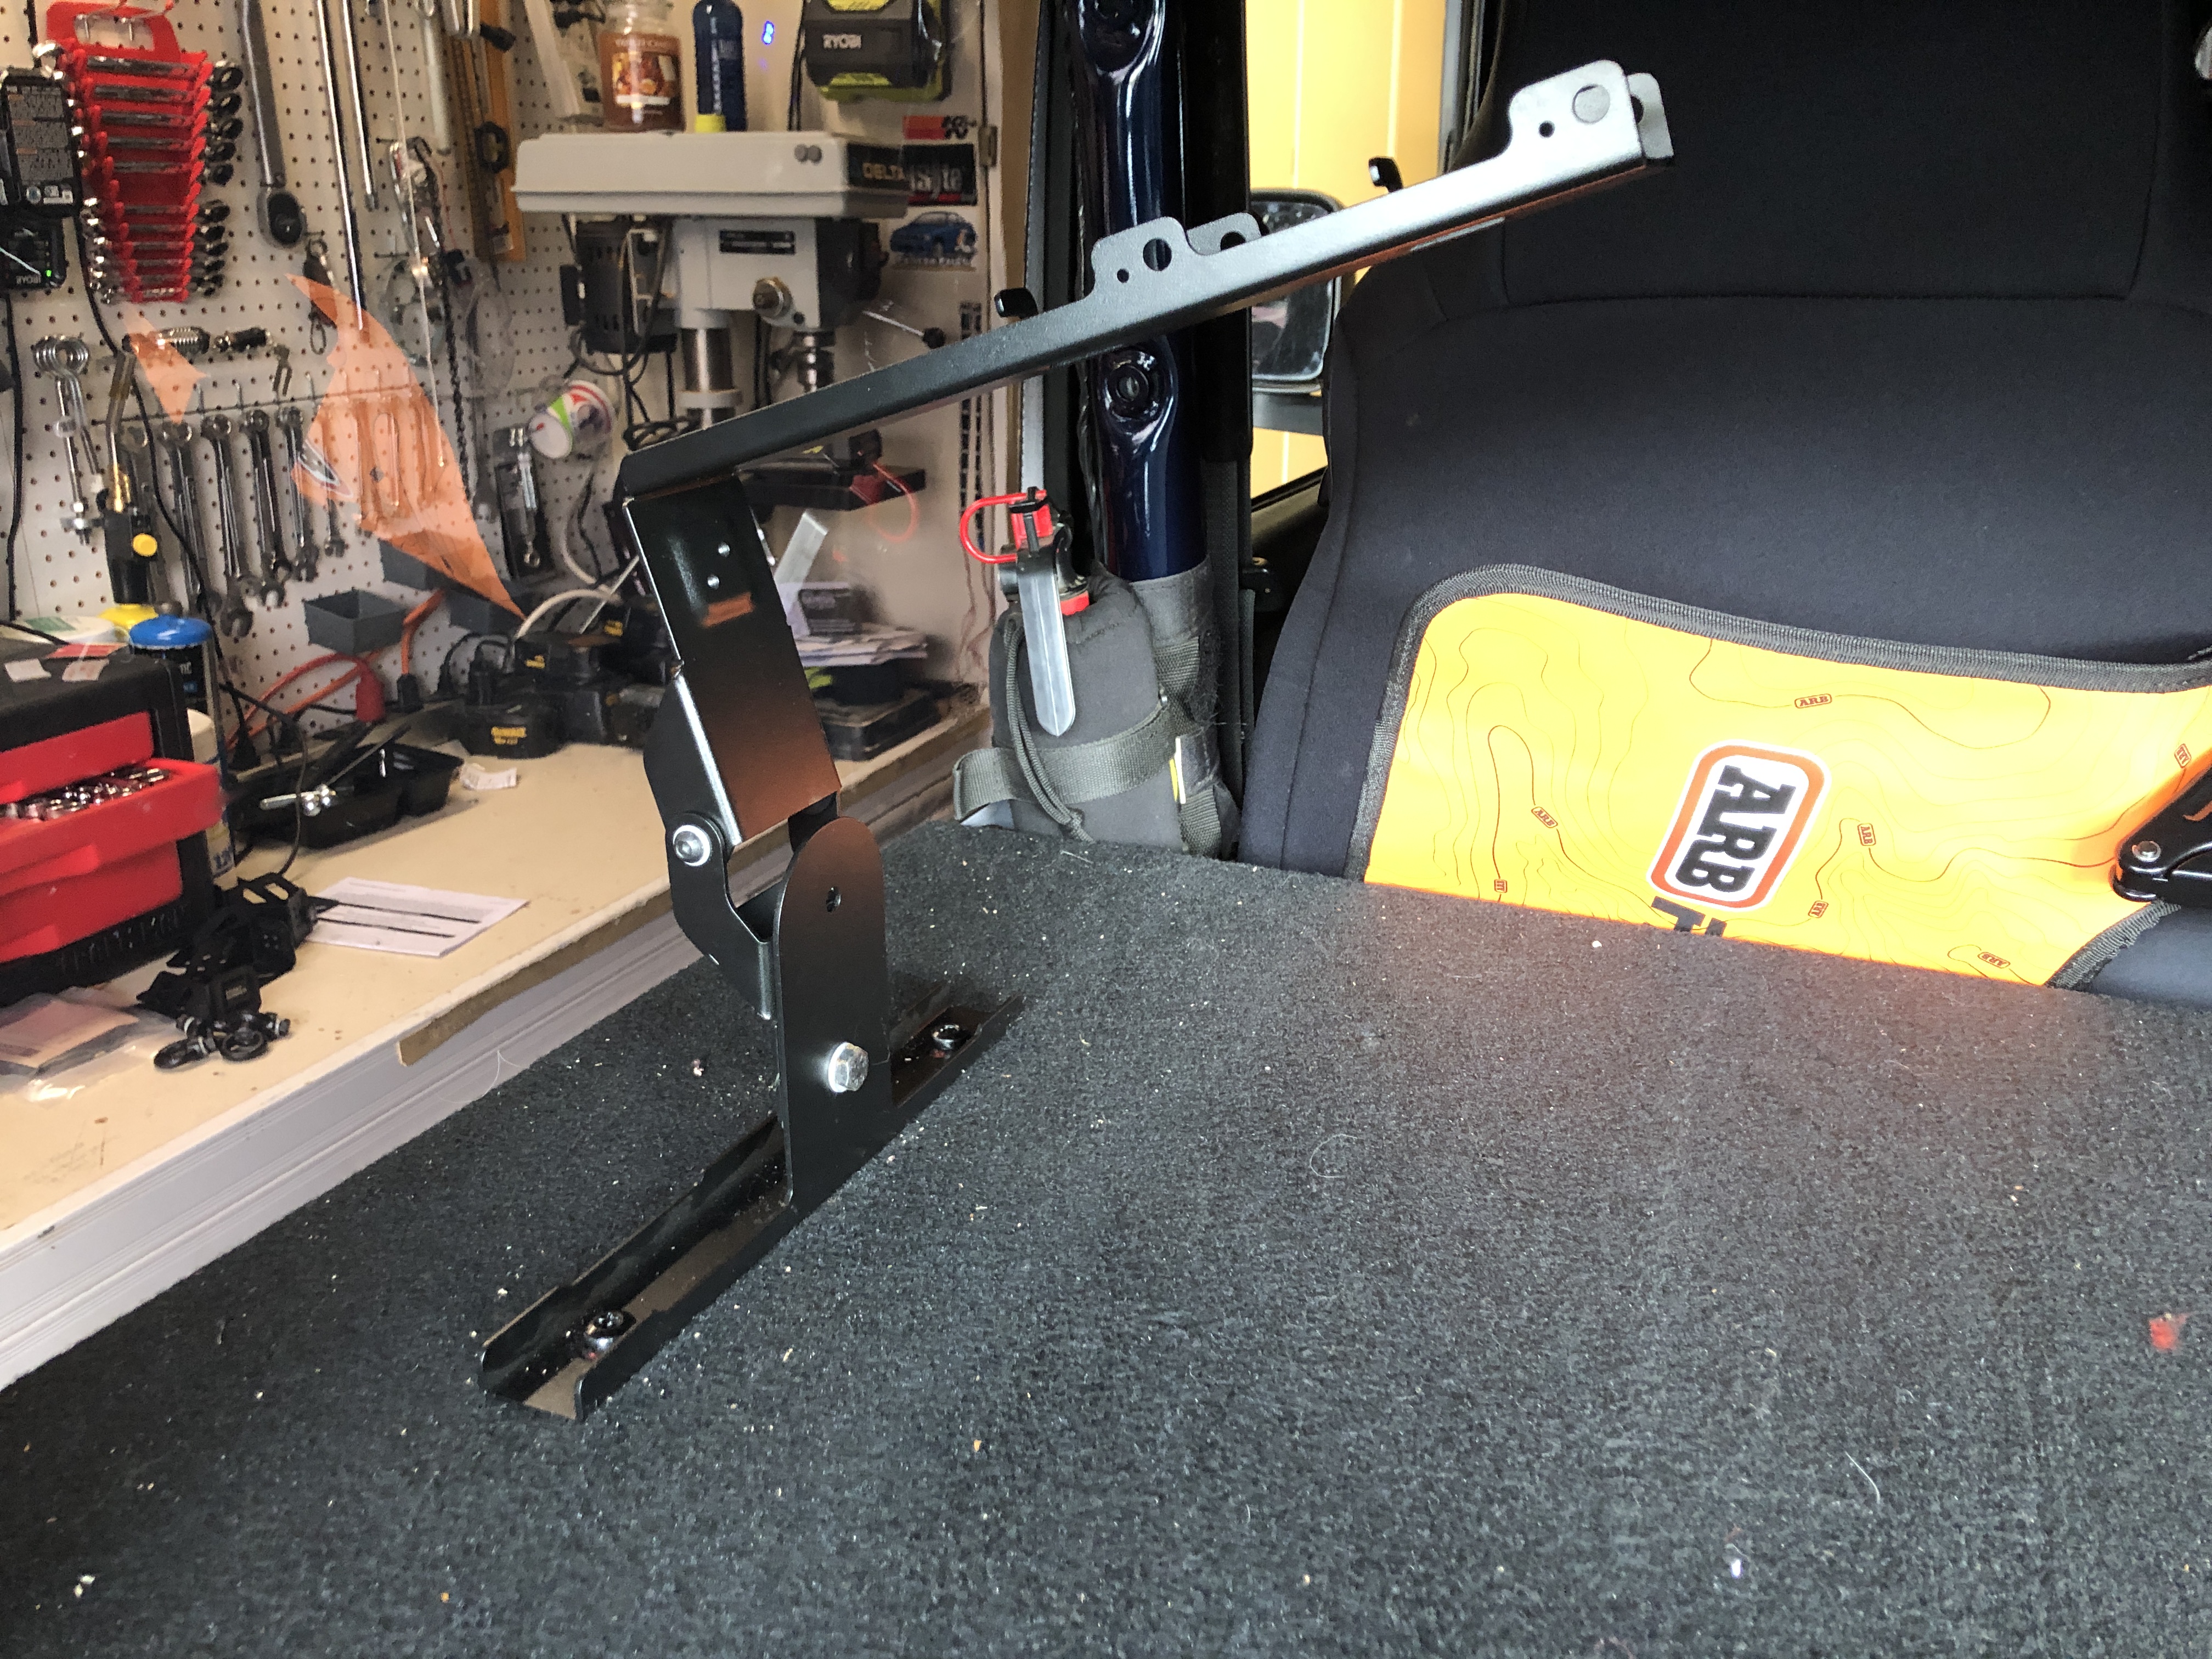
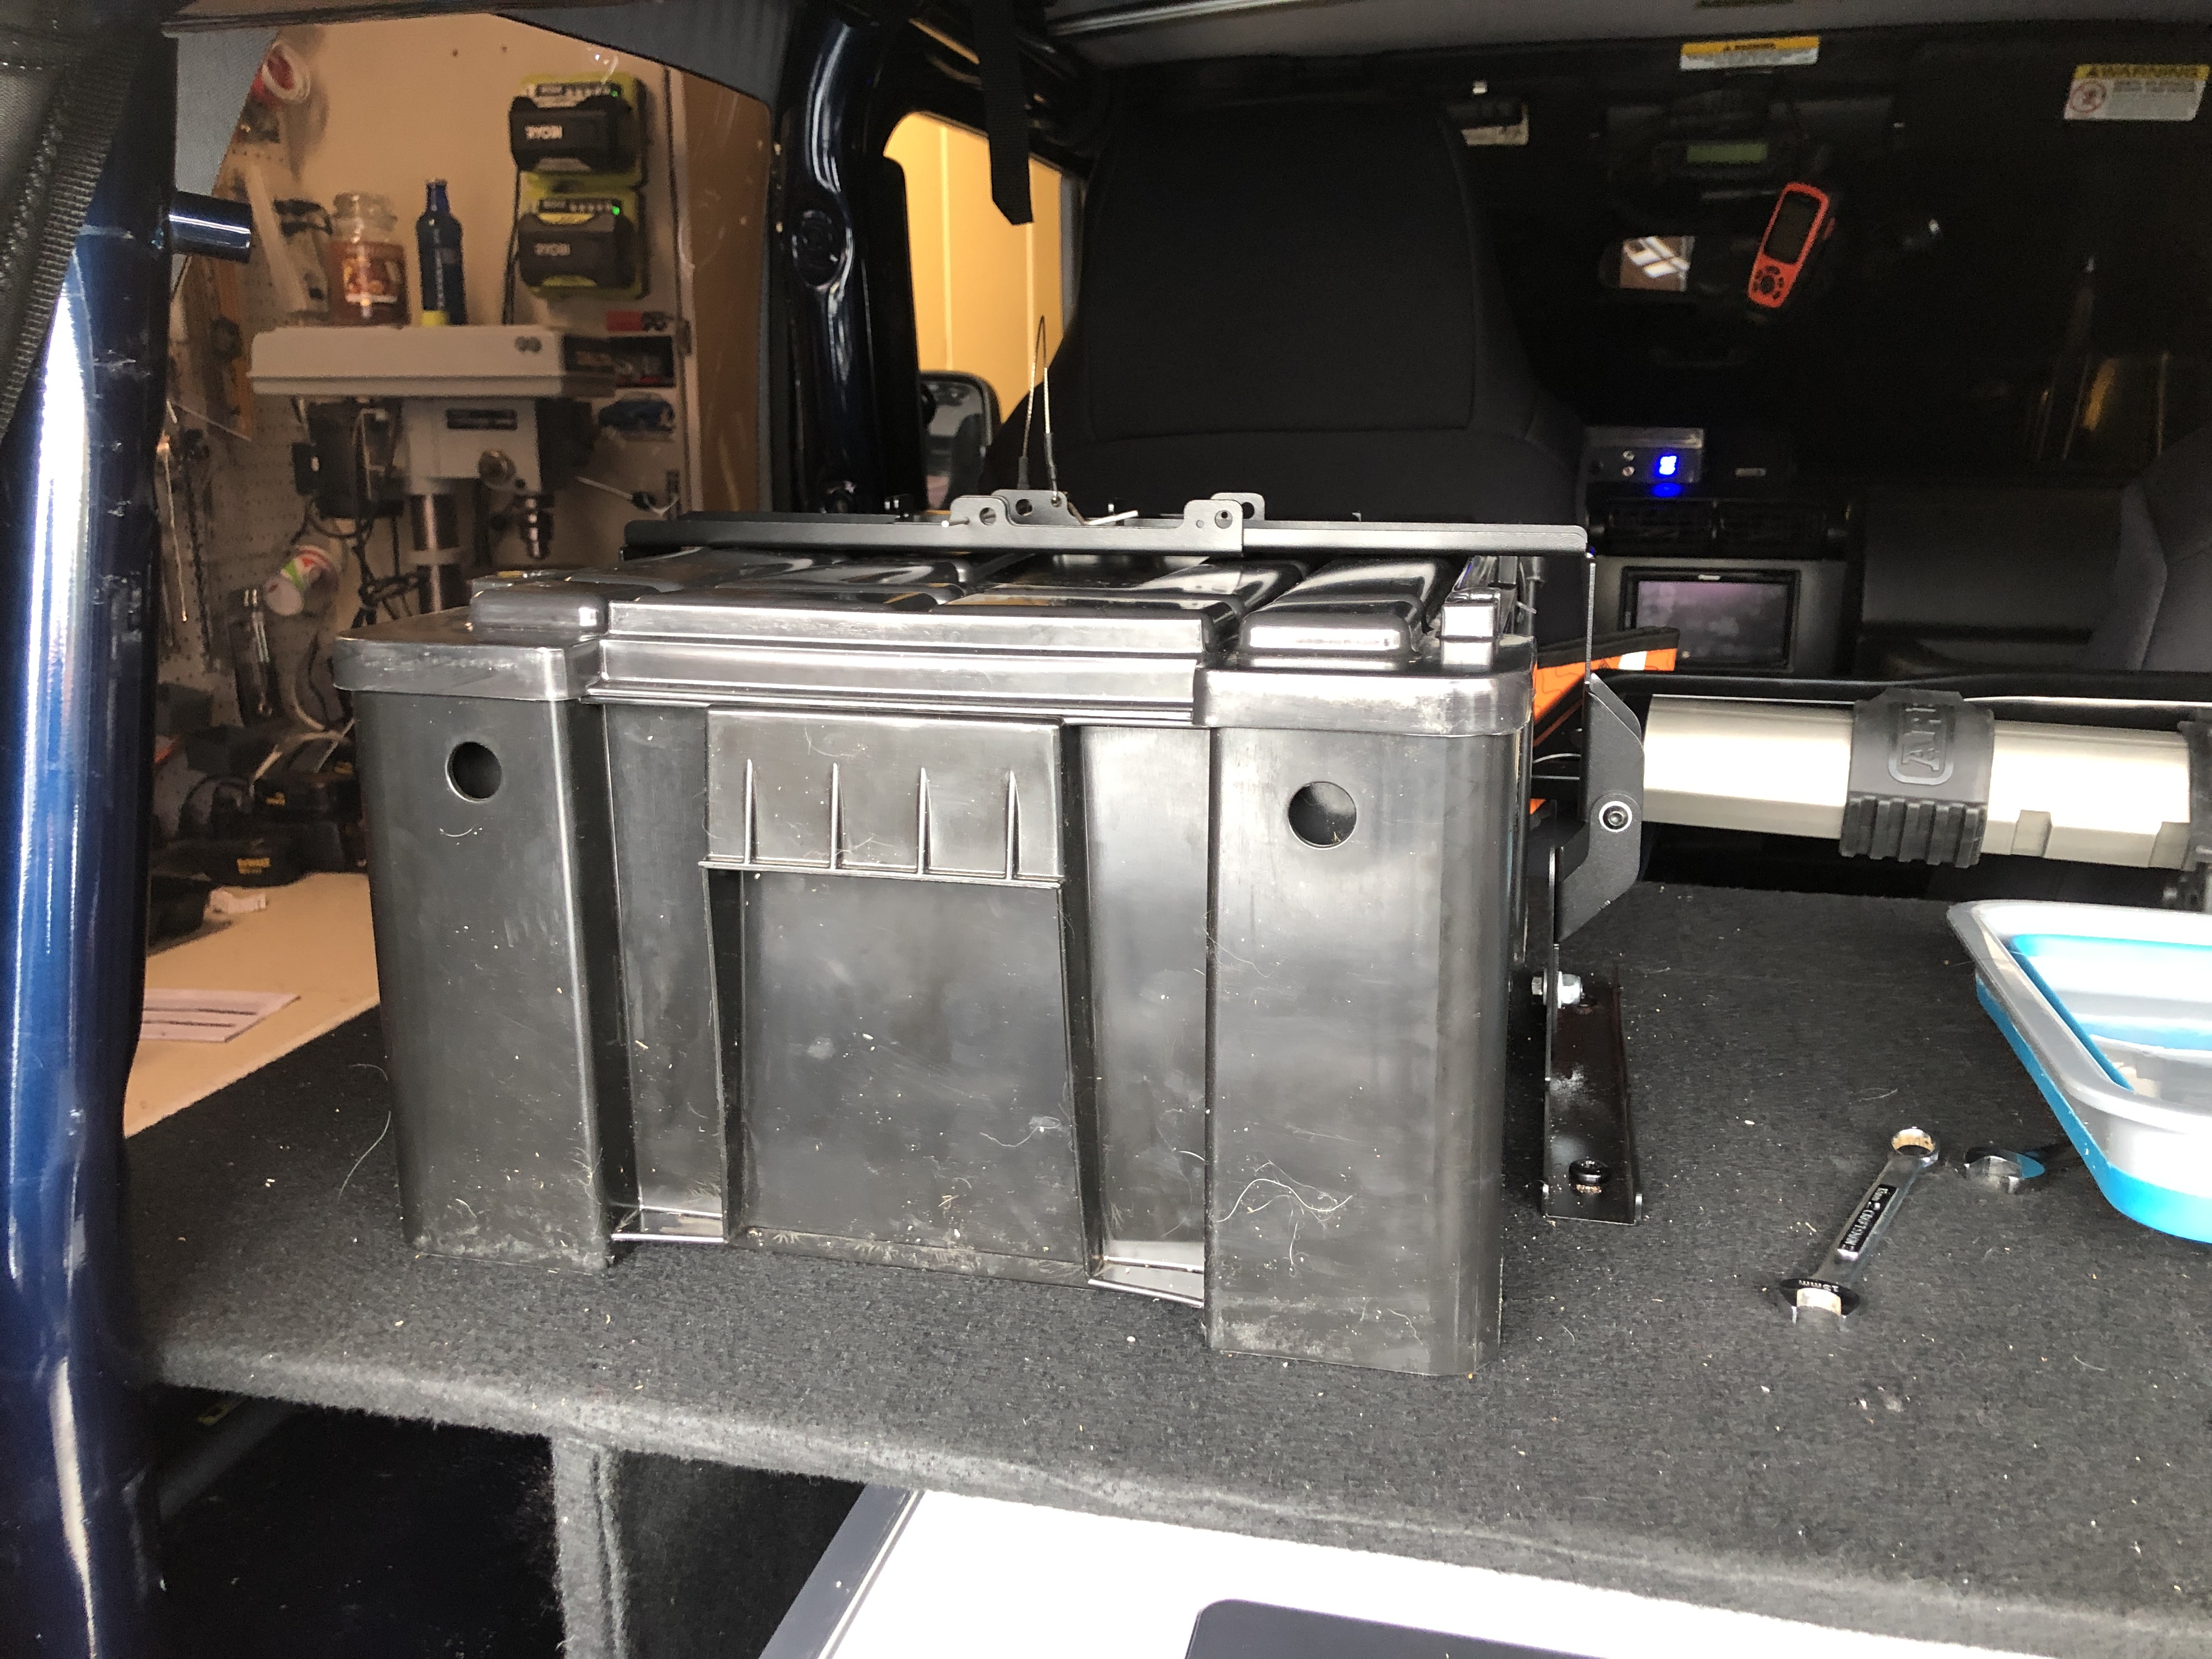
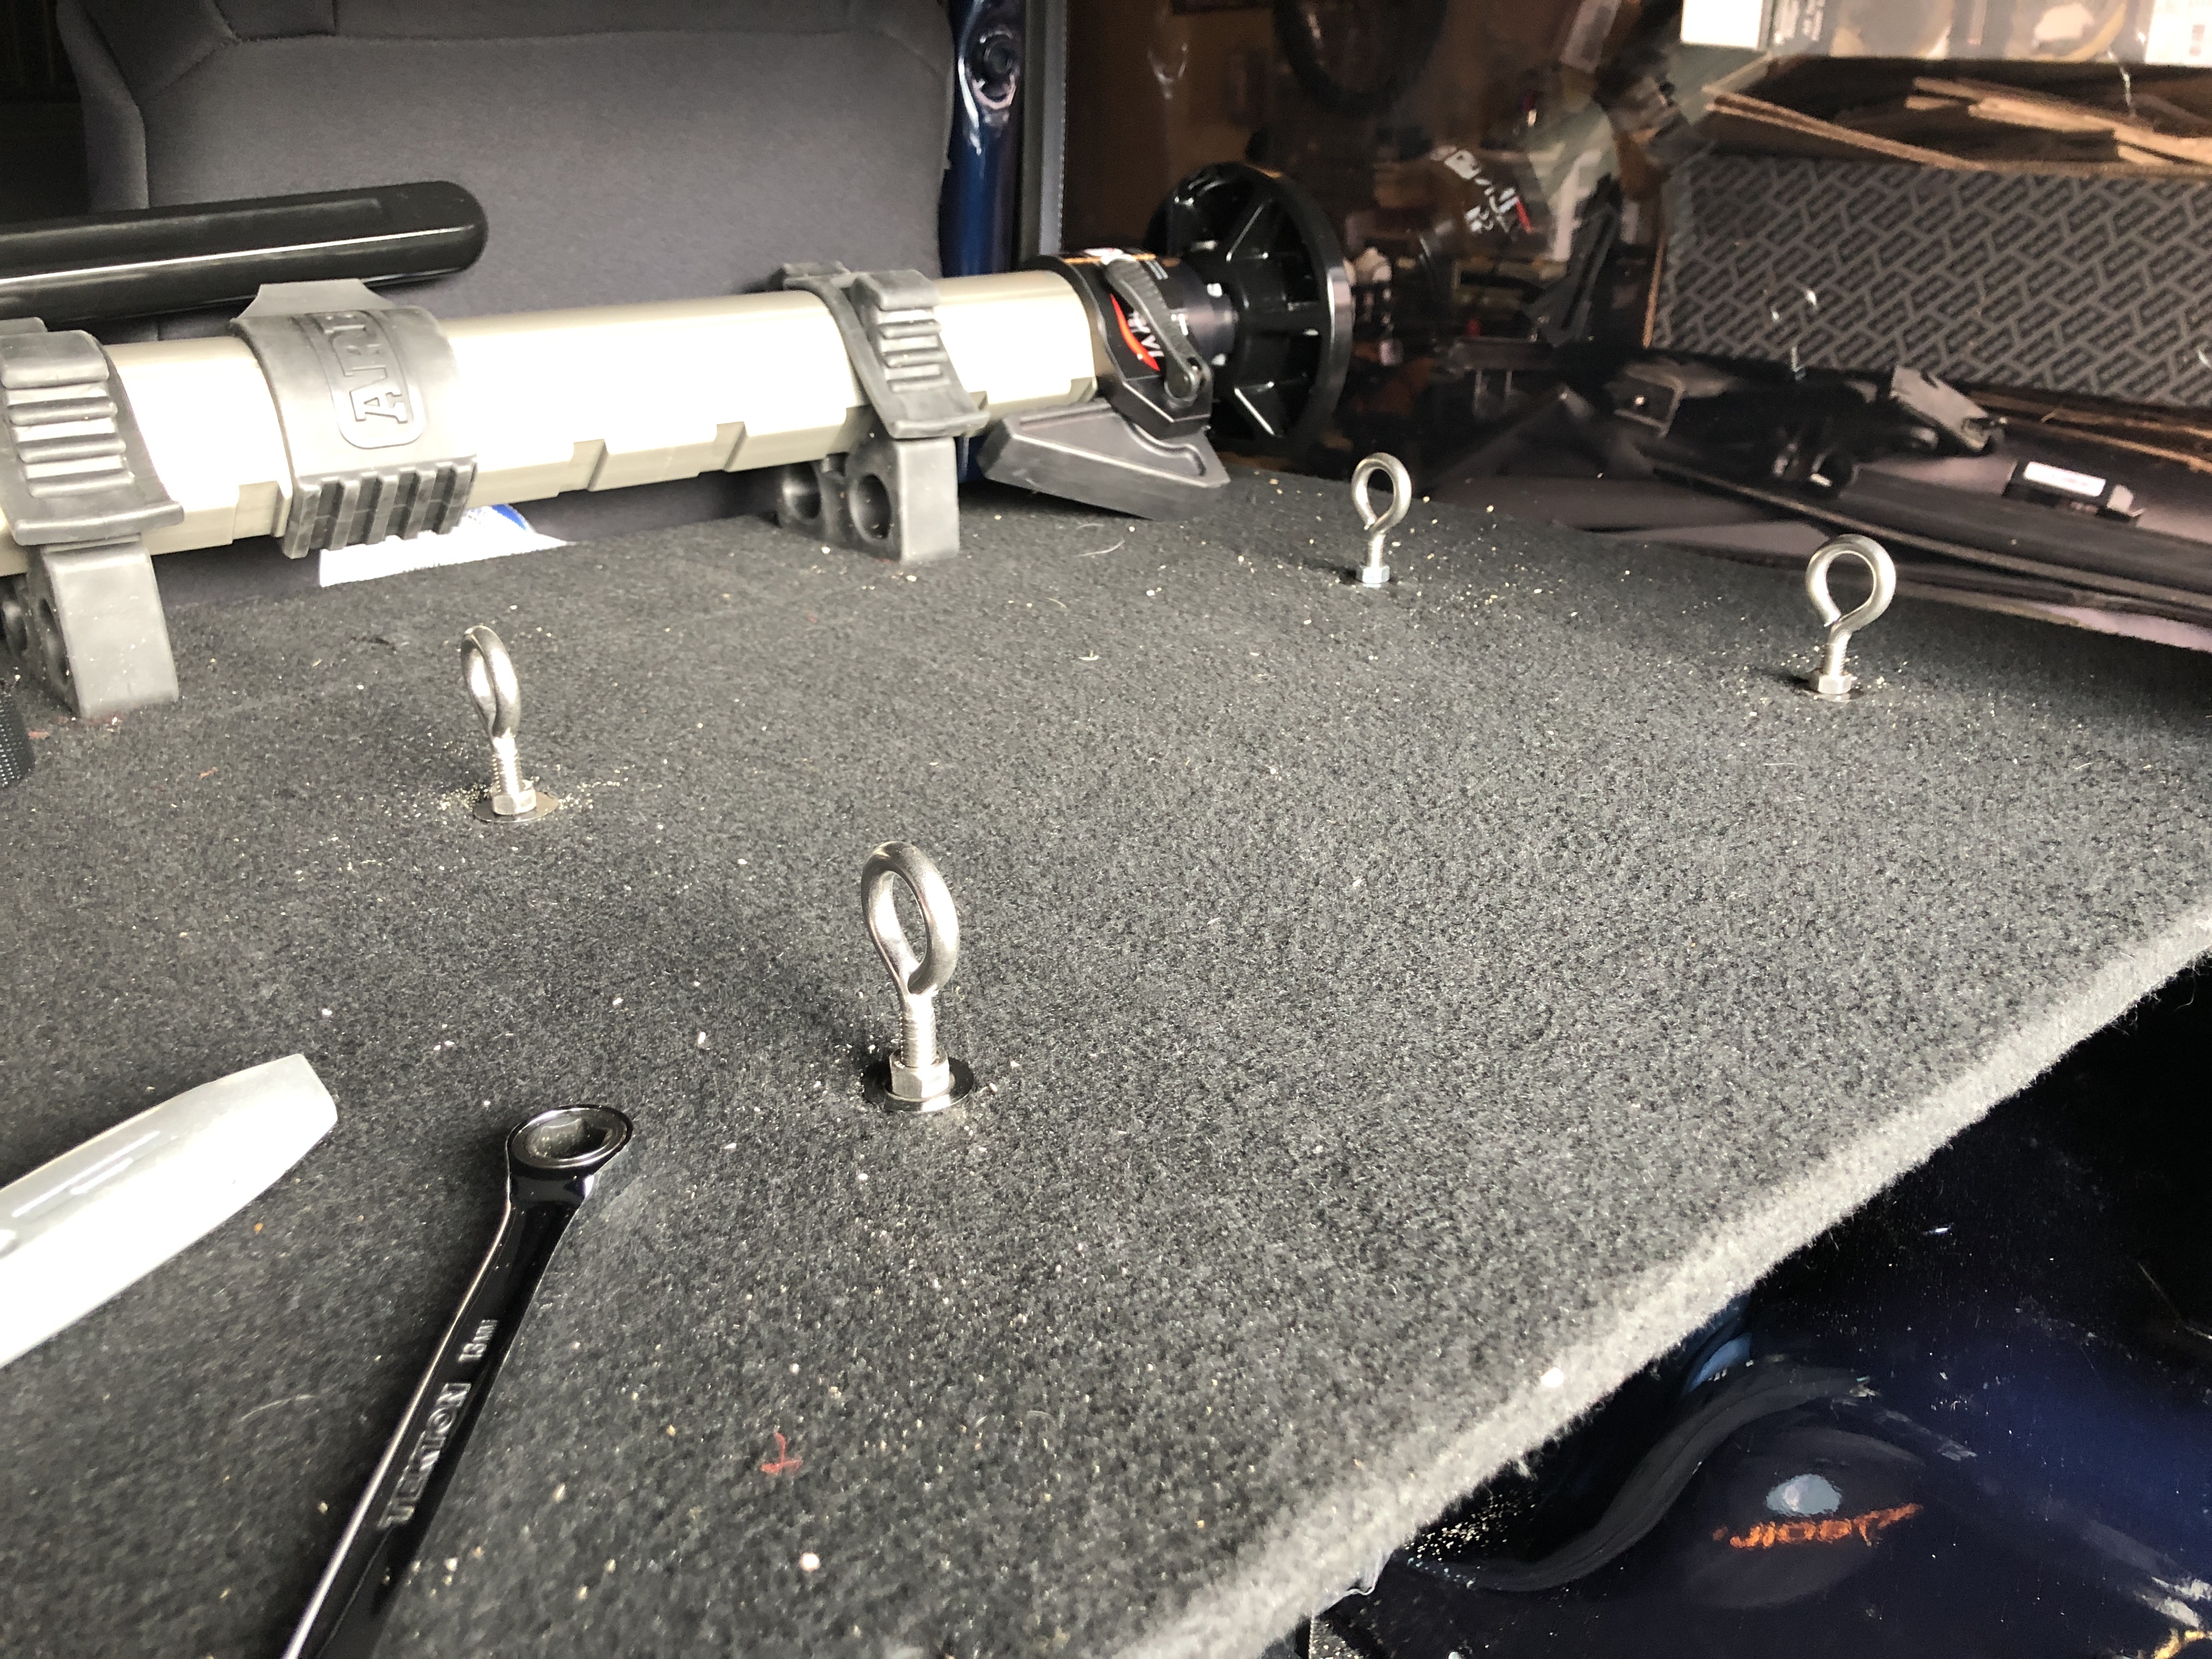
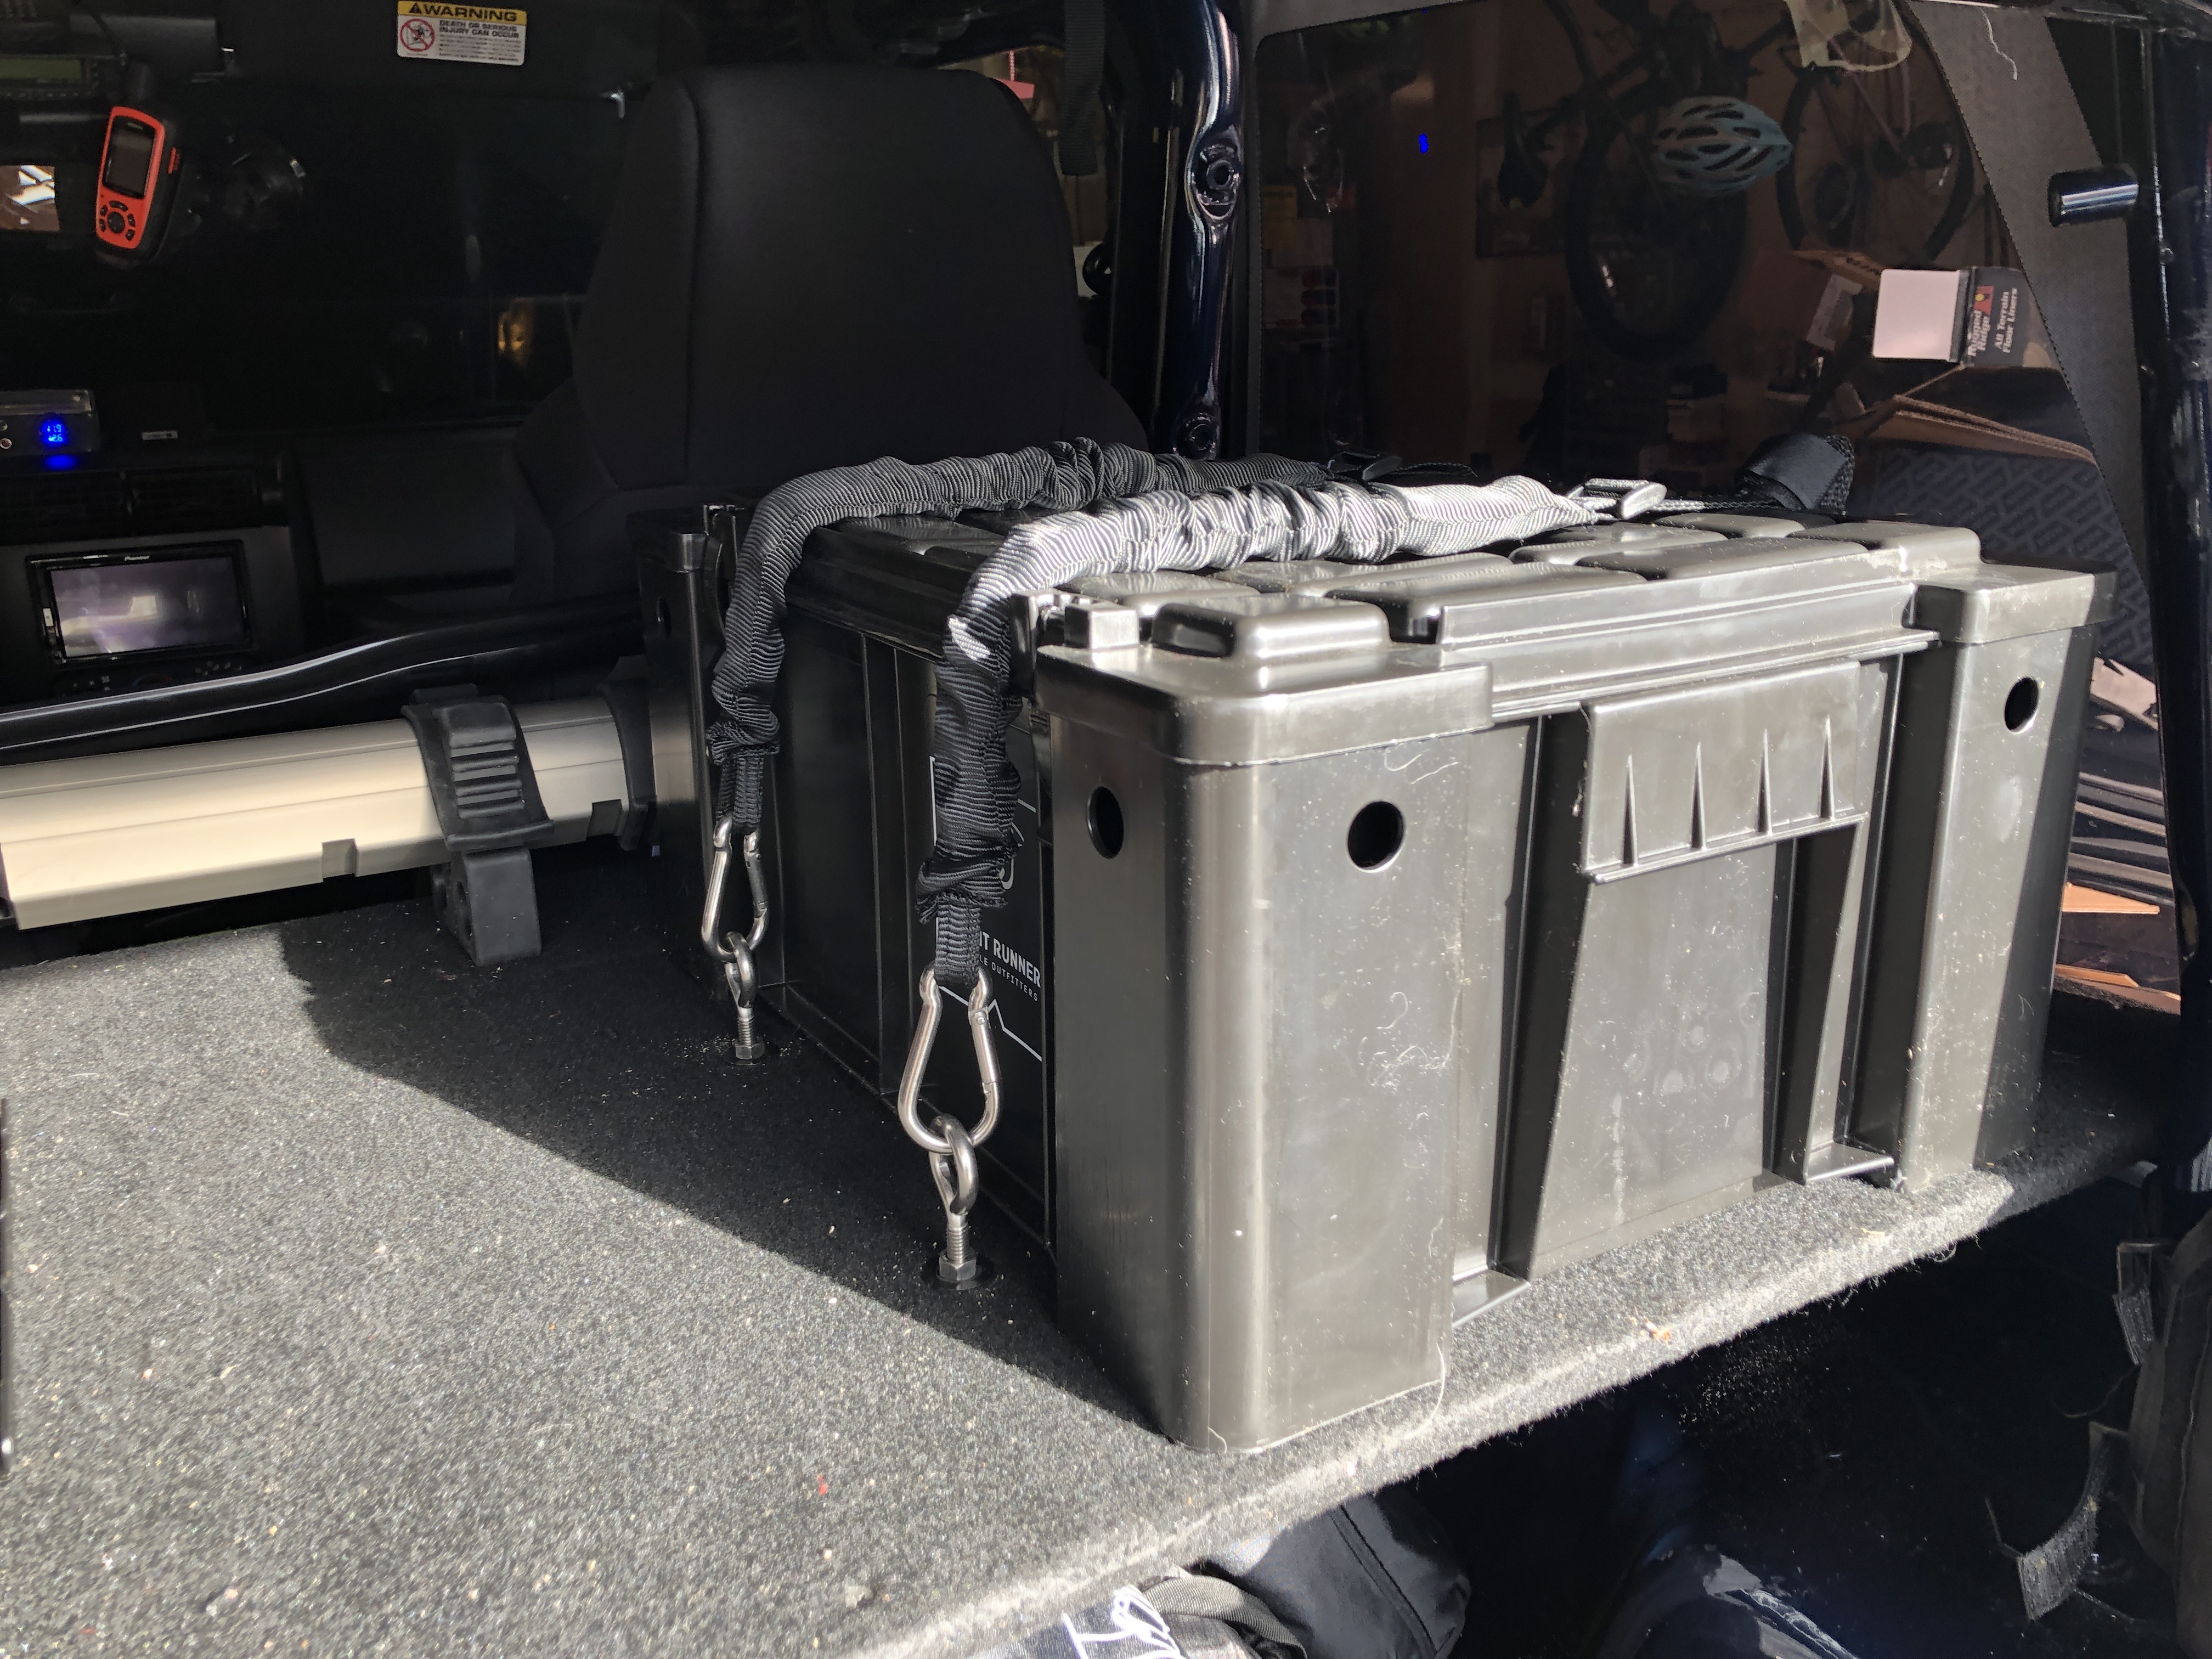
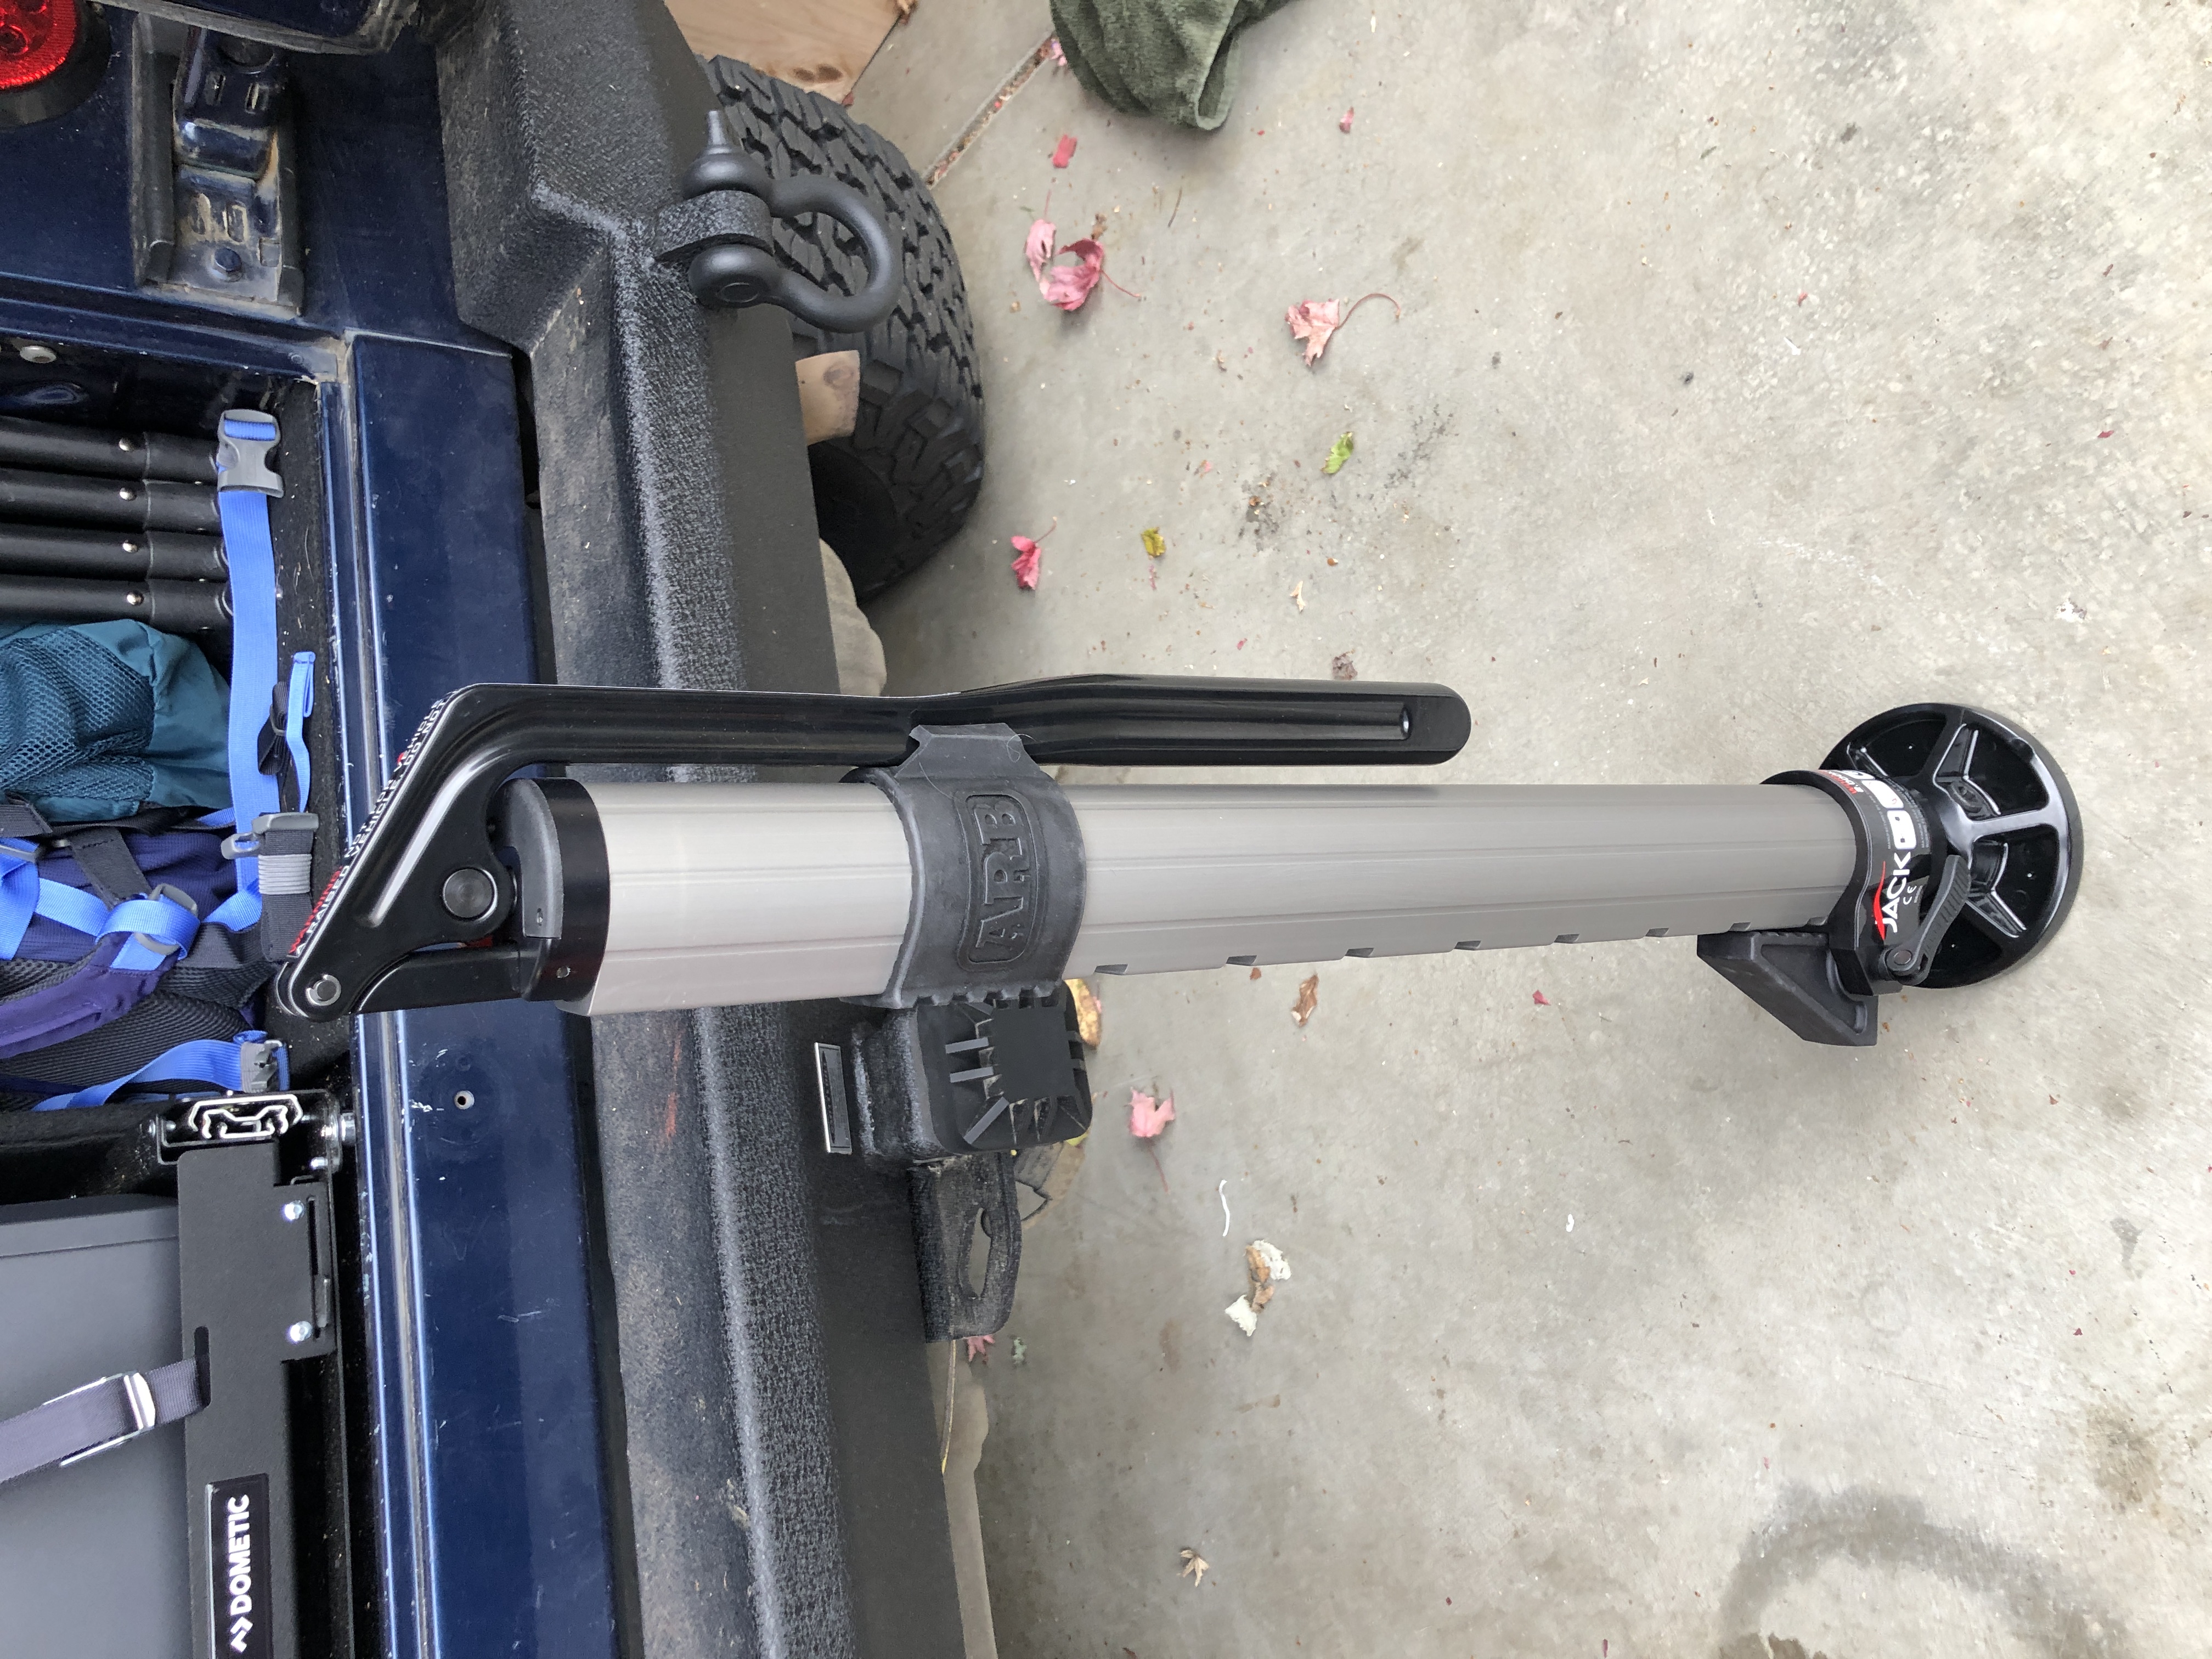
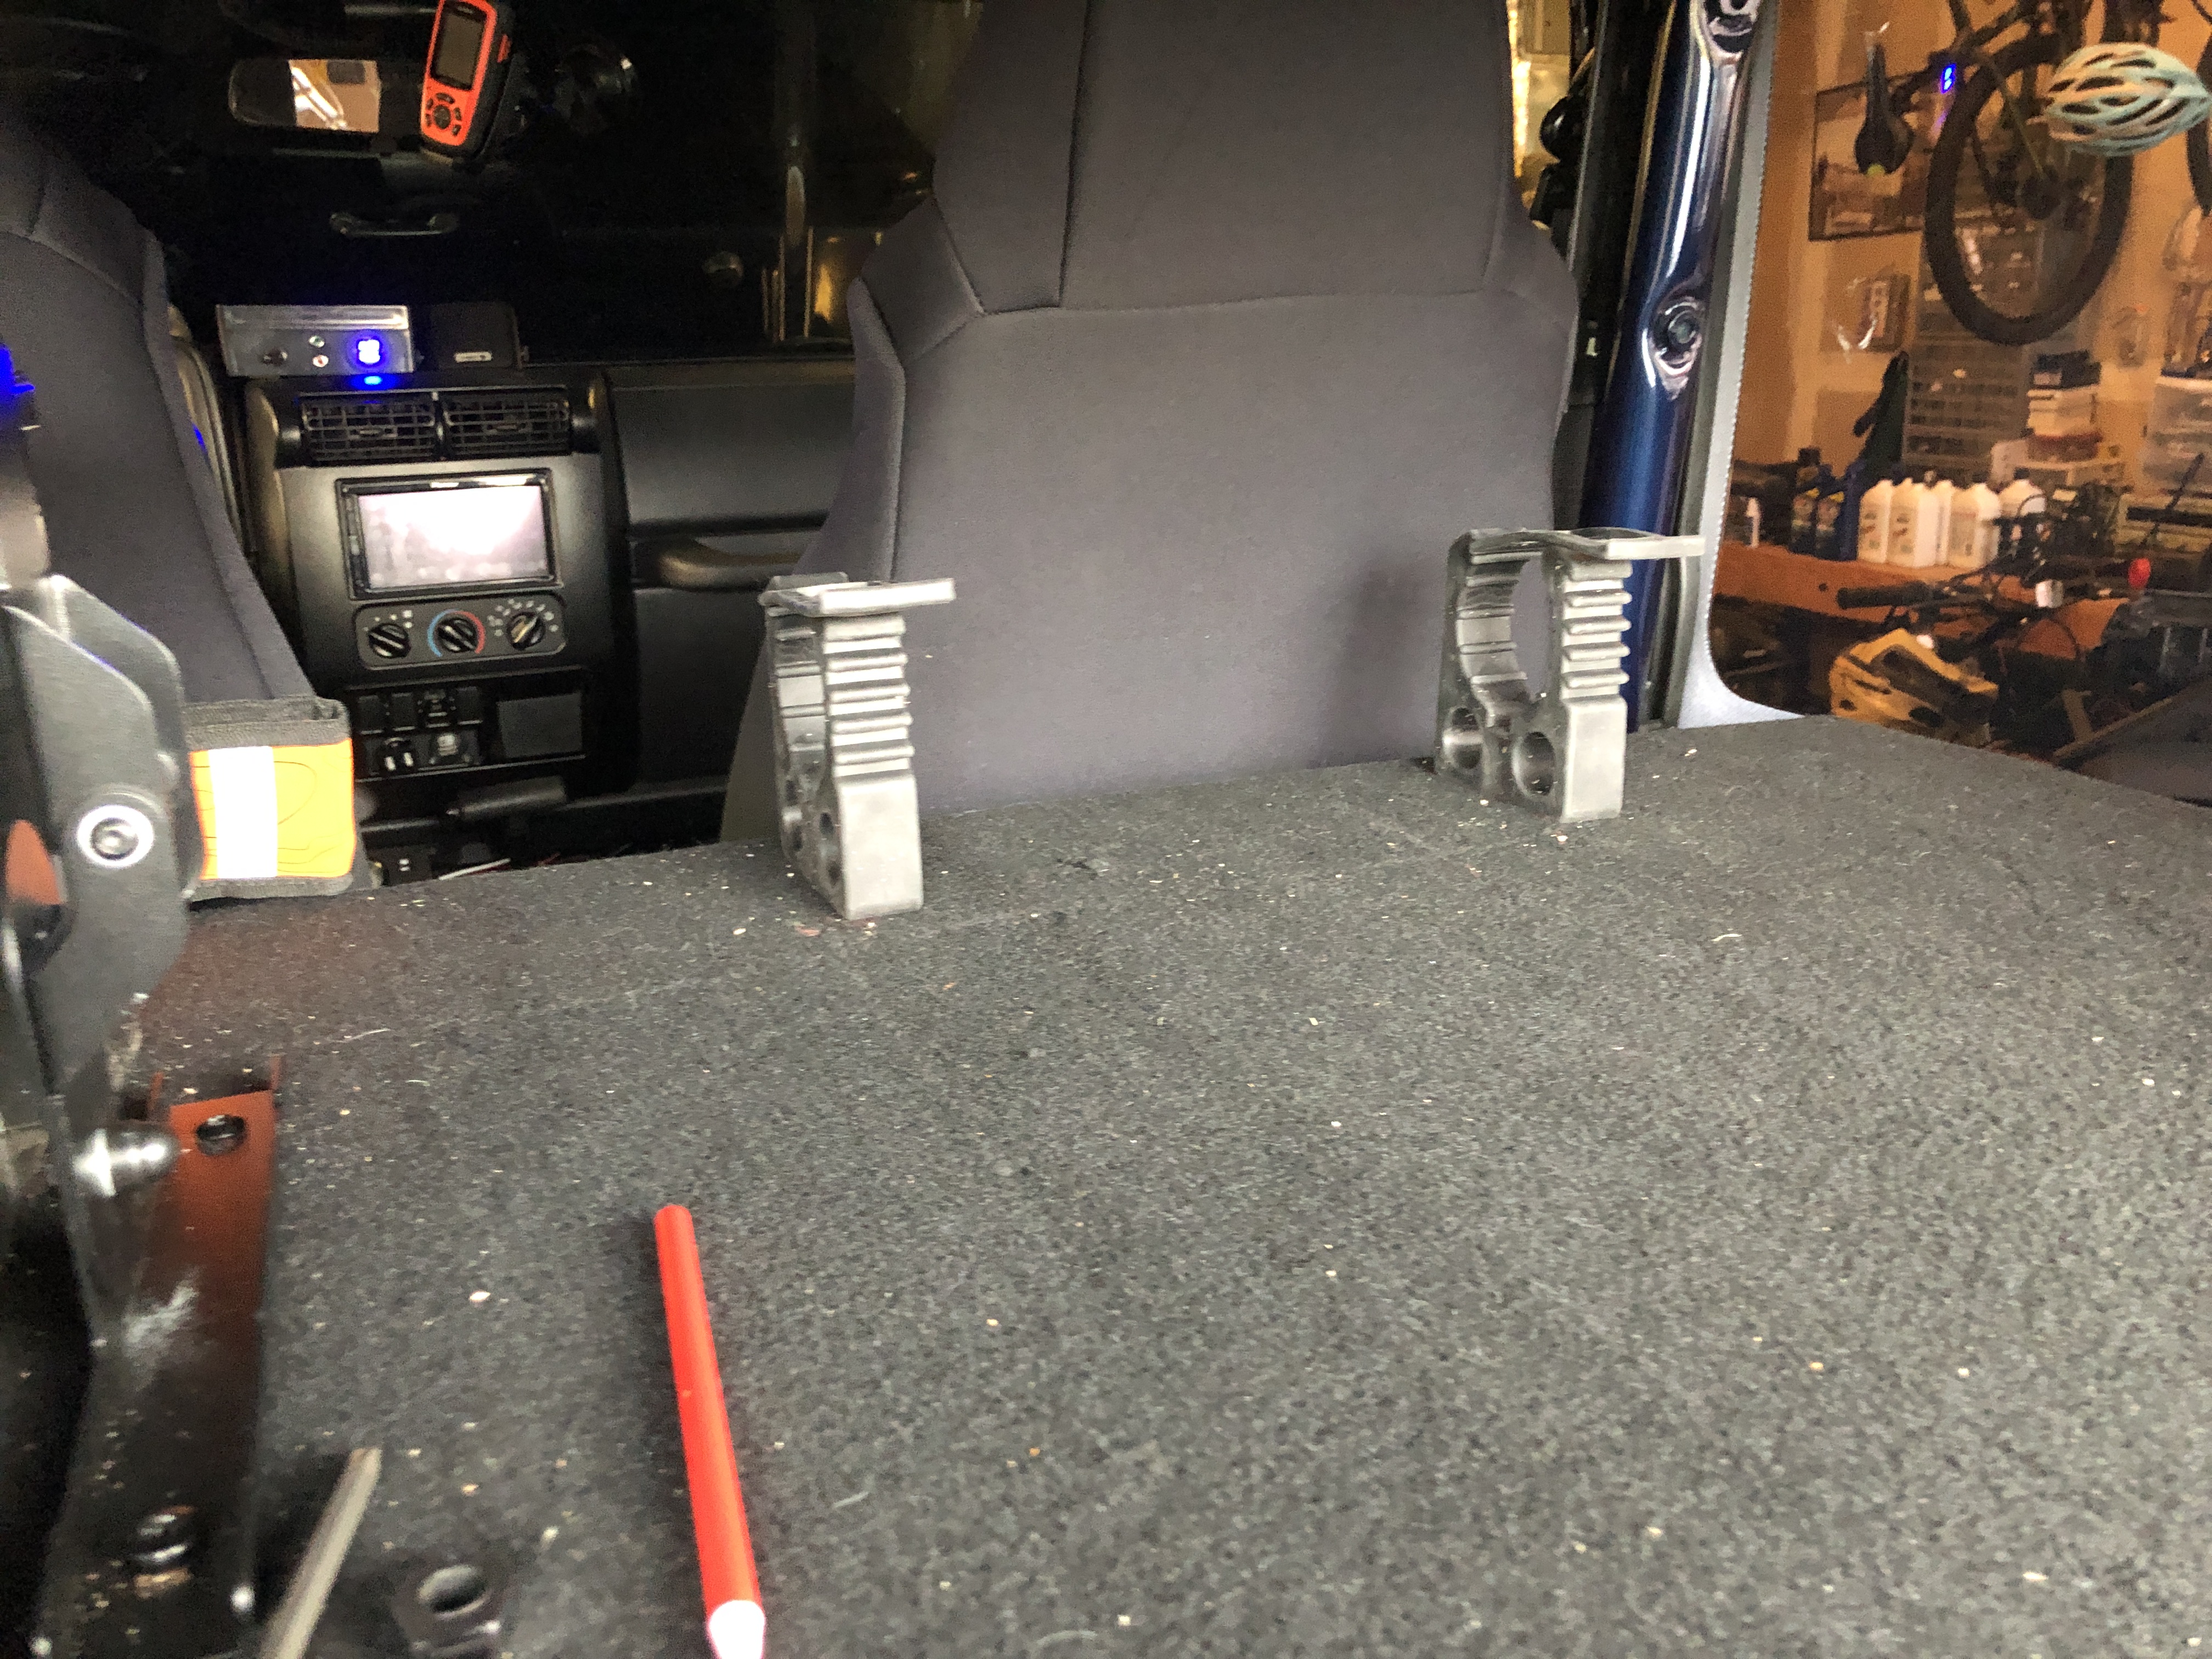
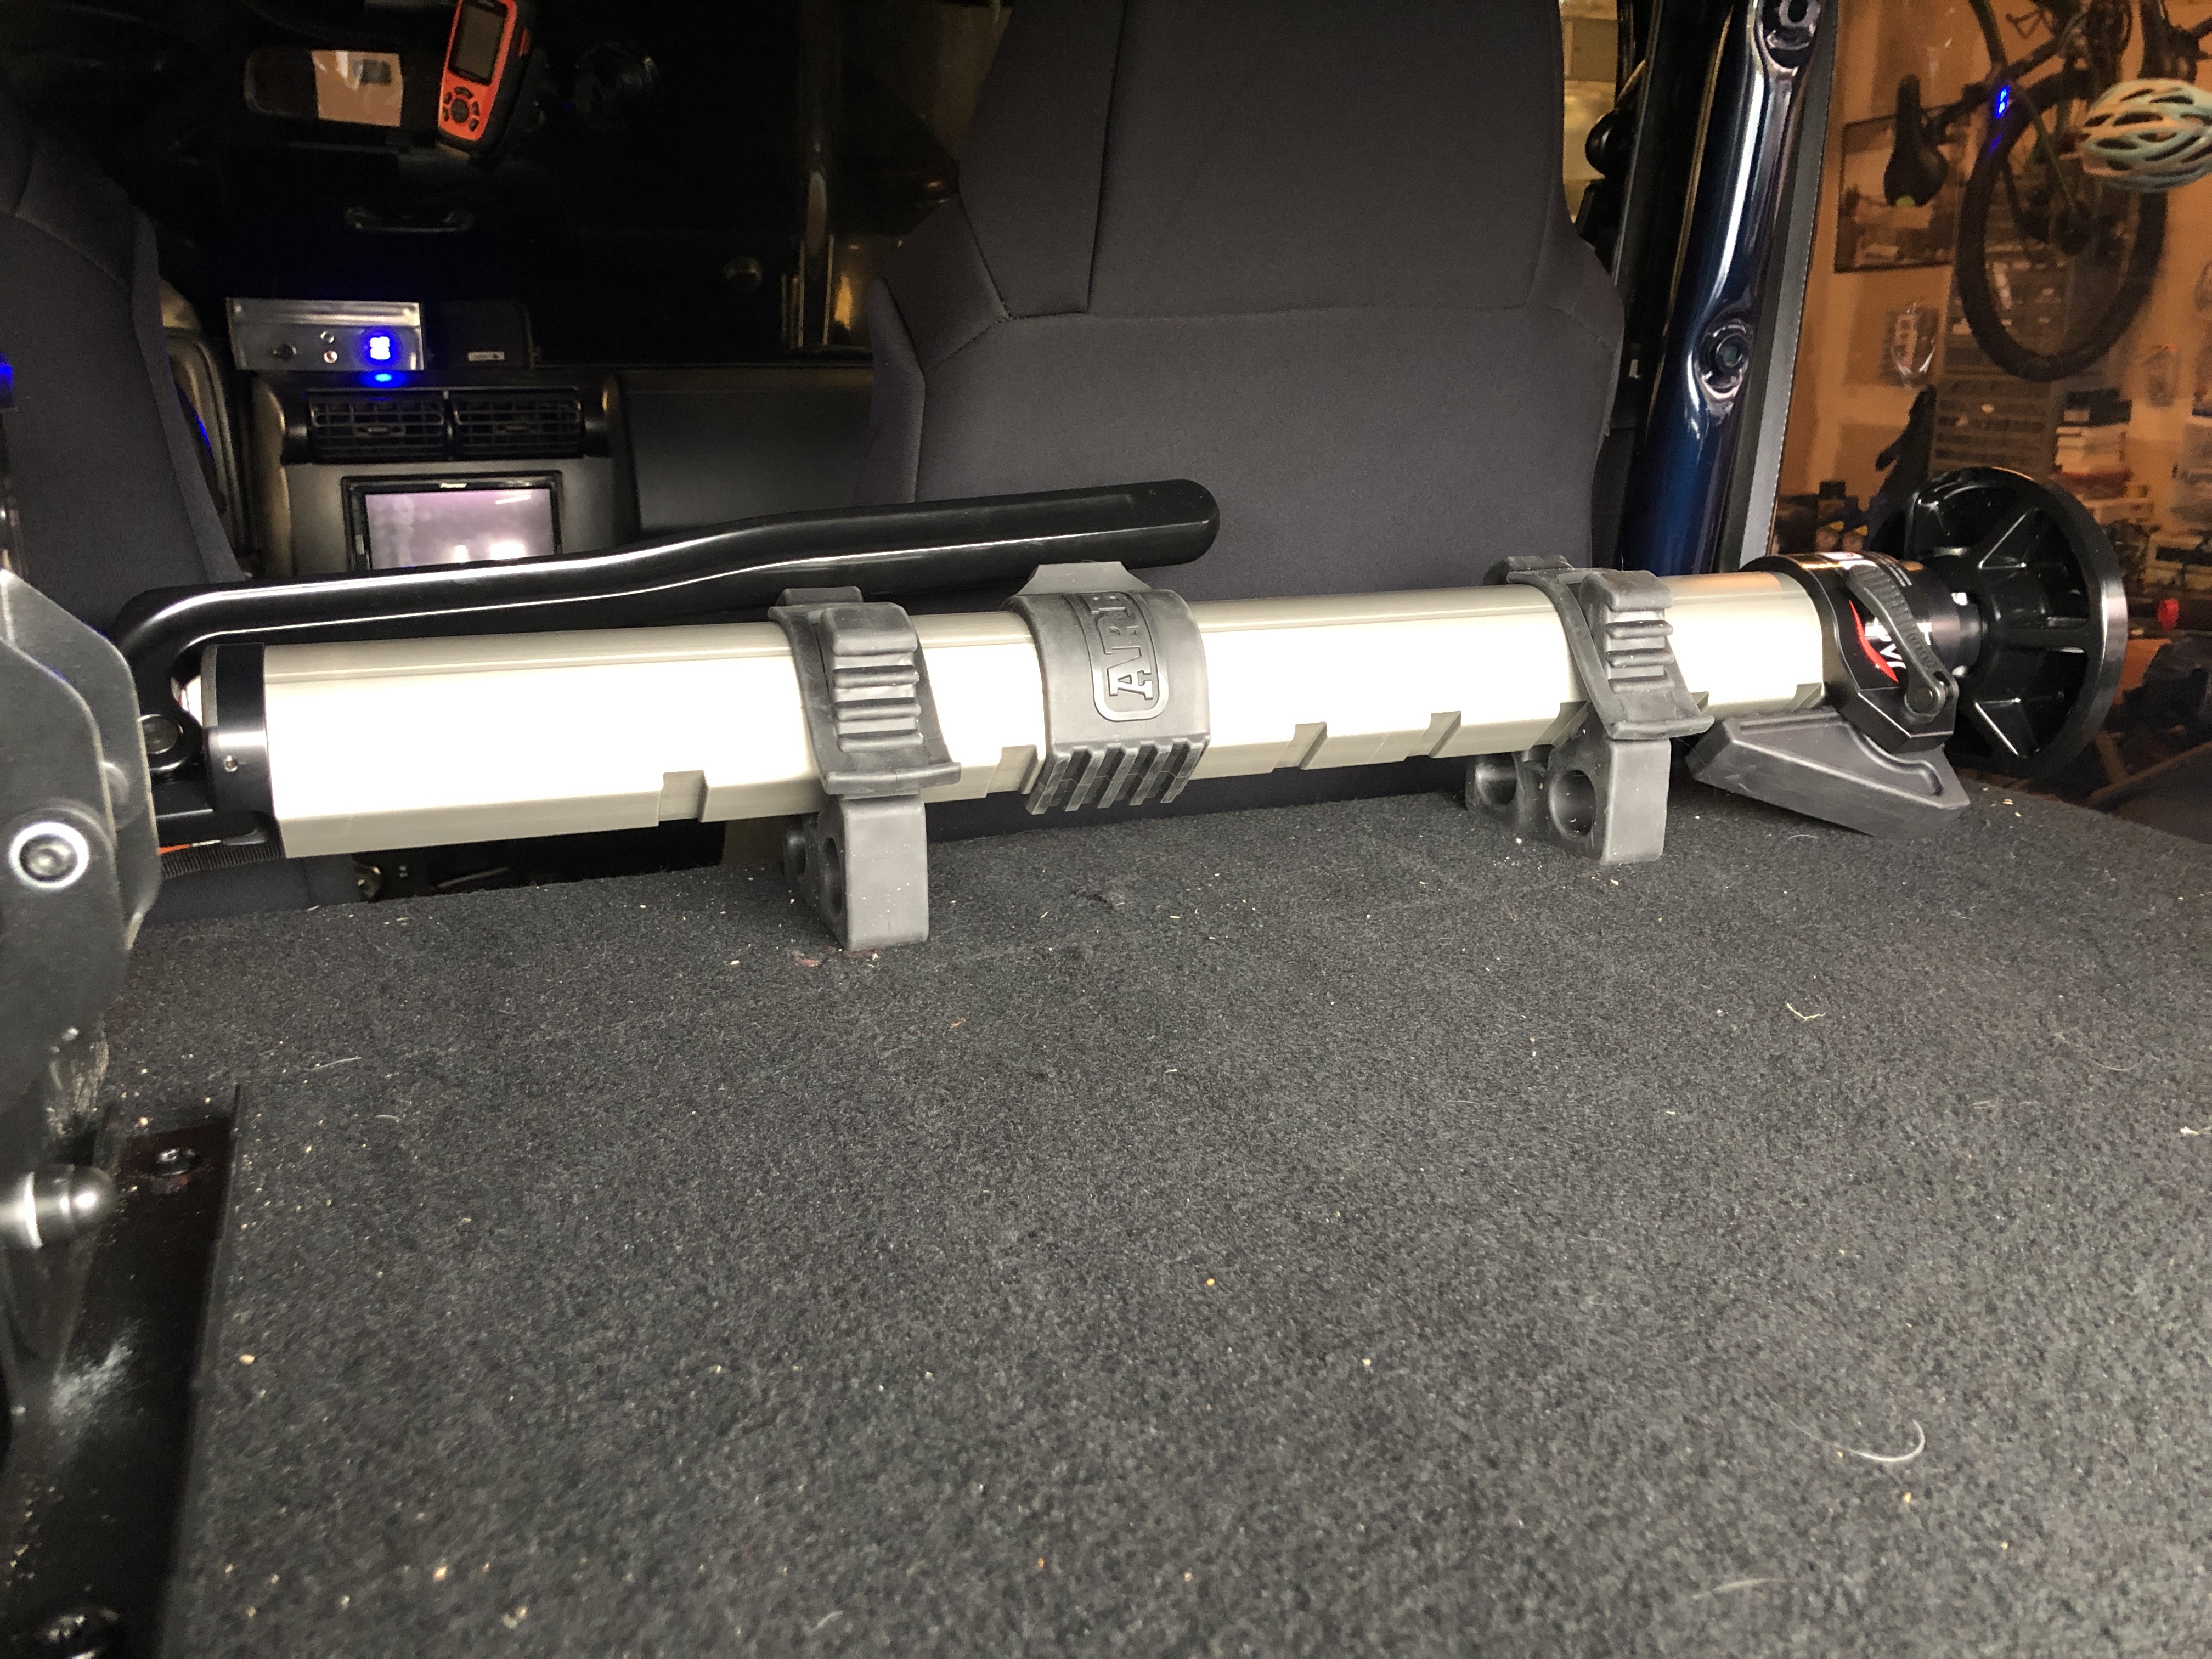
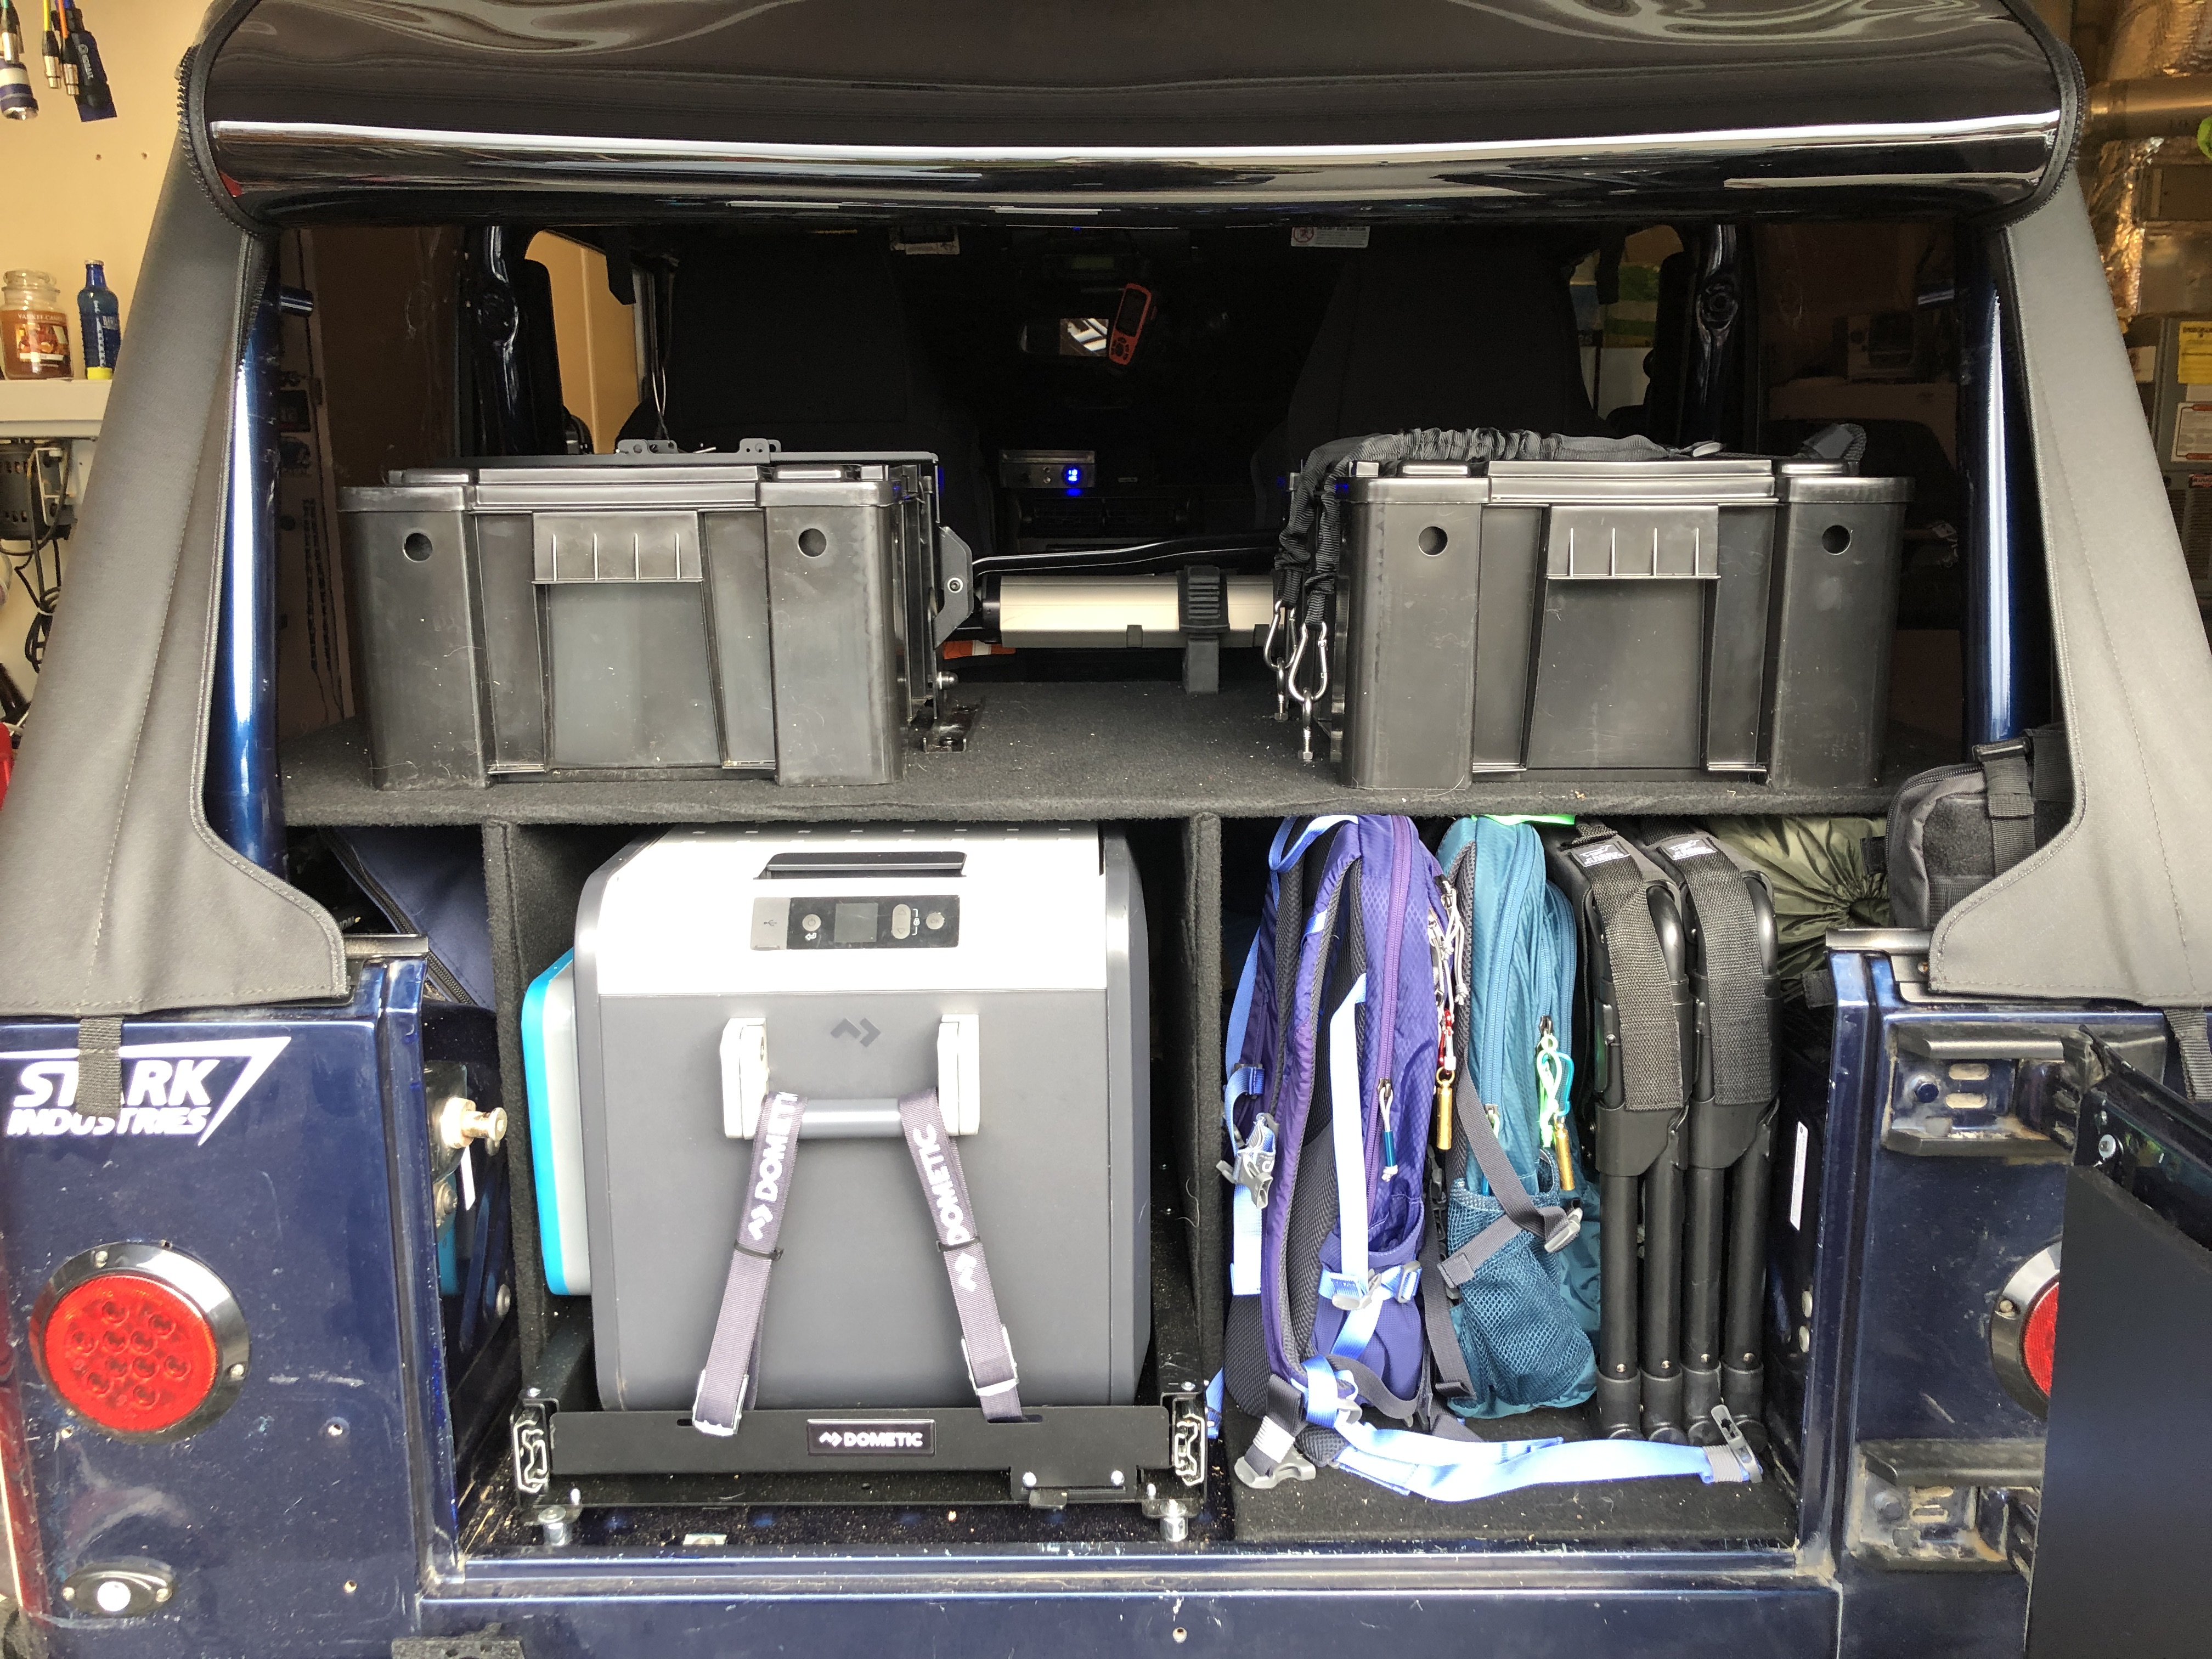
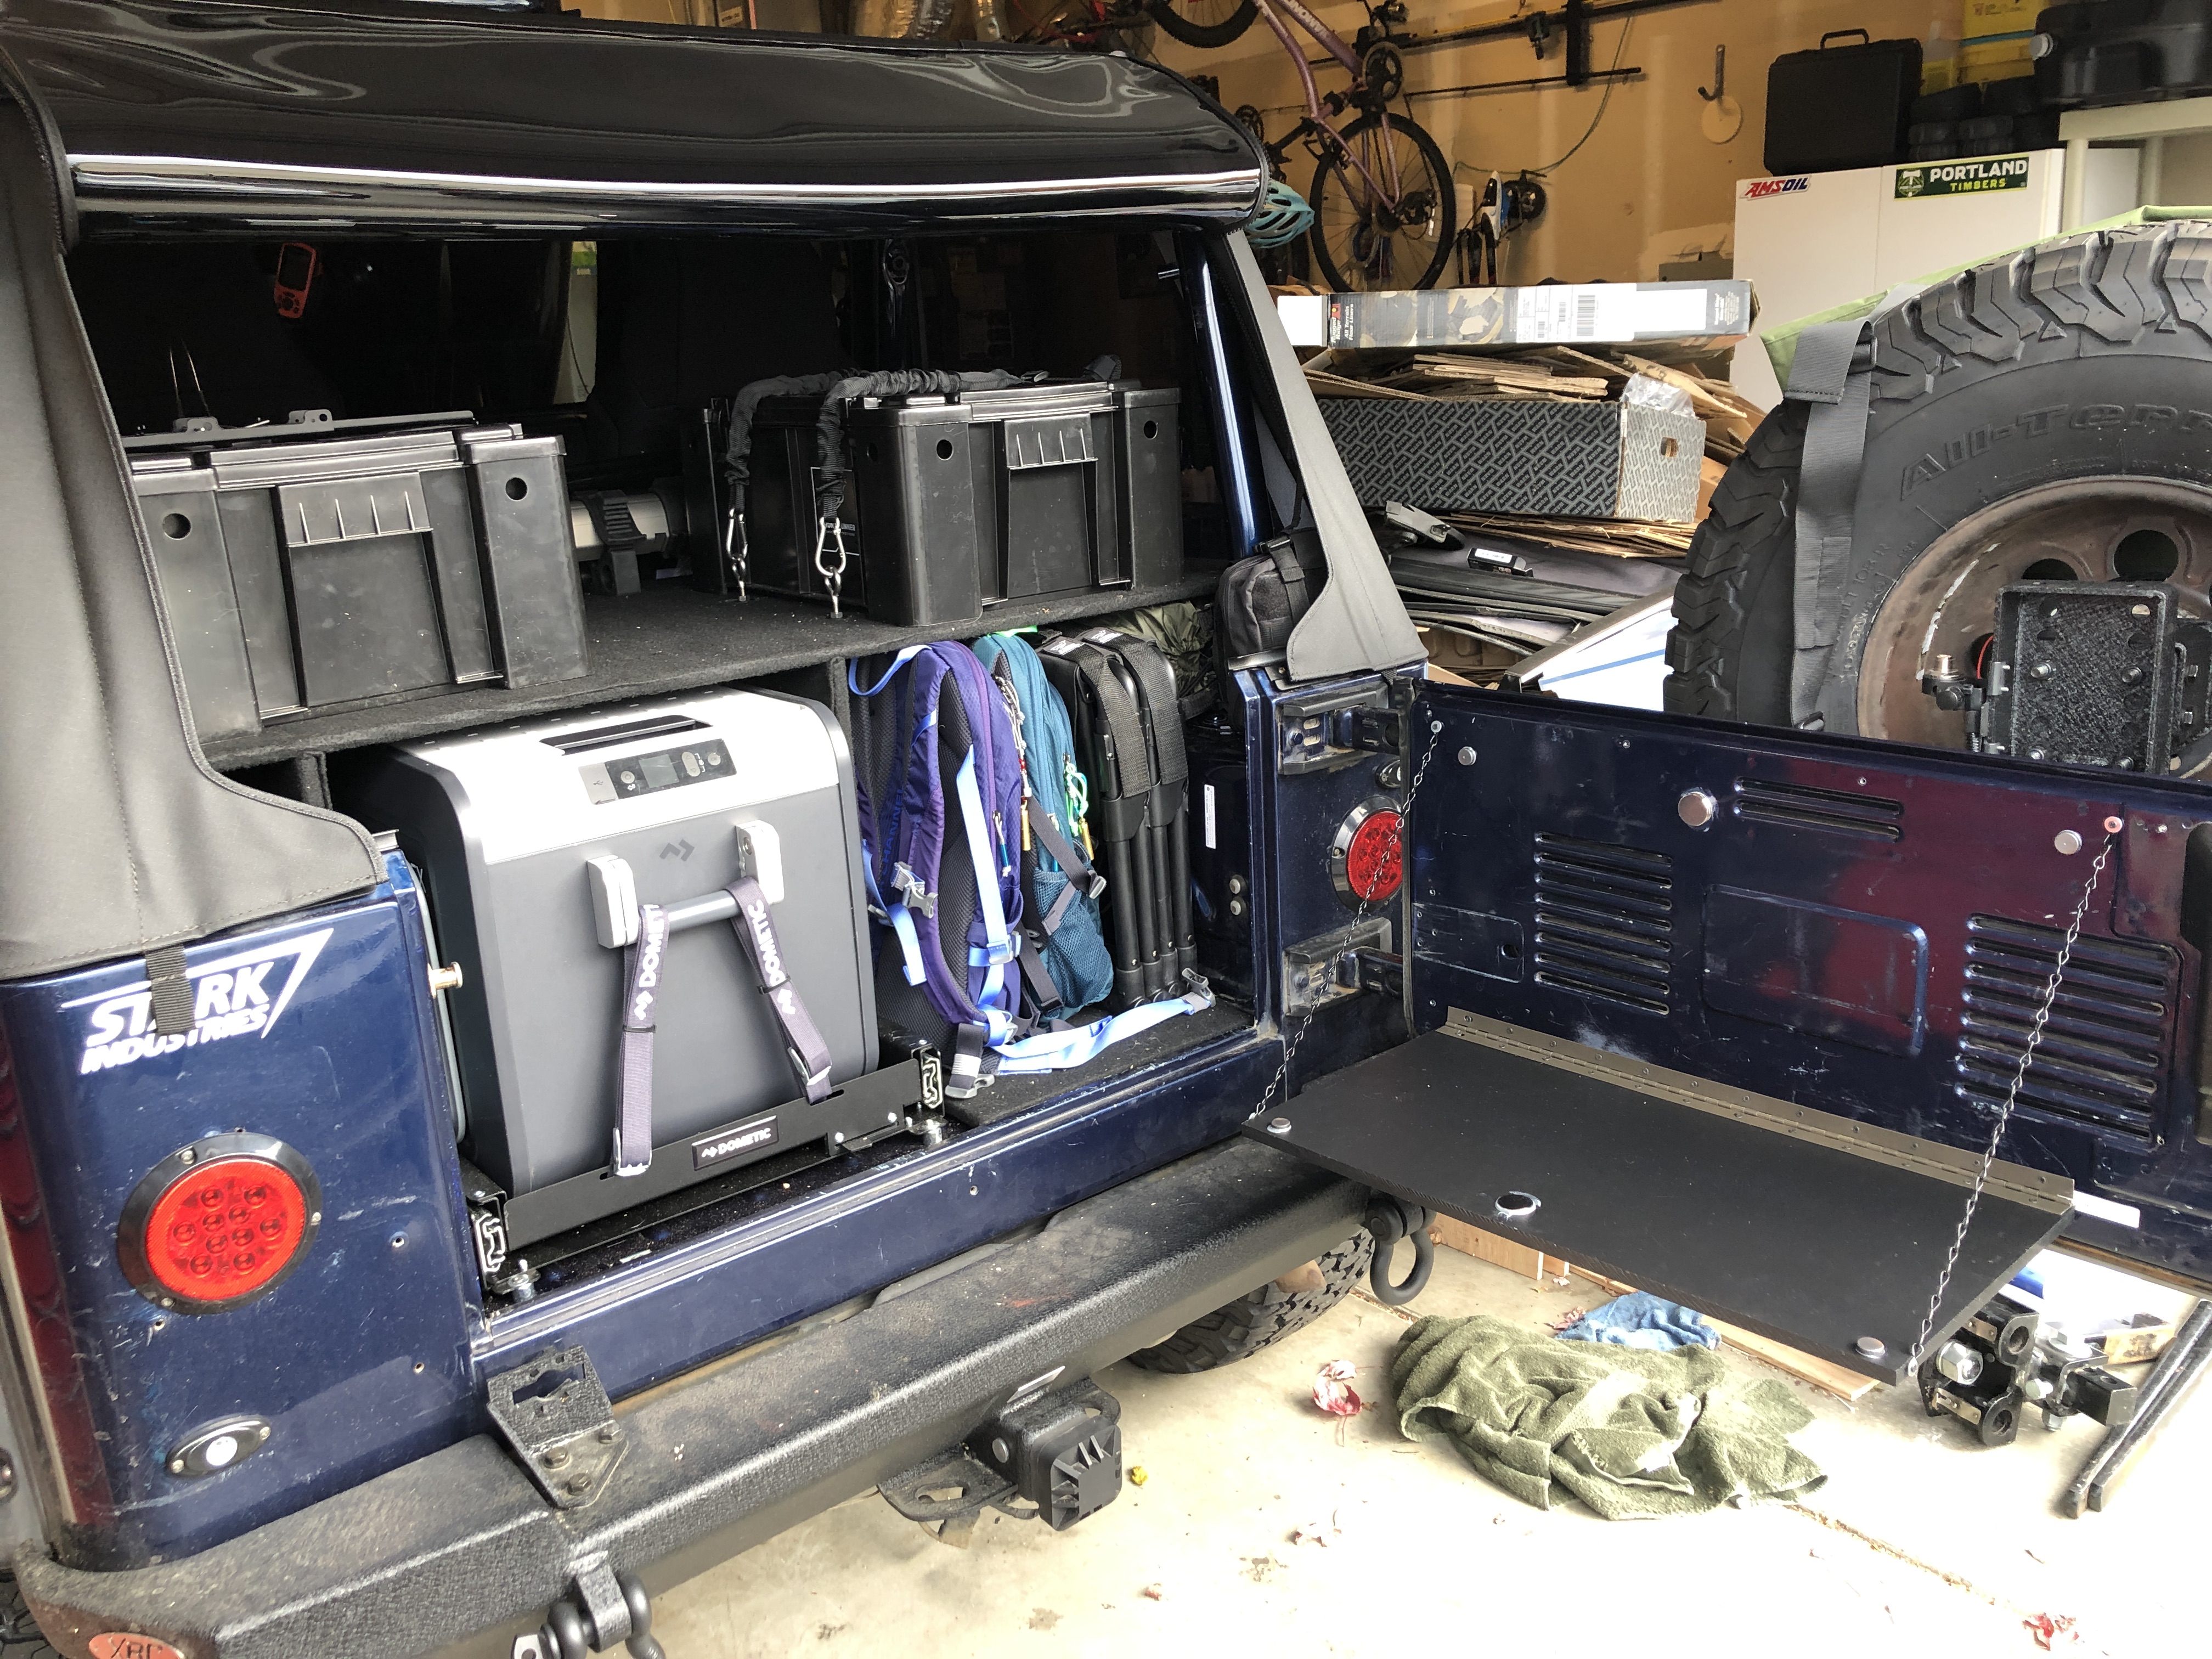
Before modifications began and the fridge was being installed.Side windows removed to access tub rail. Existing holes in the railing (from hard top) will be used2x2 Pine lumber drilled to drop bolts through tub holesBasic black spray paint to protect the wood and make it not so visibleUsing thin foam between the wood and tub to protect the rail paint. Its lime green which is Inky's accent colorJust verifying fit before painting / carpeting and bolting things into placeCarpeting the upper deck piece! Spray glue and stables and some creative cutting and folding. Both sides are covered.Carpeting all sides!Installed 2x2 painted riser boards, with lime foam under neath. Shelf will sit on top of these.Shelf InstalledTest fitting vertical boards for upper shelf support and to keep things from falling against the fridge (which slides out).Carpeting Vertical BoardsCarpeted Vertical boards installed!Top shown from drivers side after vertical board installation.Top shown from front seats looking back after vertical board installation.Green marks show where the bottom board has to be notched out to get around the spot welded strapping locations built into the TJ Rear interior. I didn't want to drill or cut them out, so just slotted the floor board to go around them.Test fitting floor board, this will help insulate items from the heat of the exhaust pipe which is below this side of the TJ body tub.Carpeting the new floor boardLooking awesome, floor board cut, slotted, carpeted and ready for installationFloor board installed and ready. This helps hold the bottom of the center vertical panel, as well as, insulates items from the exhaust pipes below this side of the TJ tub, it can get pretty warm. Also allows us to slide things in and out easier and protect them.Completed installation of storage area and fridge, with tail gate open and side windows put back on.Completed installation with tail gate closed, and tire carrier swung to open position.Side-by-side Before and AfterFront Runner Wolf Pack Lockdown BracketFront Runner Wolf Pack #1 (food/beverage box) Locked down into placeWolf Pack #2 Tie down location installationFront Runner Wolf Pack #2 (camping/kitchen) Strapped DownARB High Jack, ready to mountMount points bolted in to support and lock ARB High Jack into placeARB High Jack, mounted and locked into place near rear of platform.After all gear is loaded and secured, it all fits perfect! Even have room to spare down underneath.Final load out and custom tail gate shelf flipped down